Connect to Snowflake #
This page describes how to connect to Snowflake from Satori, enabling you to send data to your Snowflake instance for analysis.
Prerequisites #
Before you can connect to Snowflake, you must have the following:
- Snowflake account
- Database created for Satori
- Snowflake account user and role with the appropriate permissions
Create a database #
To create a database for Satori, navigate to your Snowflake instance dashboard and follow these steps:
- From the left-hand navigation menu, go to Data > Databases and click + Database:
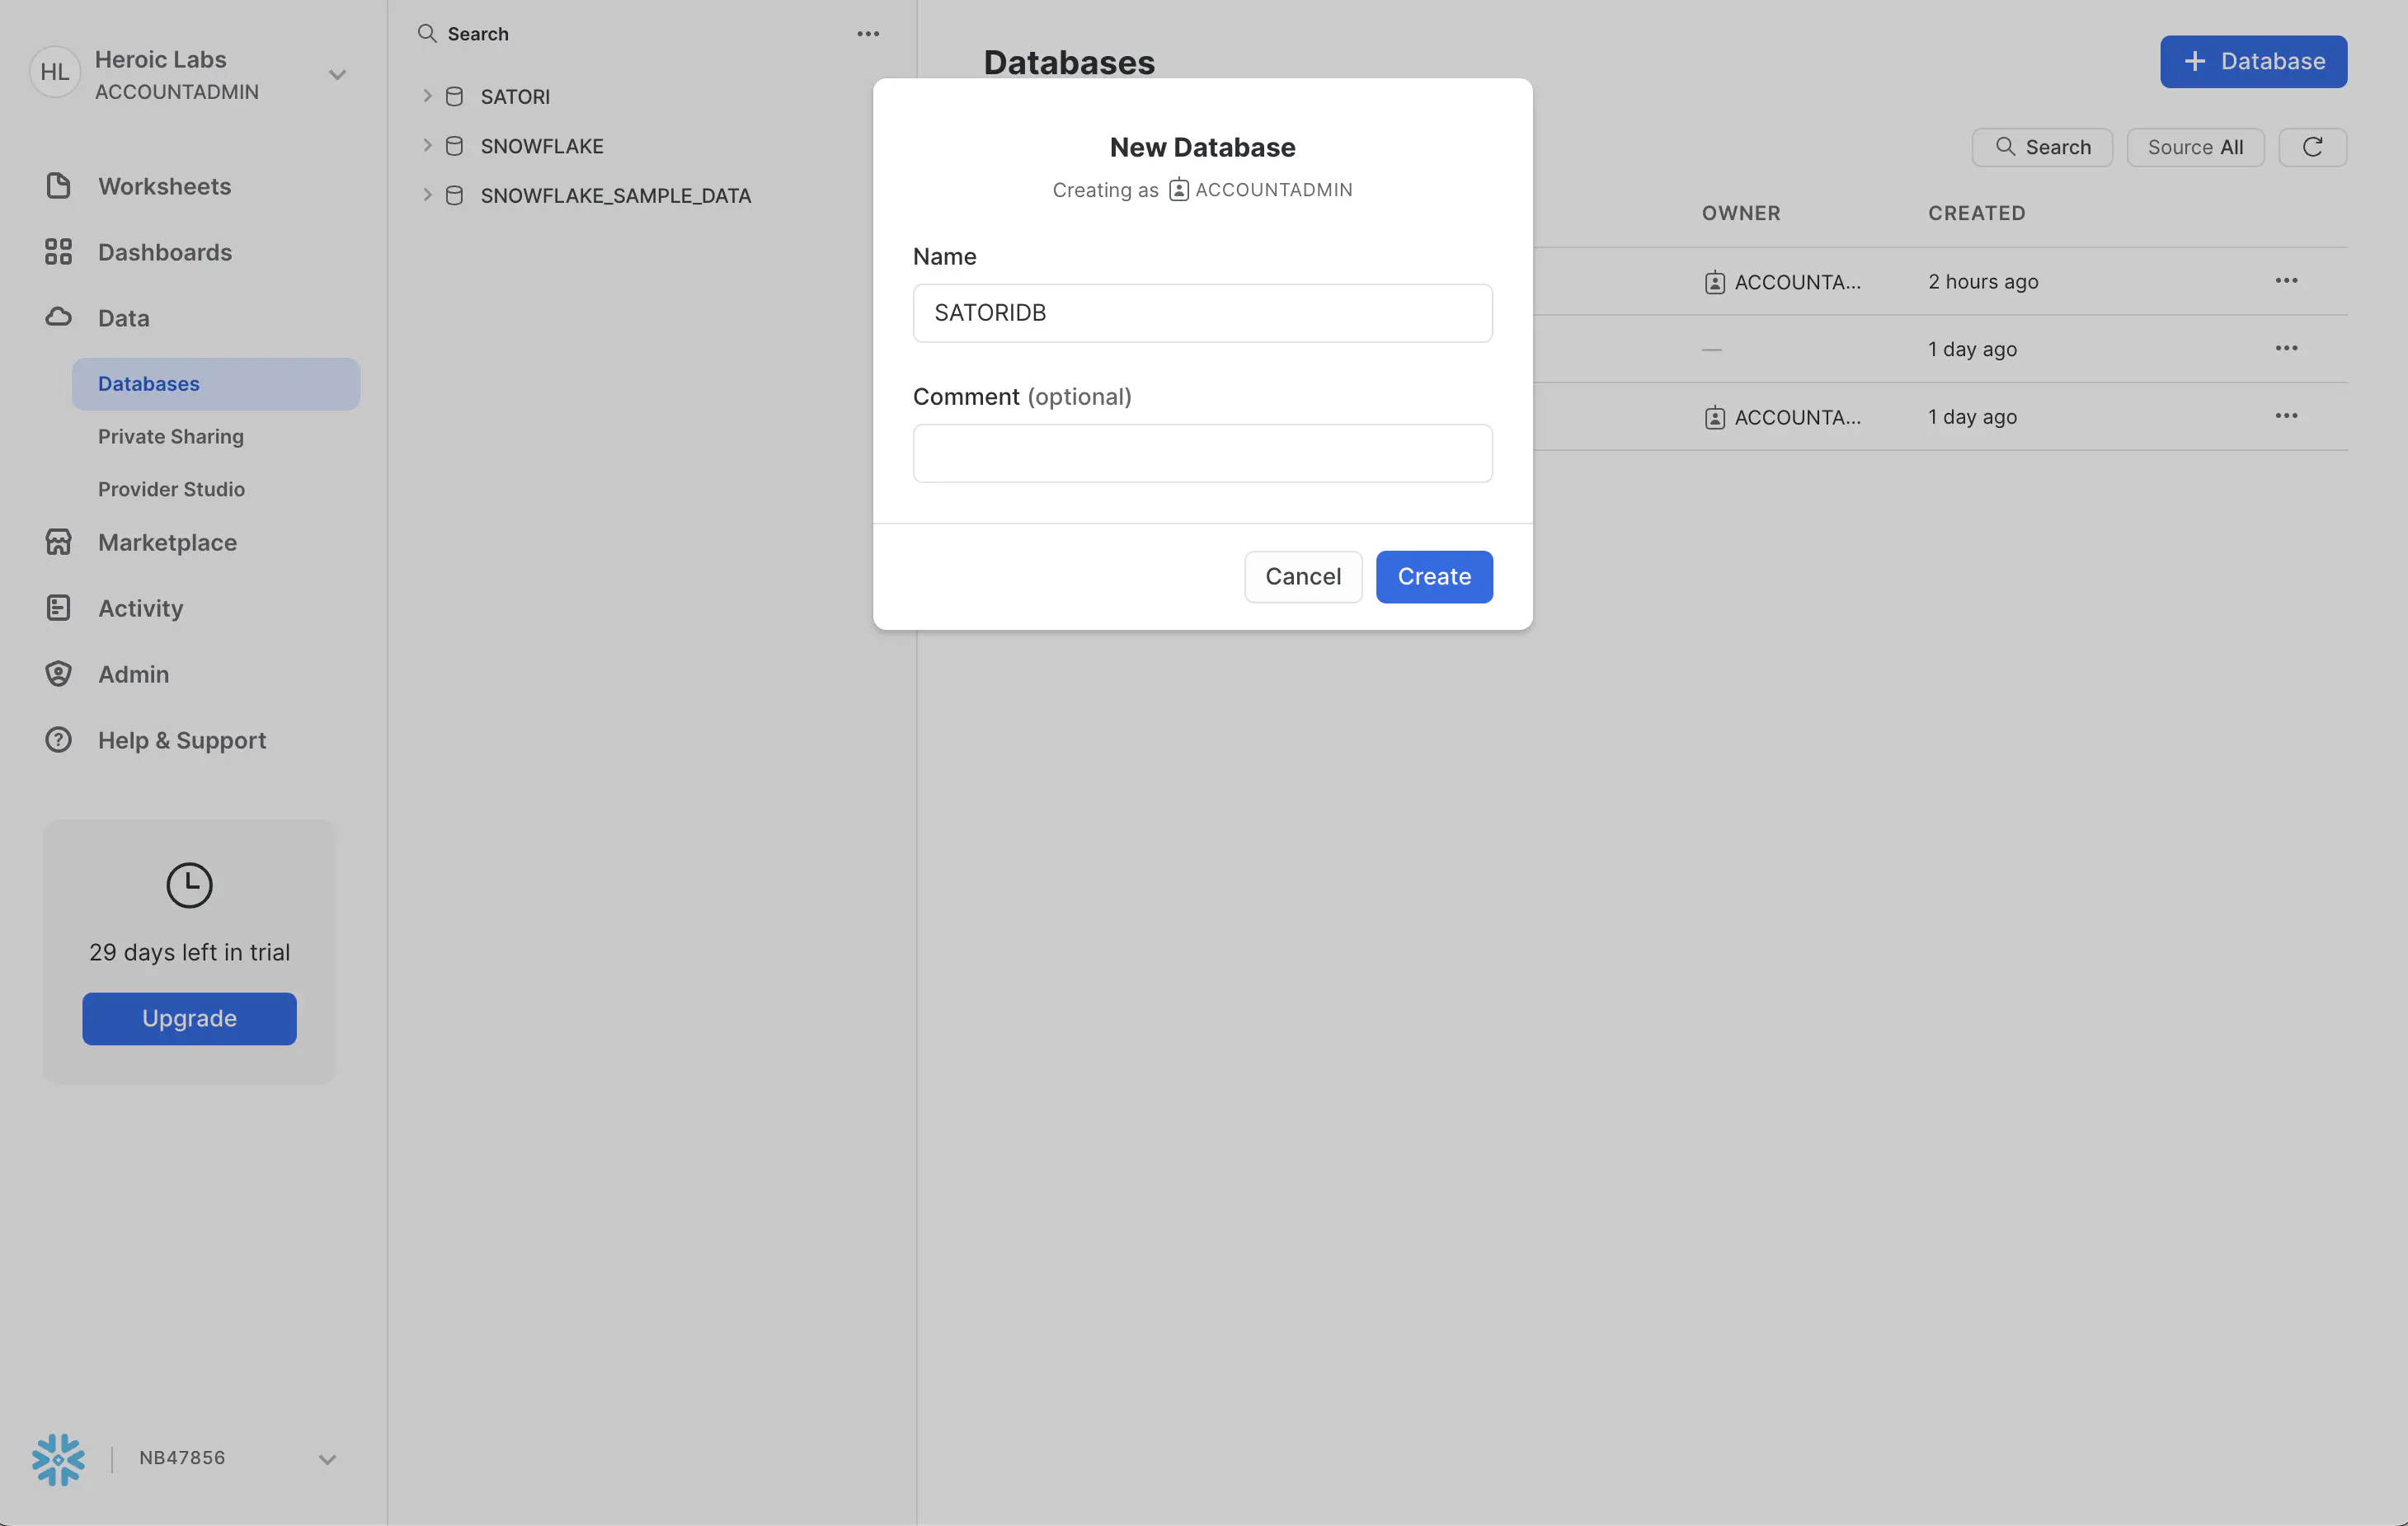
- In the displayed modal enter the name for your new database,
SatoriDBin this example, and click Create.
Create a user #
To create a user for Satori, navigate to your Snowflake instance dashboard and follow these steps:
From the left-hand navigation menu, go to Admin > Users & Roles and select the Users tab.
Click + User and in the displayed modal enter the details for your new user,
SatoriUserin this example:
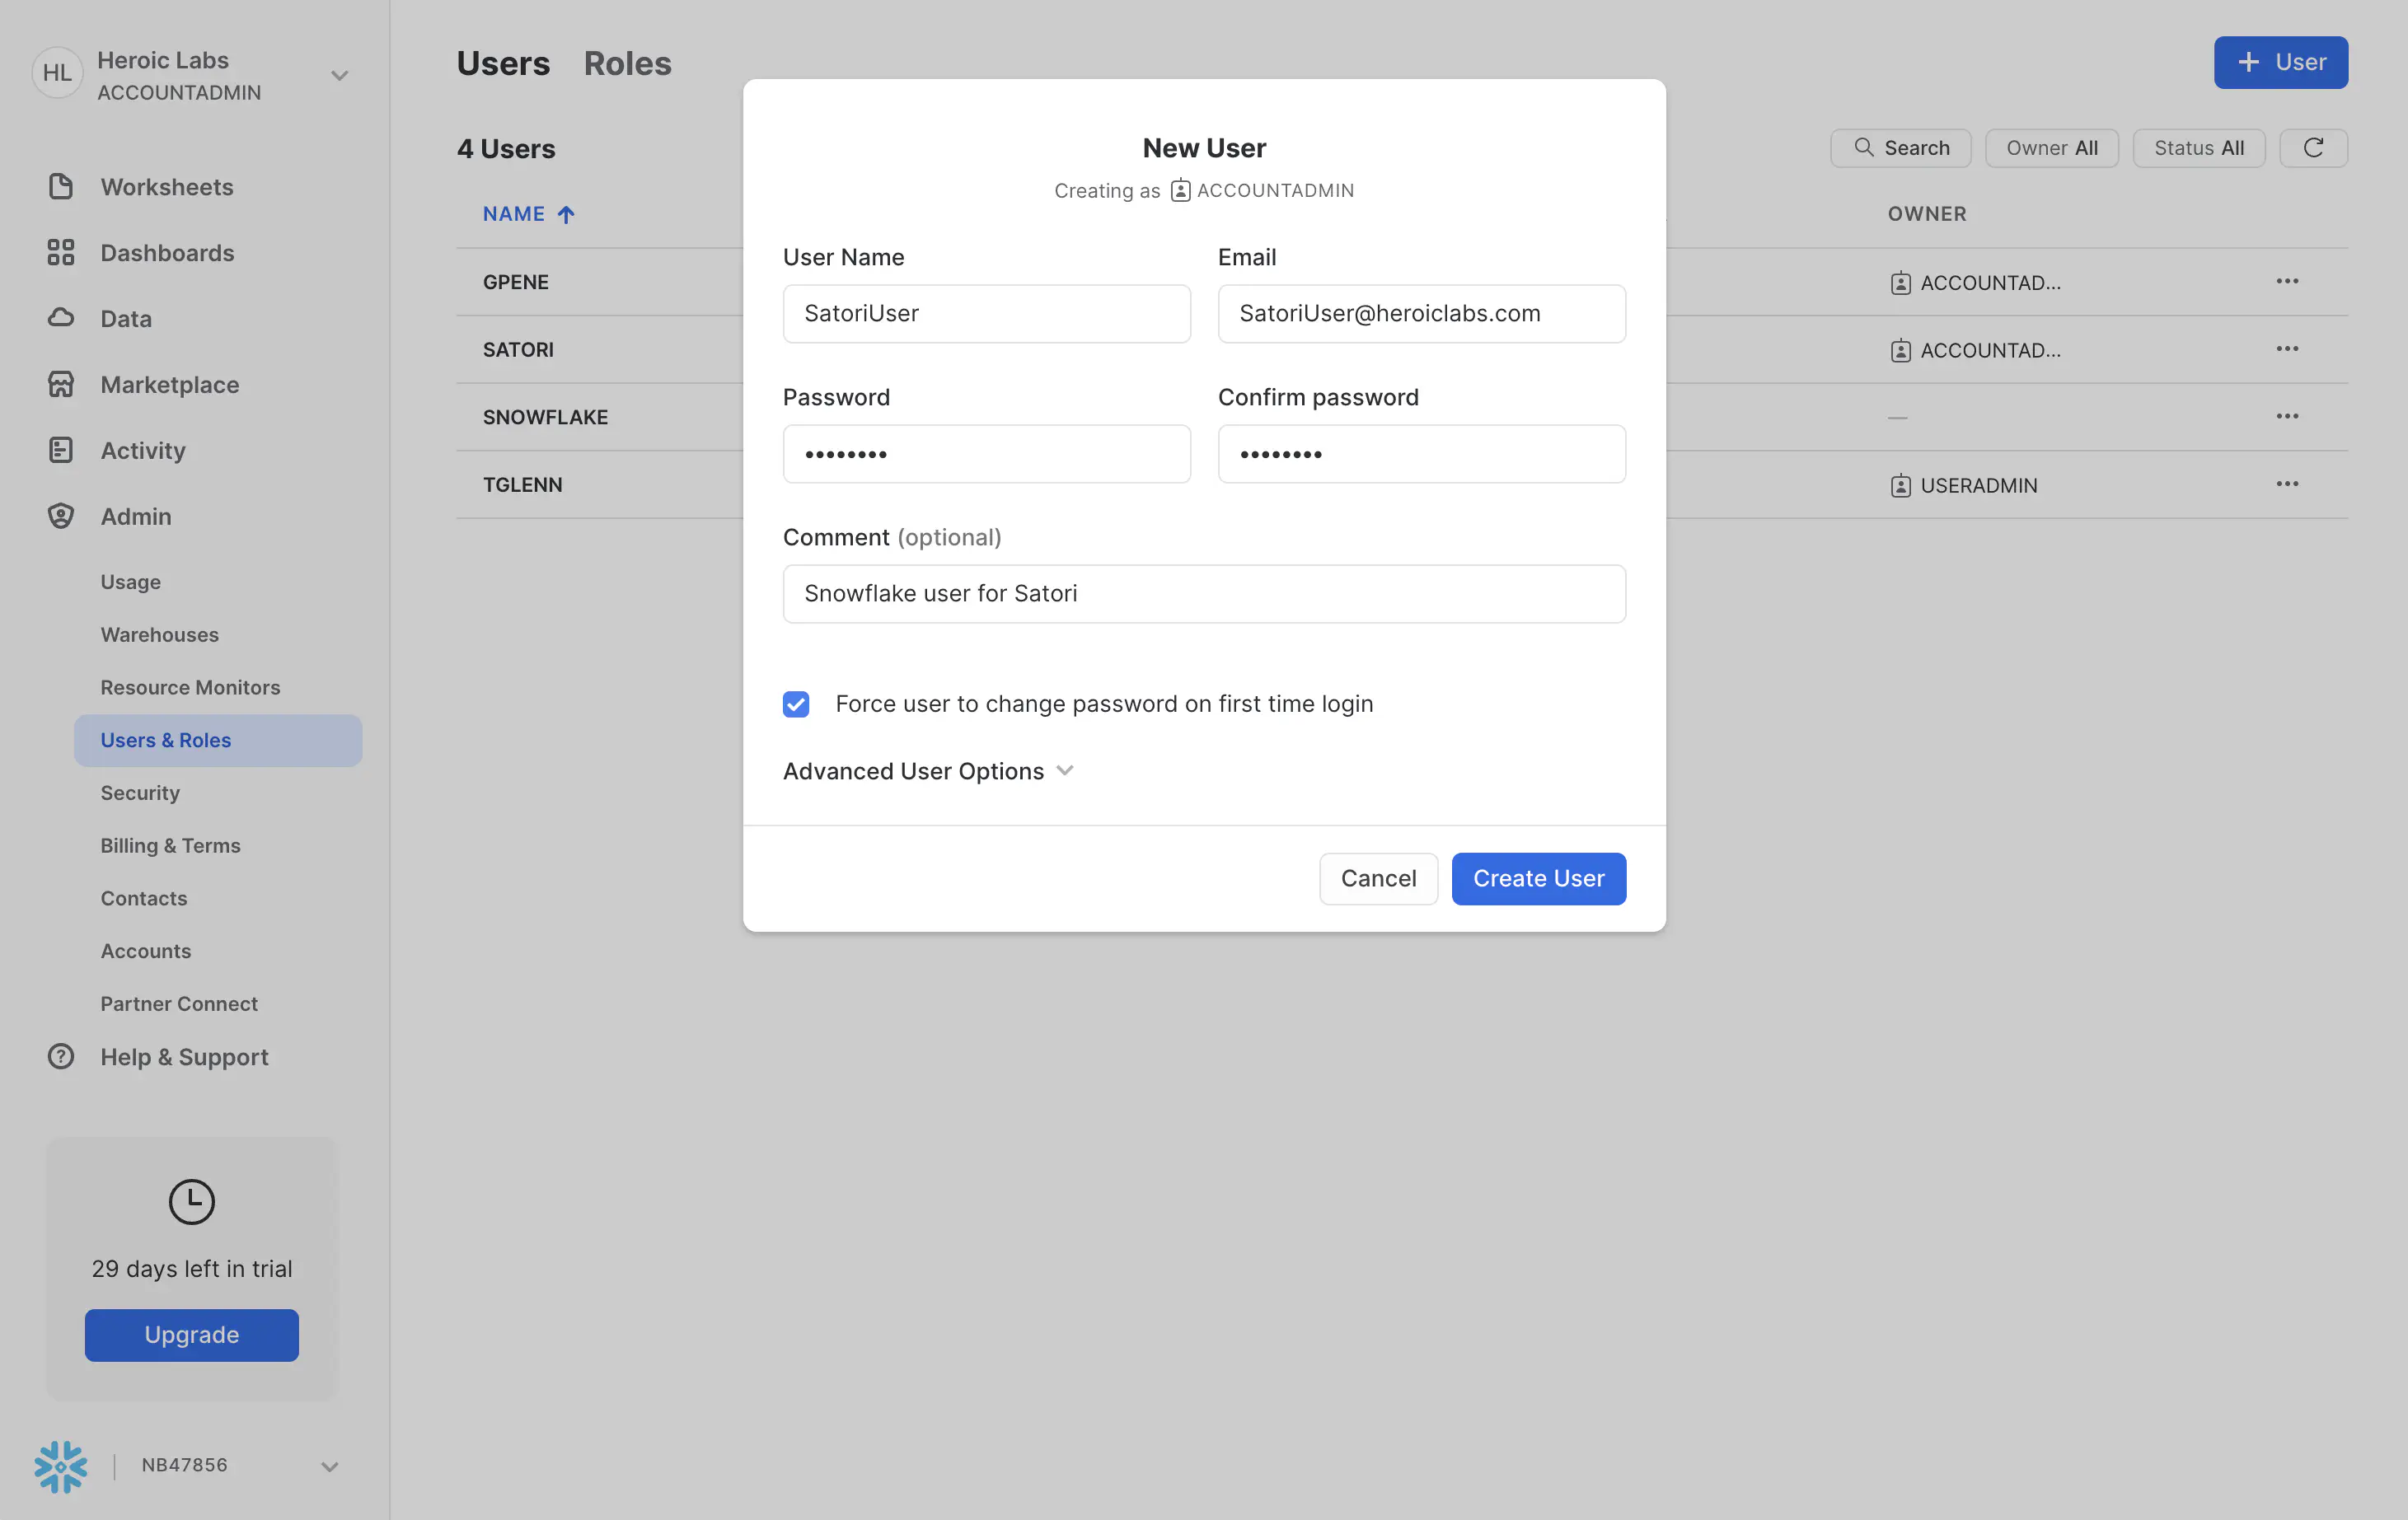
- Click Create User to confirm the changes.
Create a role #
To create a role for Satori, navigate to your Snowflake instance dashboard and follow these steps:
- From the left-hand navigation menu, go to Admin > Users & Roles and select the Roles tab:
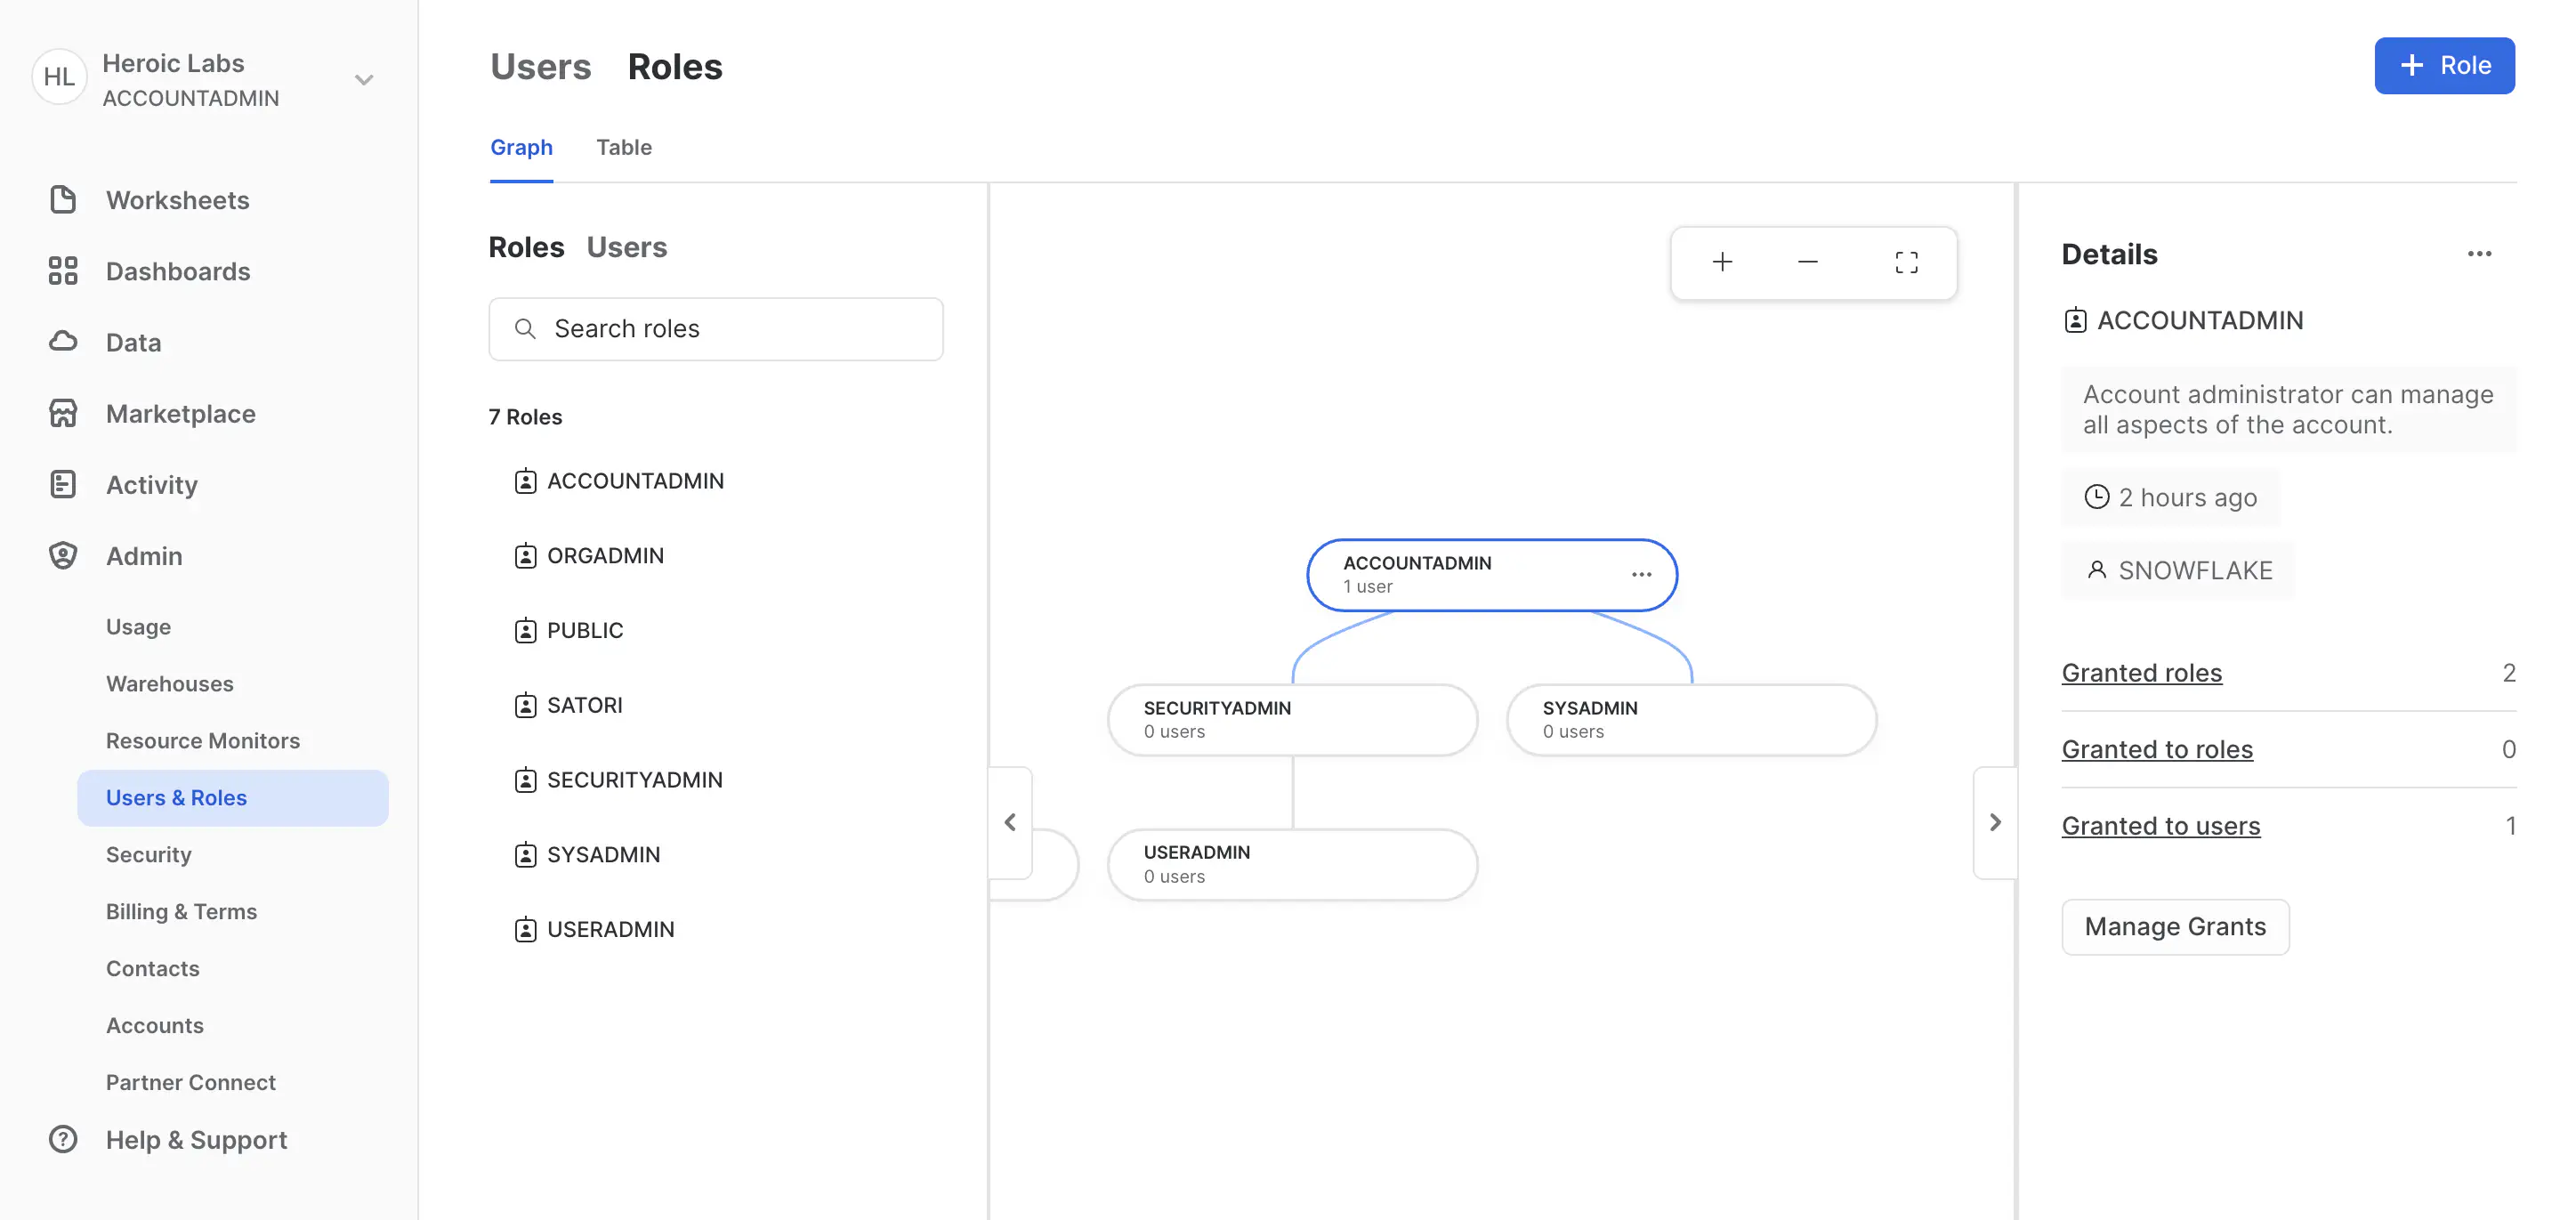
- Click + Role and in the displayed modal enter the name for your new role,
Satoriin this example:
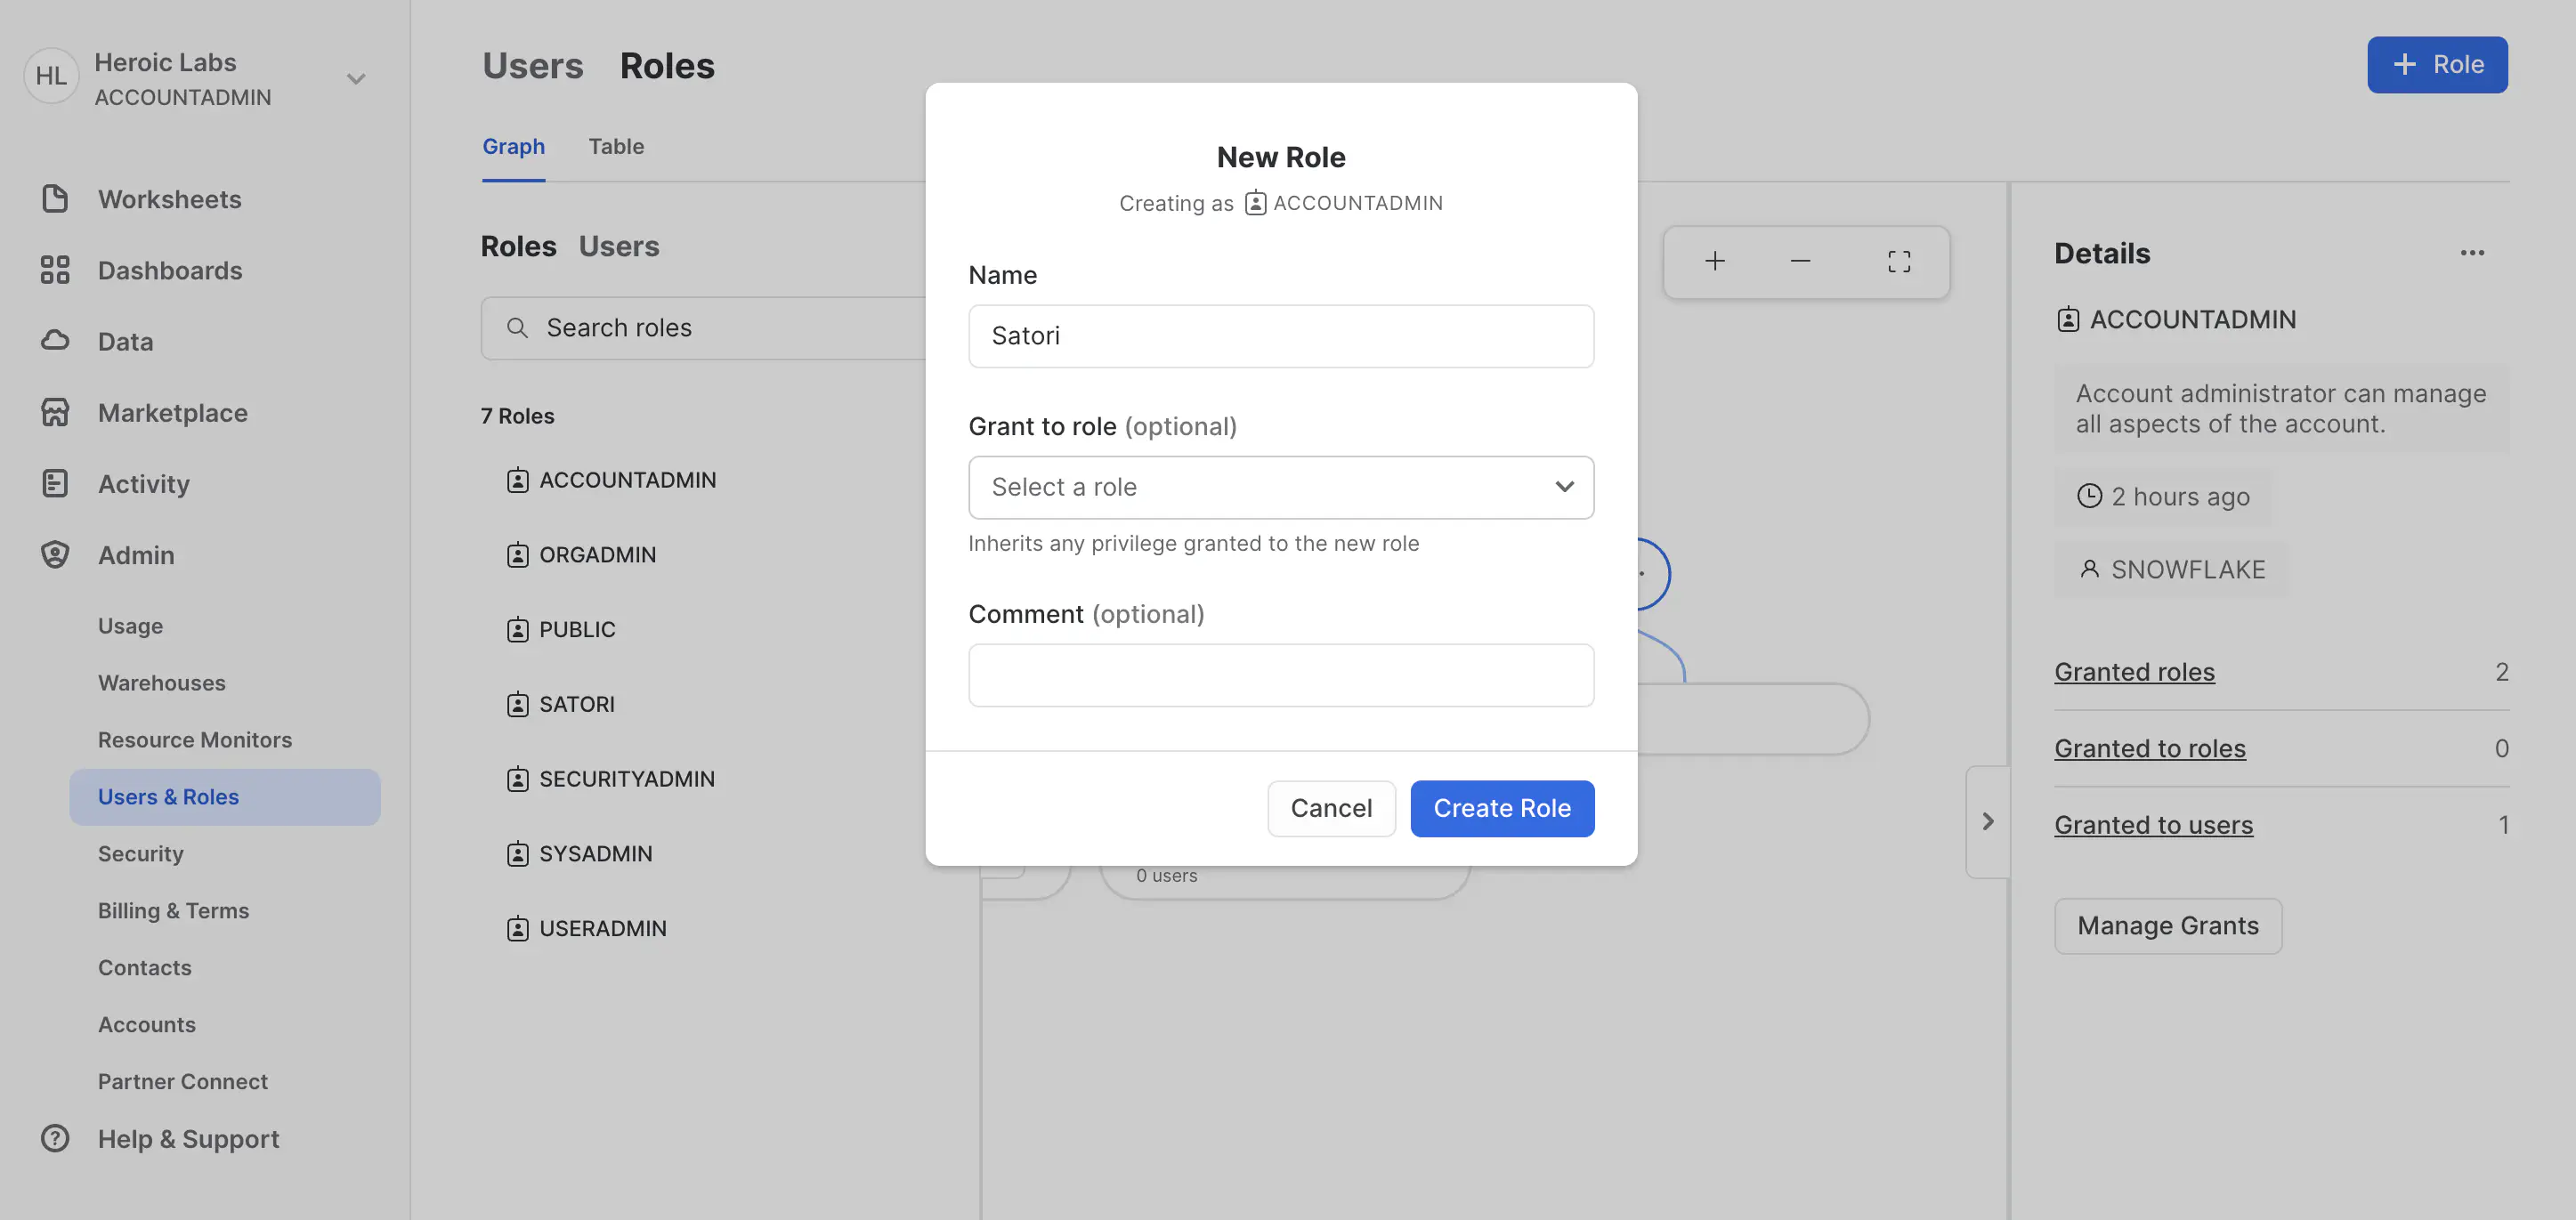
- Click Create to confirm the changes.
Grant permissions #
To grant the appropriate permissions to the Satori user and role, follow these steps:
- Login via SnowSQL using the
ACCOUNTADMINuser:
| |
You are prompted for your sudo password and then your Snowflake password.
- Use the
ACCOUNTADMINrole:
| |
- Grant the role created above to the Satori user created above:
| |
- Grant the following database and schema permissions to the Satori role:
| |
- Grant the following table permissions to the Satori role:
| |
- Grant the following warehouse permissions to the Satori role:
| |
- Grant the following database usage permissions to the Satori role:
| |
- From the Snowflake UI, navigate to Admin > Users & Roles > Users. For the
SATORIUSER, use the options menu and select Edit:
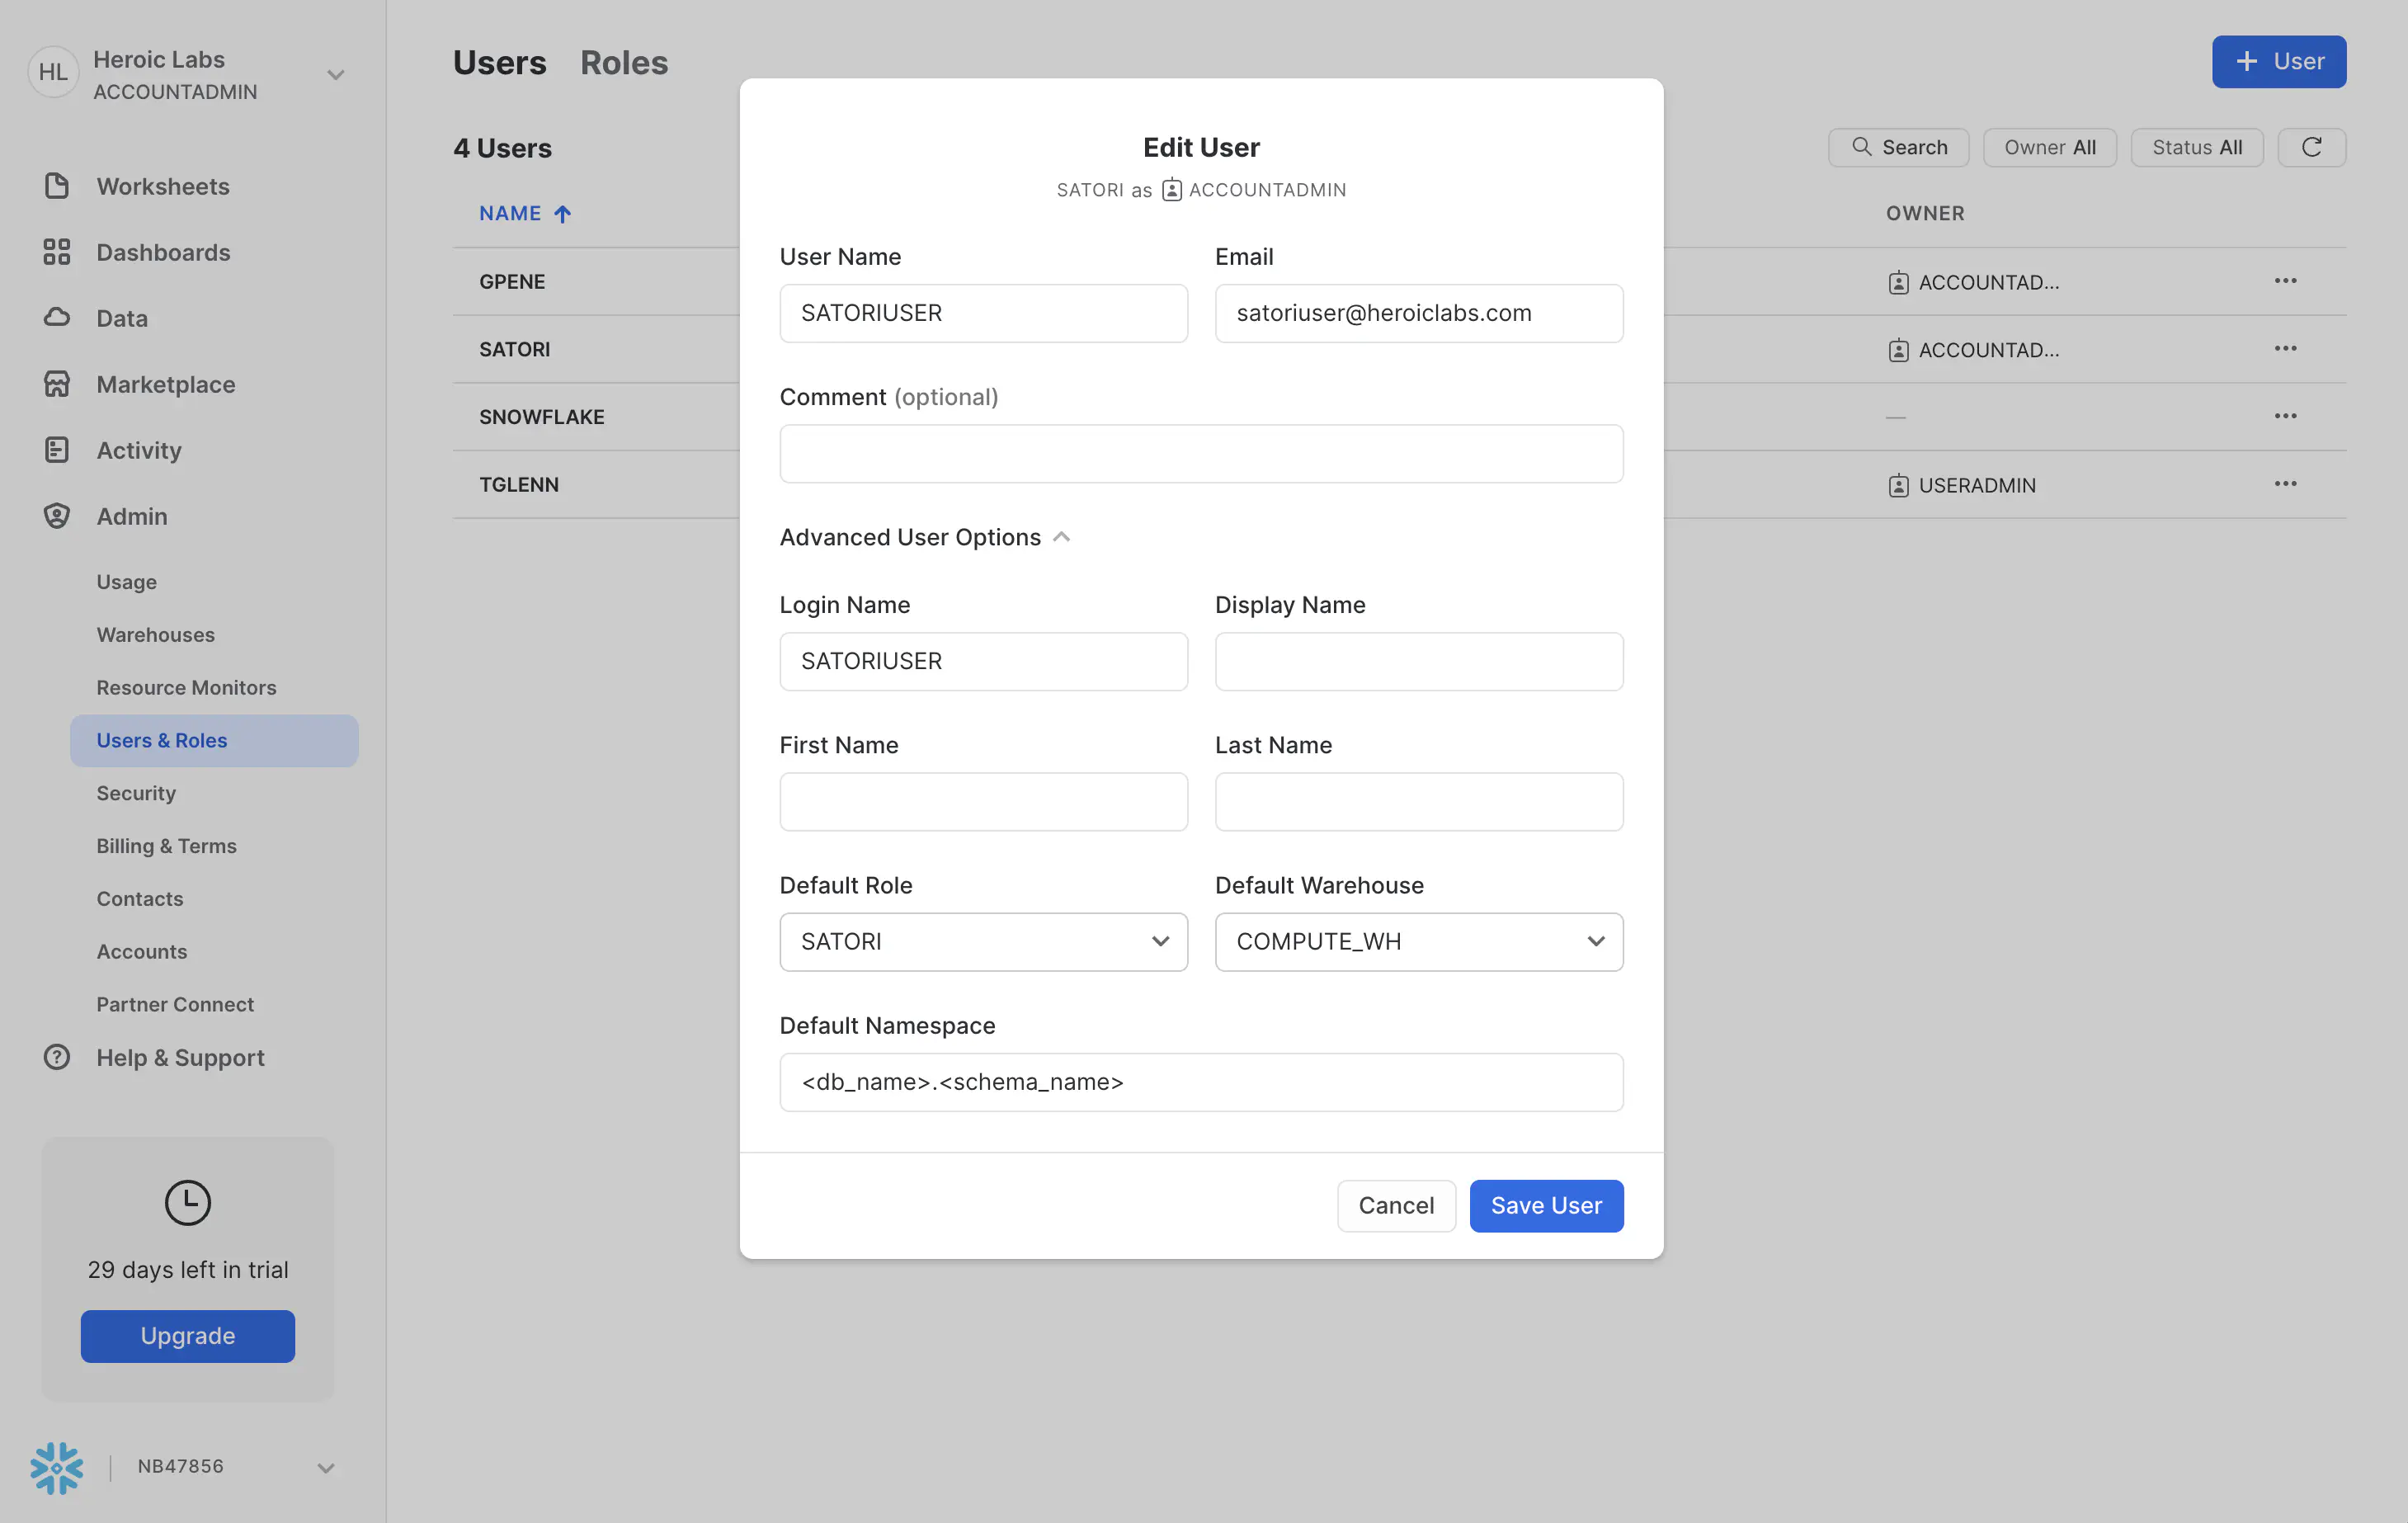
In the displayed modal, set the Default Role to
SATORIand the Default Warehouse toCOMPUTE_WH.- Optionally, the warehouse may be specified as a query paramenter in the connection string.
Click Save User to confirm the changes.
Configure Snowflake in Satori #
From the Satori dashboard, navigate to Data Lakes > Snowflake:
Enter the corresponding details:
- Table Name: The name of the table to which data will be sent,
SATORIin this example. - Snowflake URL: The URL of your Snowflake instance in the format
user:password@<snowflakeAccount>/$DB_NAME/$SCHEMA?warehouse=$WAREHOUSE. For example,satoriuser:password@<snowflakeAccount>/SATORIDB/PUBLIC?warehouse=COMPUTE_WH.- Snowflake query parameters can optionally be provided as well.
- Table Name: The name of the table to which data will be sent,
Click Save to save the configuration.
The Snowflake connection is now configured and will be tested by inserting a dummy event into the specified table. If the test is successful, the connection status will be displayed as Active.
