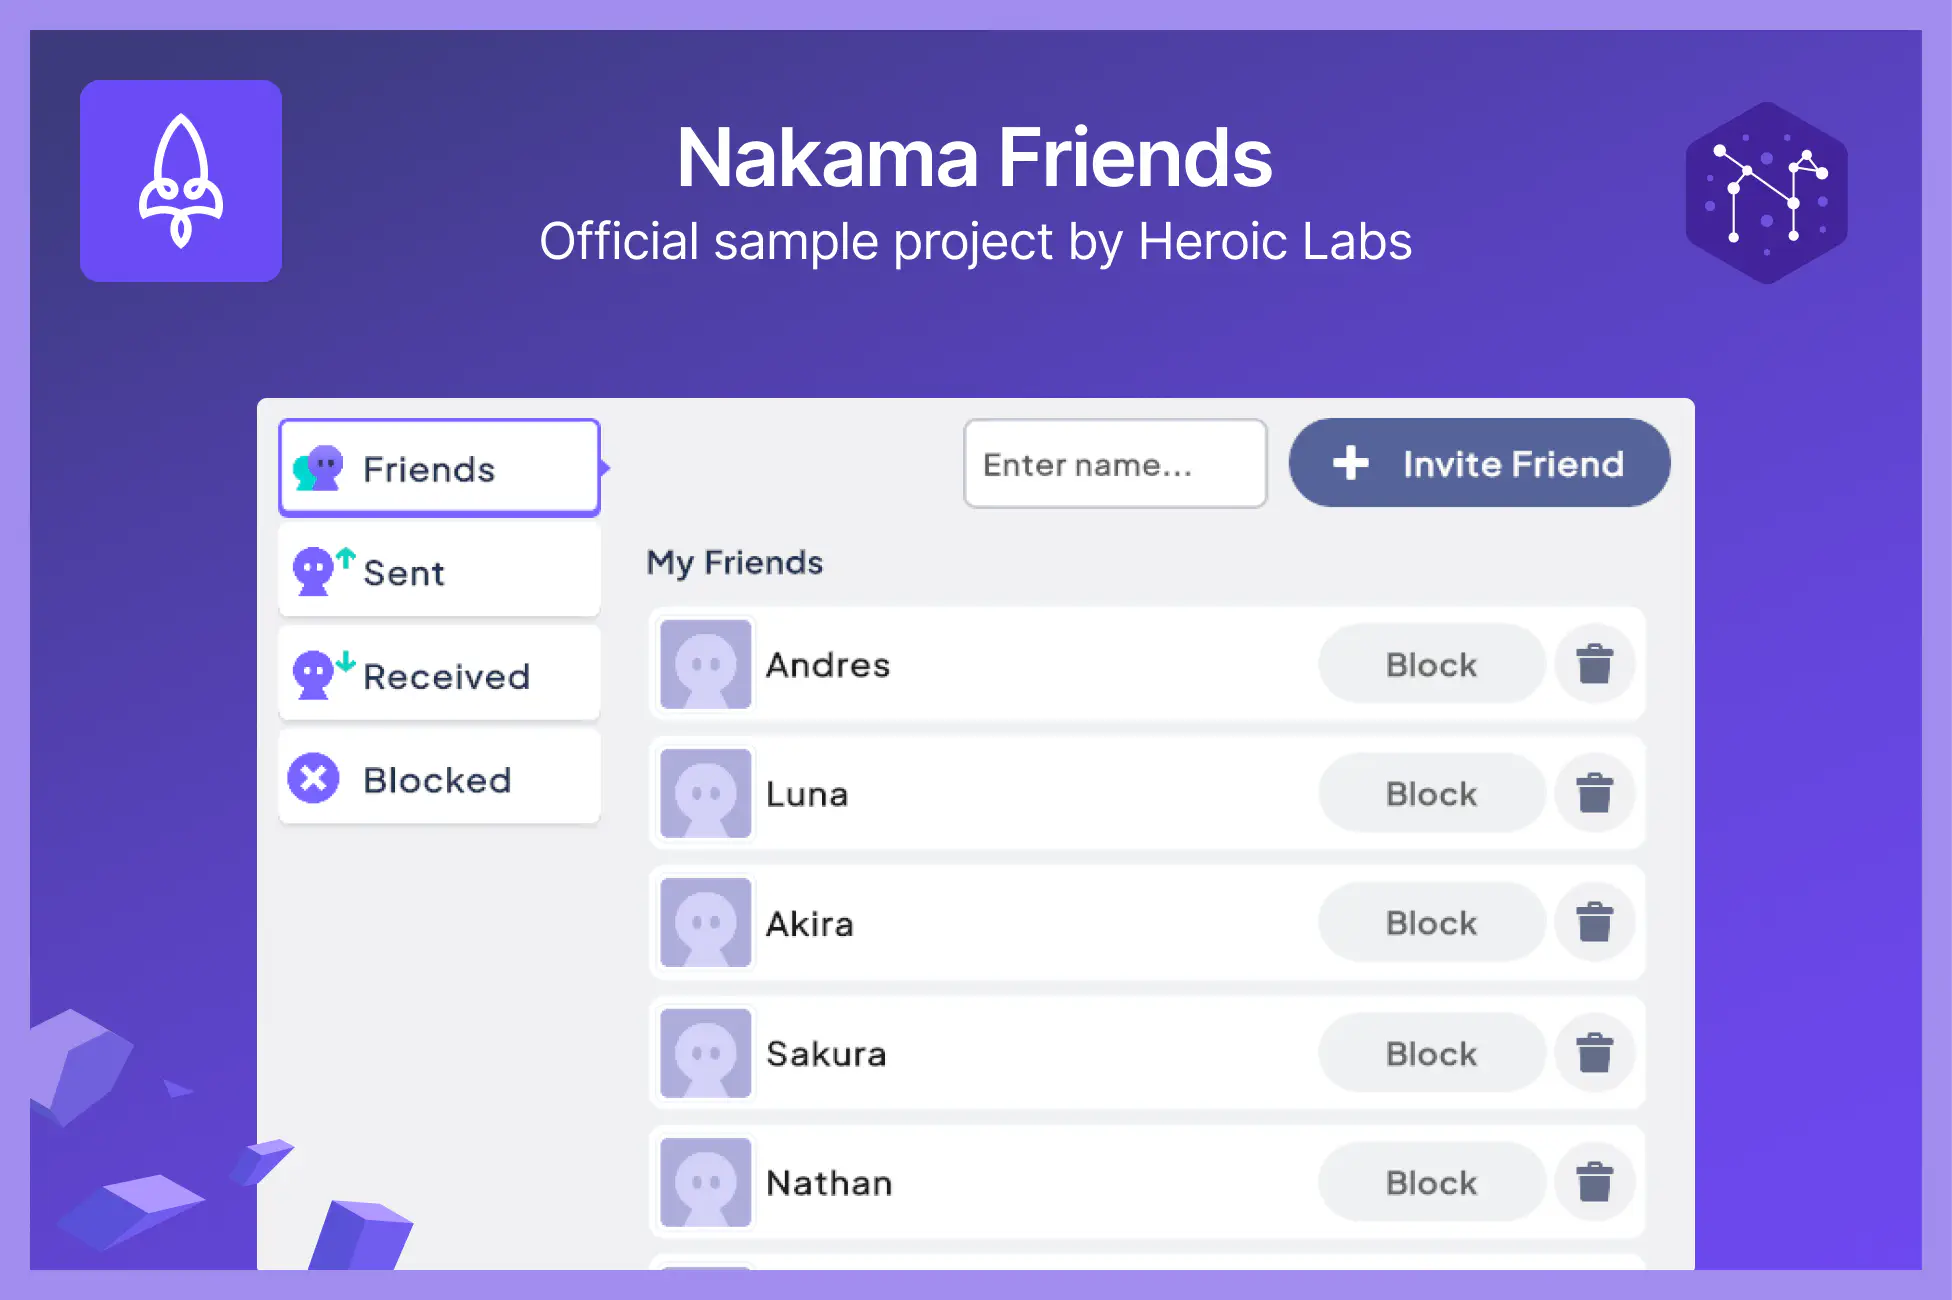
Nakama Friends Sample Project
The official sample project for the Nakama Friends system. Built with minimal boilerplate so you can easily copy the code into your project and adapt the scripts and UI to suit your game.
Features
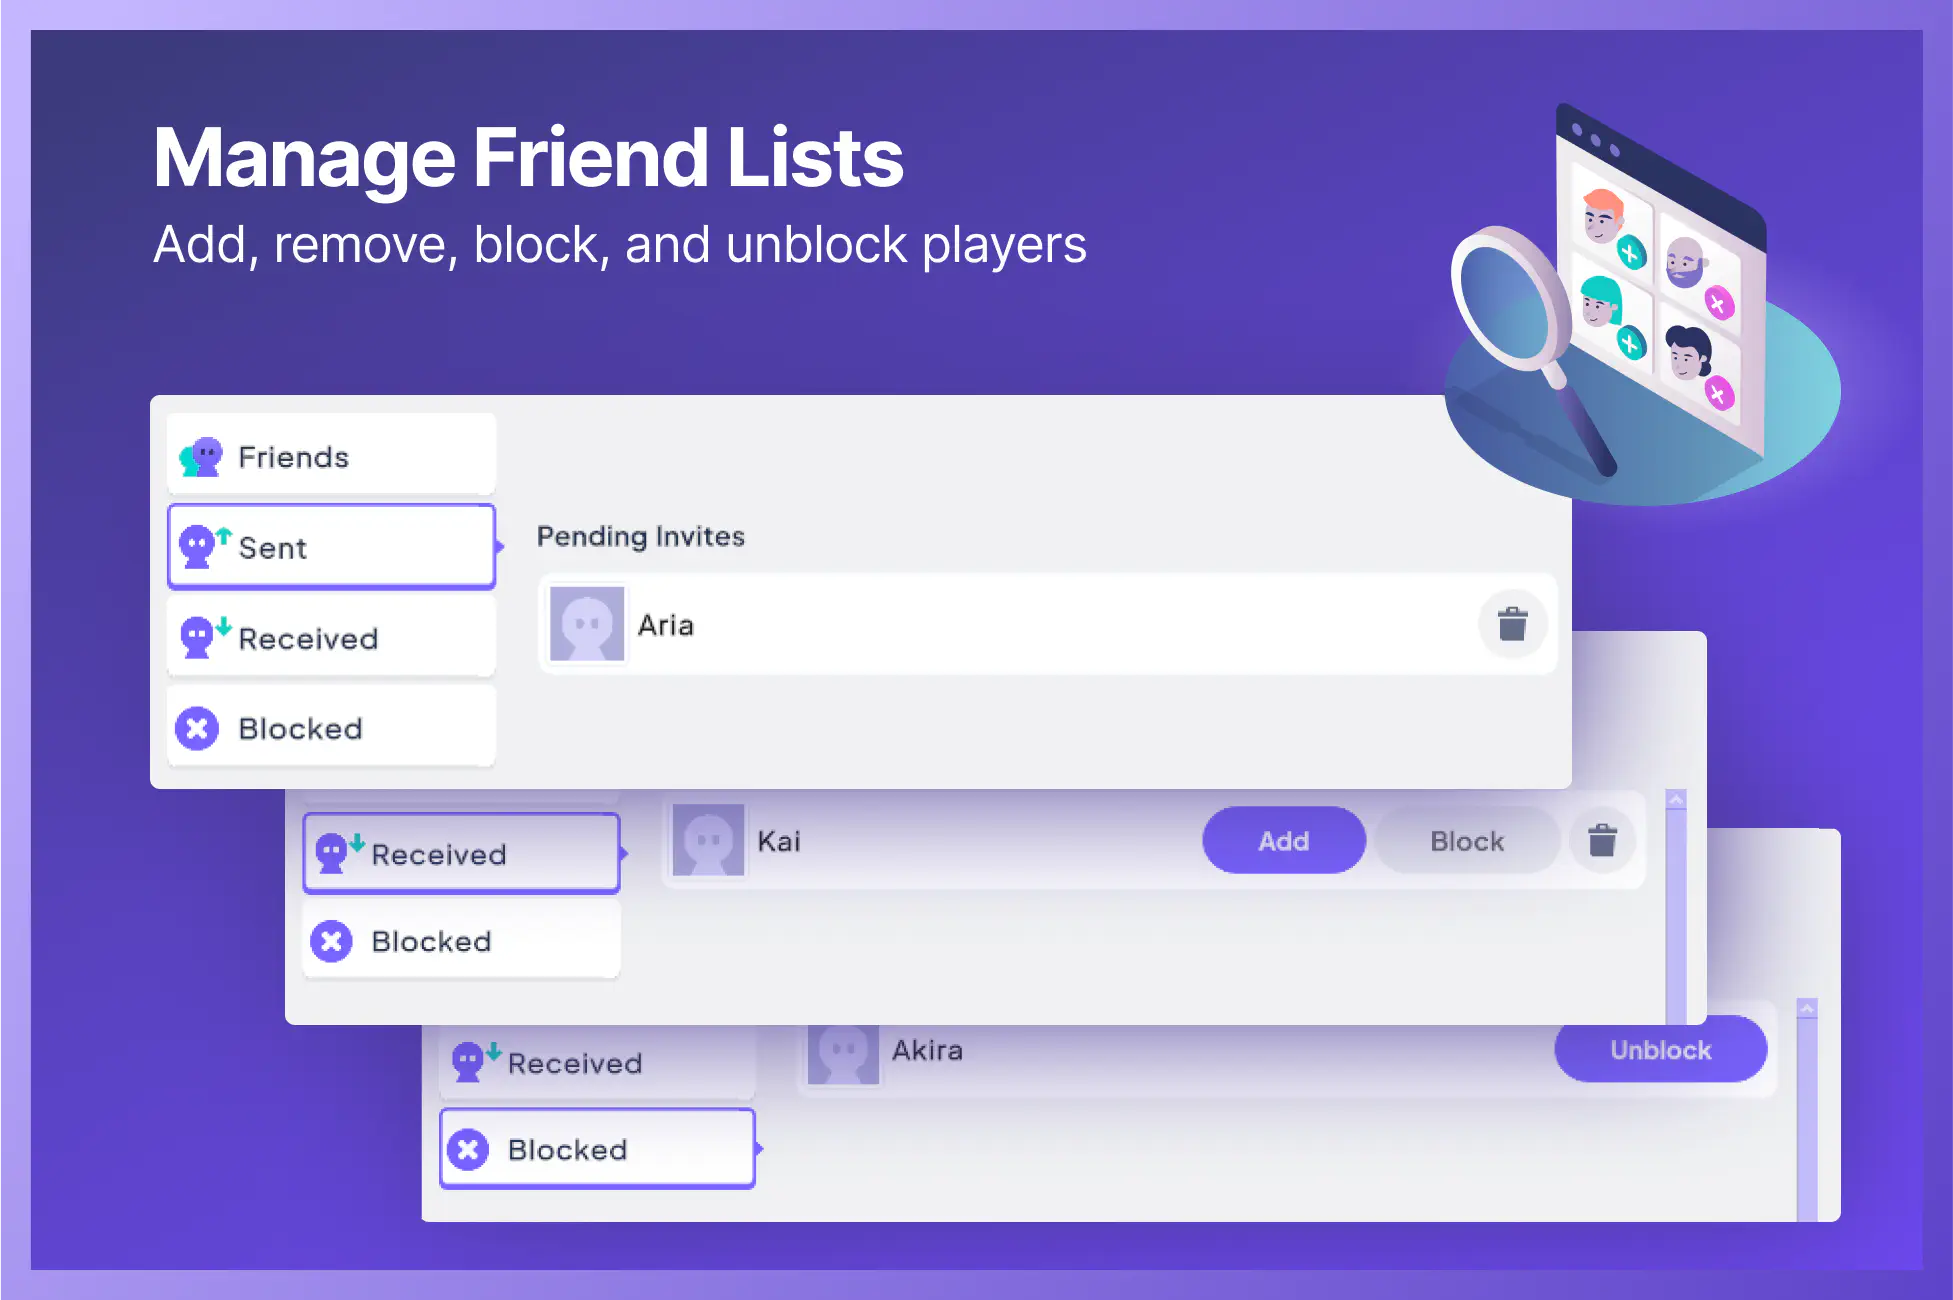
- View and manage friends lists across multiple states (current friends, pending requests, sent invites, blocked users).
- Send, accept, and decline friend requests.
- Block and unblock players.
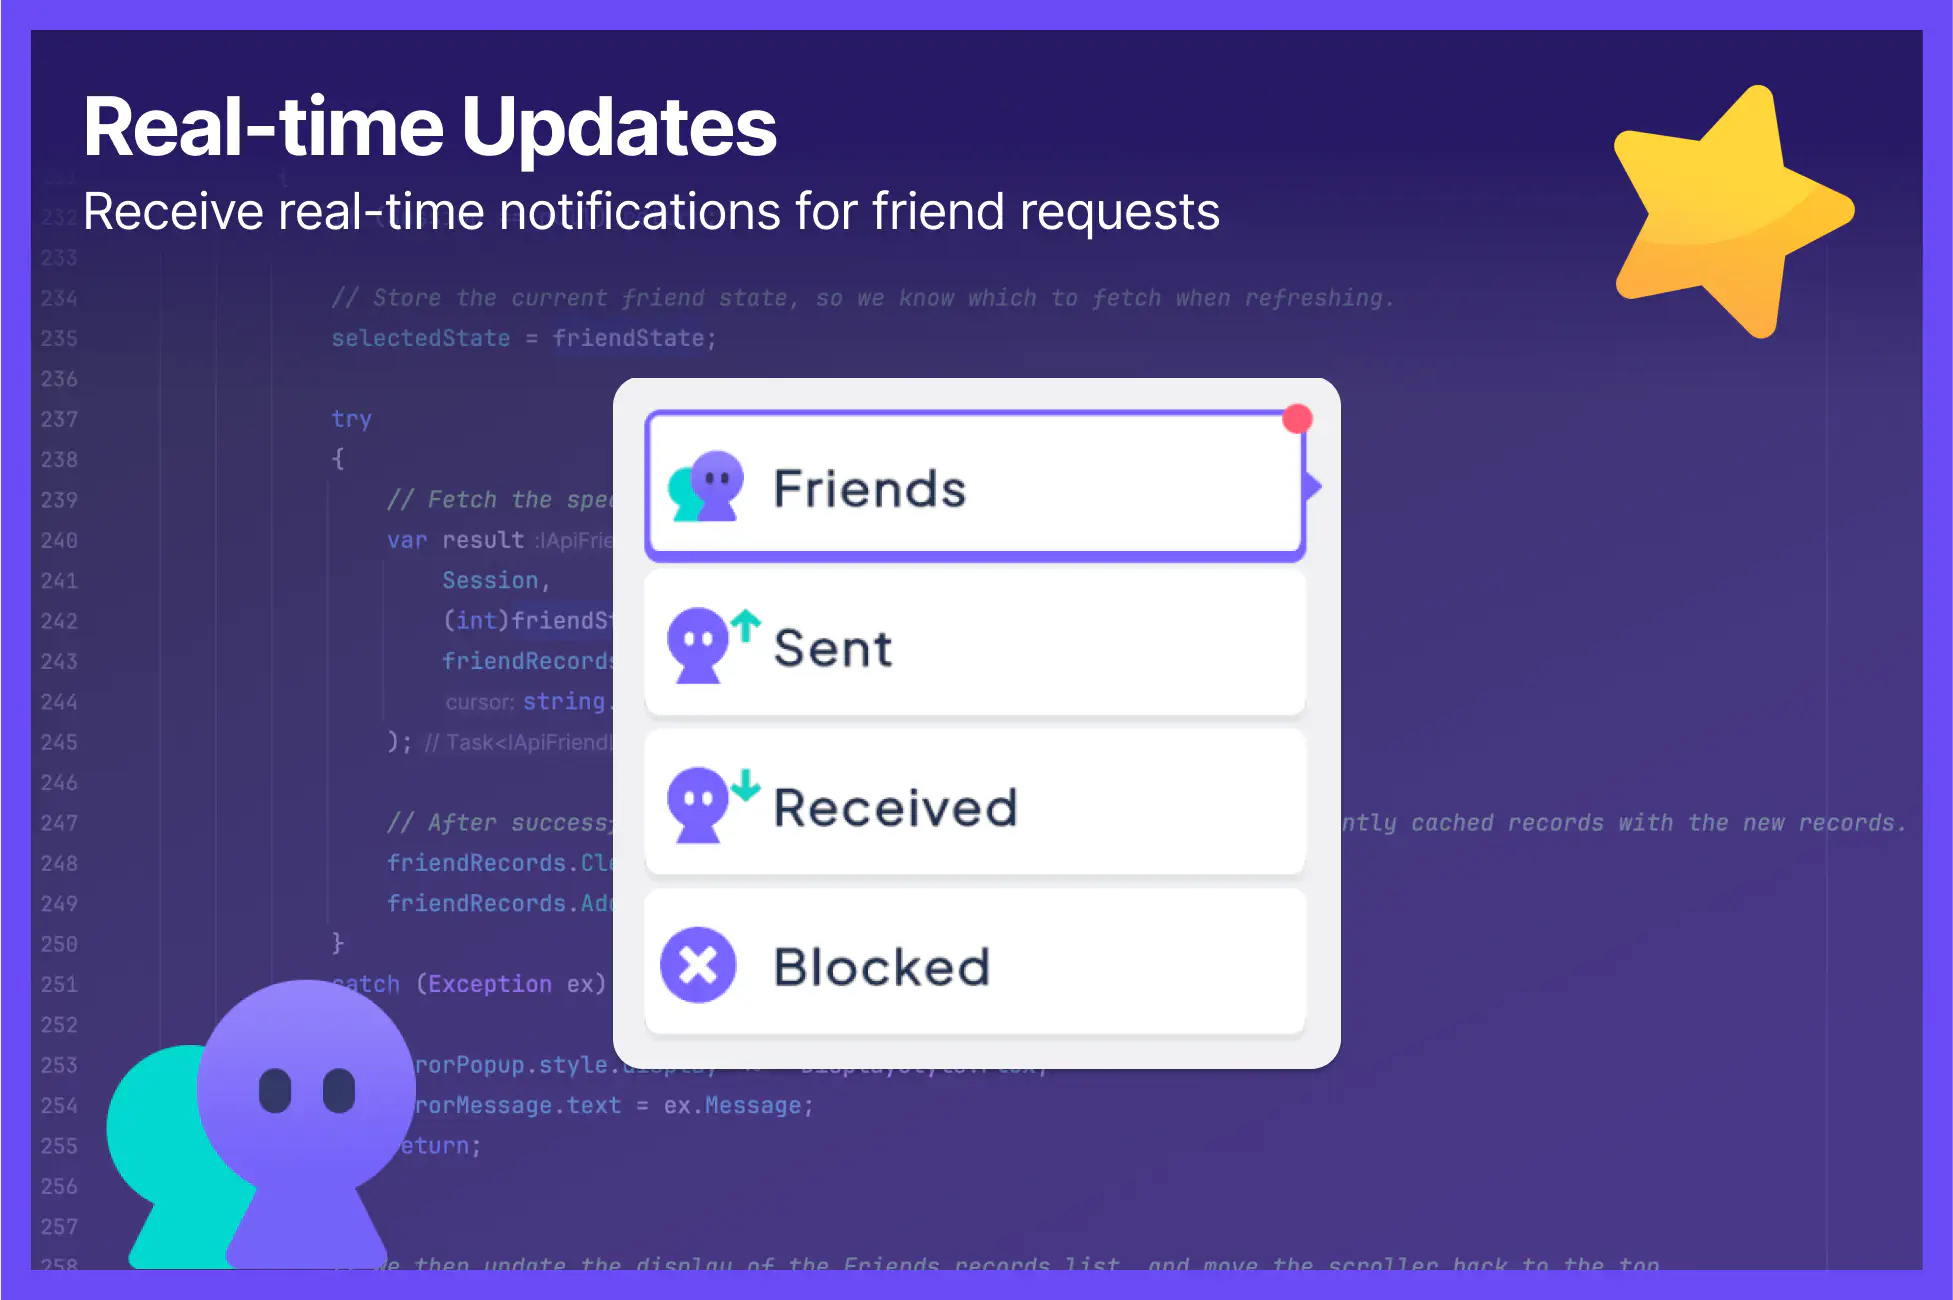
- Real-time updates when friend requests are received or accepted.
- Built-in account switcher for quick multi-account testing.
Installation
The installation steps and resulting folder structure will vary depending on if you downloaded the project from Github or the Unity Asset Store.
For optimal display, set your game resolution in the Unity Editor to 1920x1080
- Clone or download the Sample Projects repository onto your machine.
- From the Unity Hub, click Add -> Add project from disk and choose the top-level UnityNakamaFriends folder.
- You may see several warnings about Editor version incompatibility. Feel free to ignore these messages as long as you're on Unity 6 or greater. Continue on until you arrive at the main Editor UI.
- Open the main scene by navigating to Assets -> UnityNakamaFriends -> Scenes -> Main.
- Hit Play.
The project connects to our demo server so you can see the features in action immediately.
Note: The server is reset on the 1st of every month at 00:00 UTC.
Folder structure
Assets/
├── UnityNakamaFriends/
    ├── HeroicUI/           # UI assets and styling
    ├── Scripts/            # Main project code
    ├── UI/                 # UI Builder files
    └── ...                 # Everything else
├── Packages/               # Contains the Nakama Unity package
Code overview #
Main controller (NakamaFriendsController.cs)
#
Handles all core operations including calling the Nakama Friends API.
Authentication
| |
Friends operations
| |
Friend states
The system supports four different friend states:
| |
Real-time notifications
| |
Record view (FriendsRecordView.cs)
#
A class that displays individual friend entries with different actions based on friend state:
| |
Account Switcher
The Account Switcher lets you explore the project as different users without managing multiple builds. It’s useful for testing friend requests between different accounts.
How to use:
- Open the Account Switcher panel (Tools > Nakama > Account Switcher).
- Select different accounts from the dropdown to switch between up to four test users.
- Each account is automatically created the first time you select it.
Key points:
- Only works while your game is running in Play mode.
- Usernames will display in the panel after switching to an account for the first time.
Setting up your own Nakama server
While this project works with our demo server, you'll want to set up your own Nakama instance to customize the features and configurations. Using Docker, you can get up and running in minutes.
Read the full setup guide: Nakama Installation Docs
Connect this Unity project to your server
After installing Nakama and running it locally, connect the Unity project to your local server:
- Select the main controller component from the scene hierarchy panel.
- Open the Inspector tab.
- Under Nakama Settings, check the box labeled Local Host.
By default, the local server connection uses the following settings:
- Scheme:
http - Host:
127.0.0.1 - Port:
7350 - Server Key:
defaultkey
If you are running a custom server configuration, you can edit these fields as needed.
Additional resources
