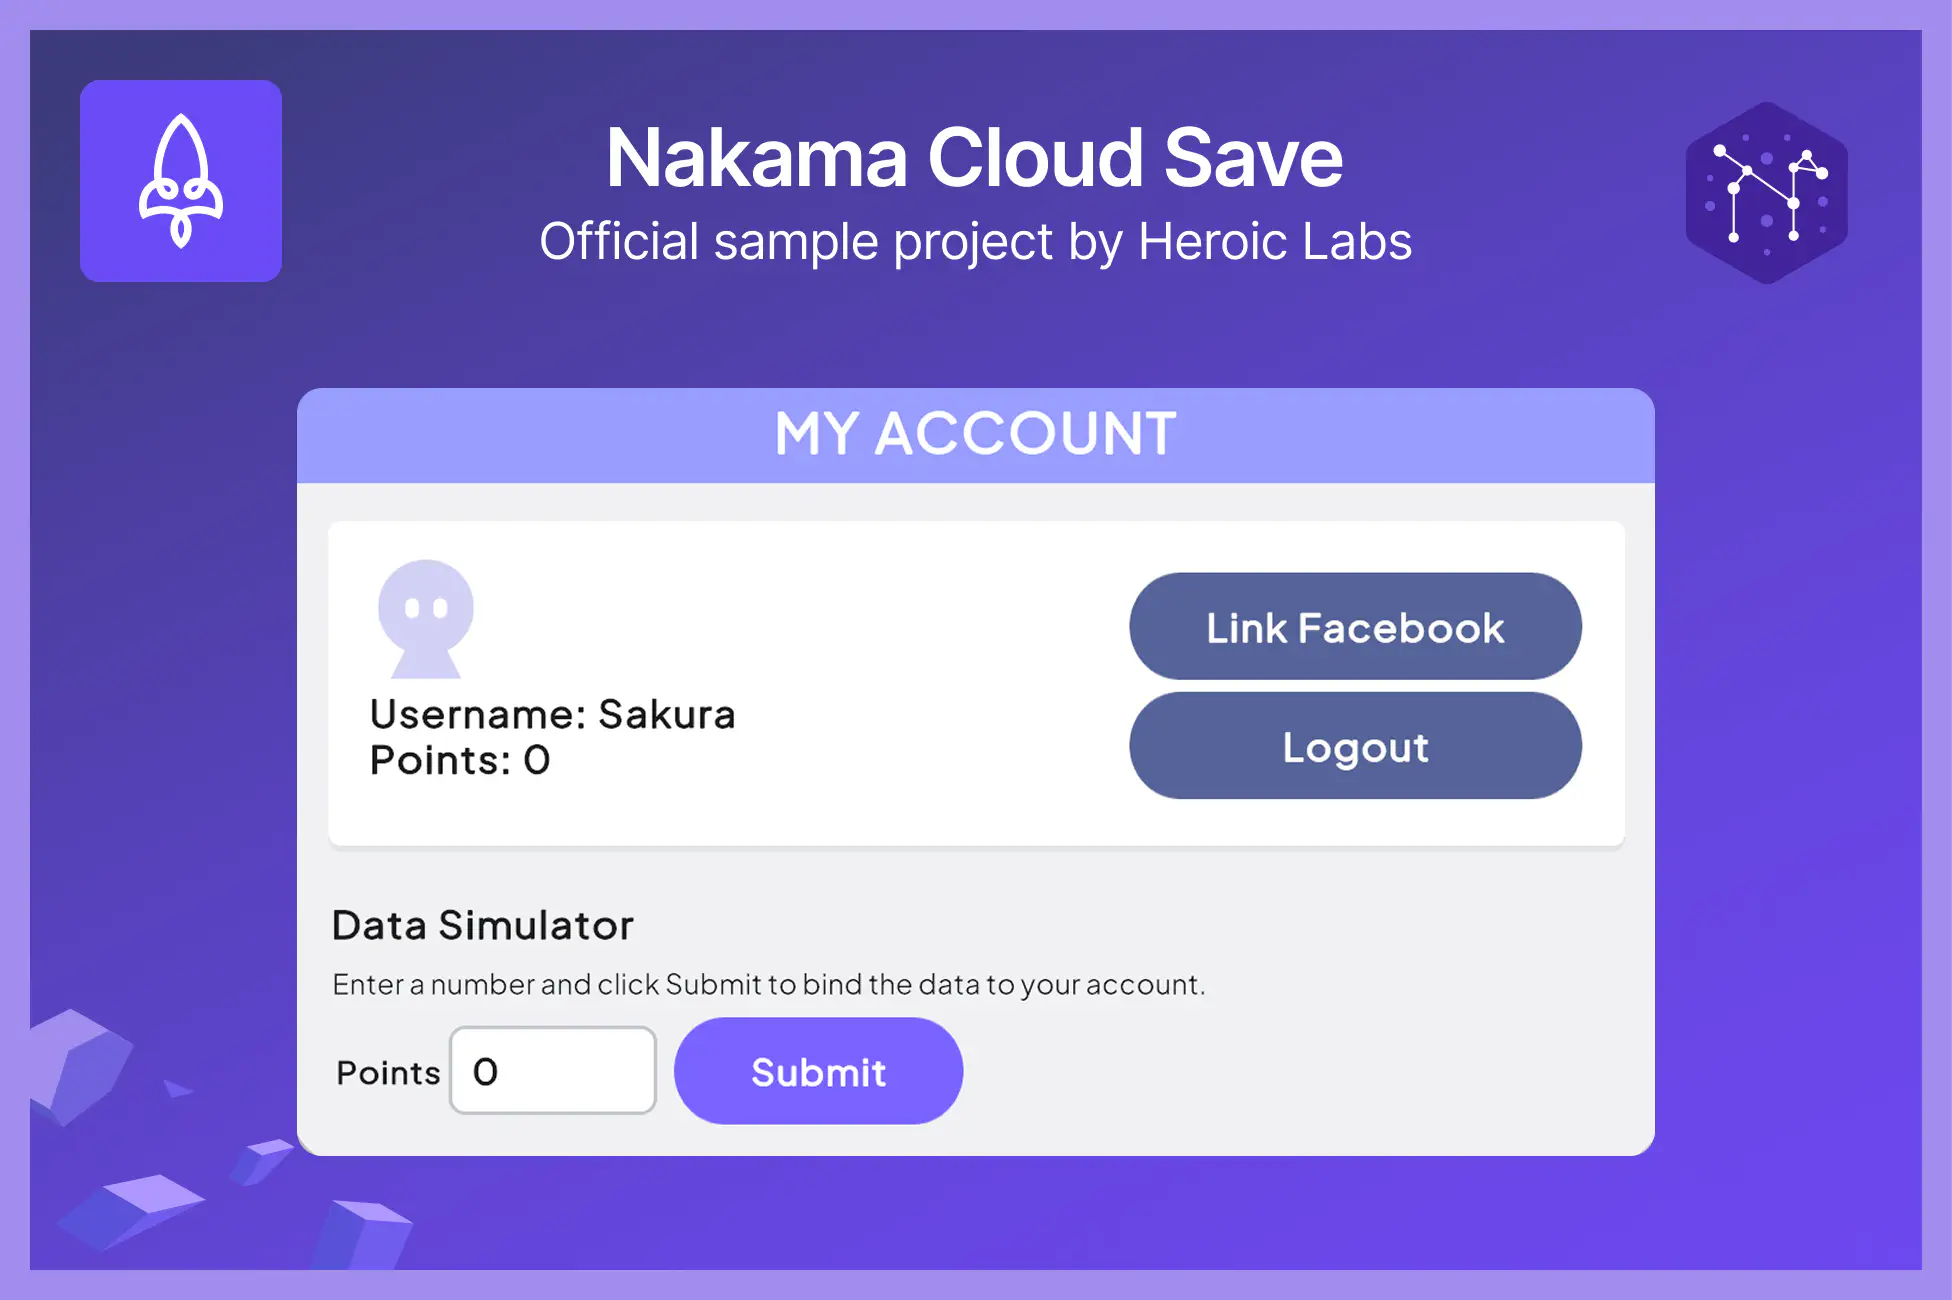
Nakama Cloud Save Sample Project
The official sample project demonstrating Cloud Save functionality in Nakama. Built with minimal boilerplate so you can easily copy the code into your project and adapt the scripts and UI to suit your game.
Features
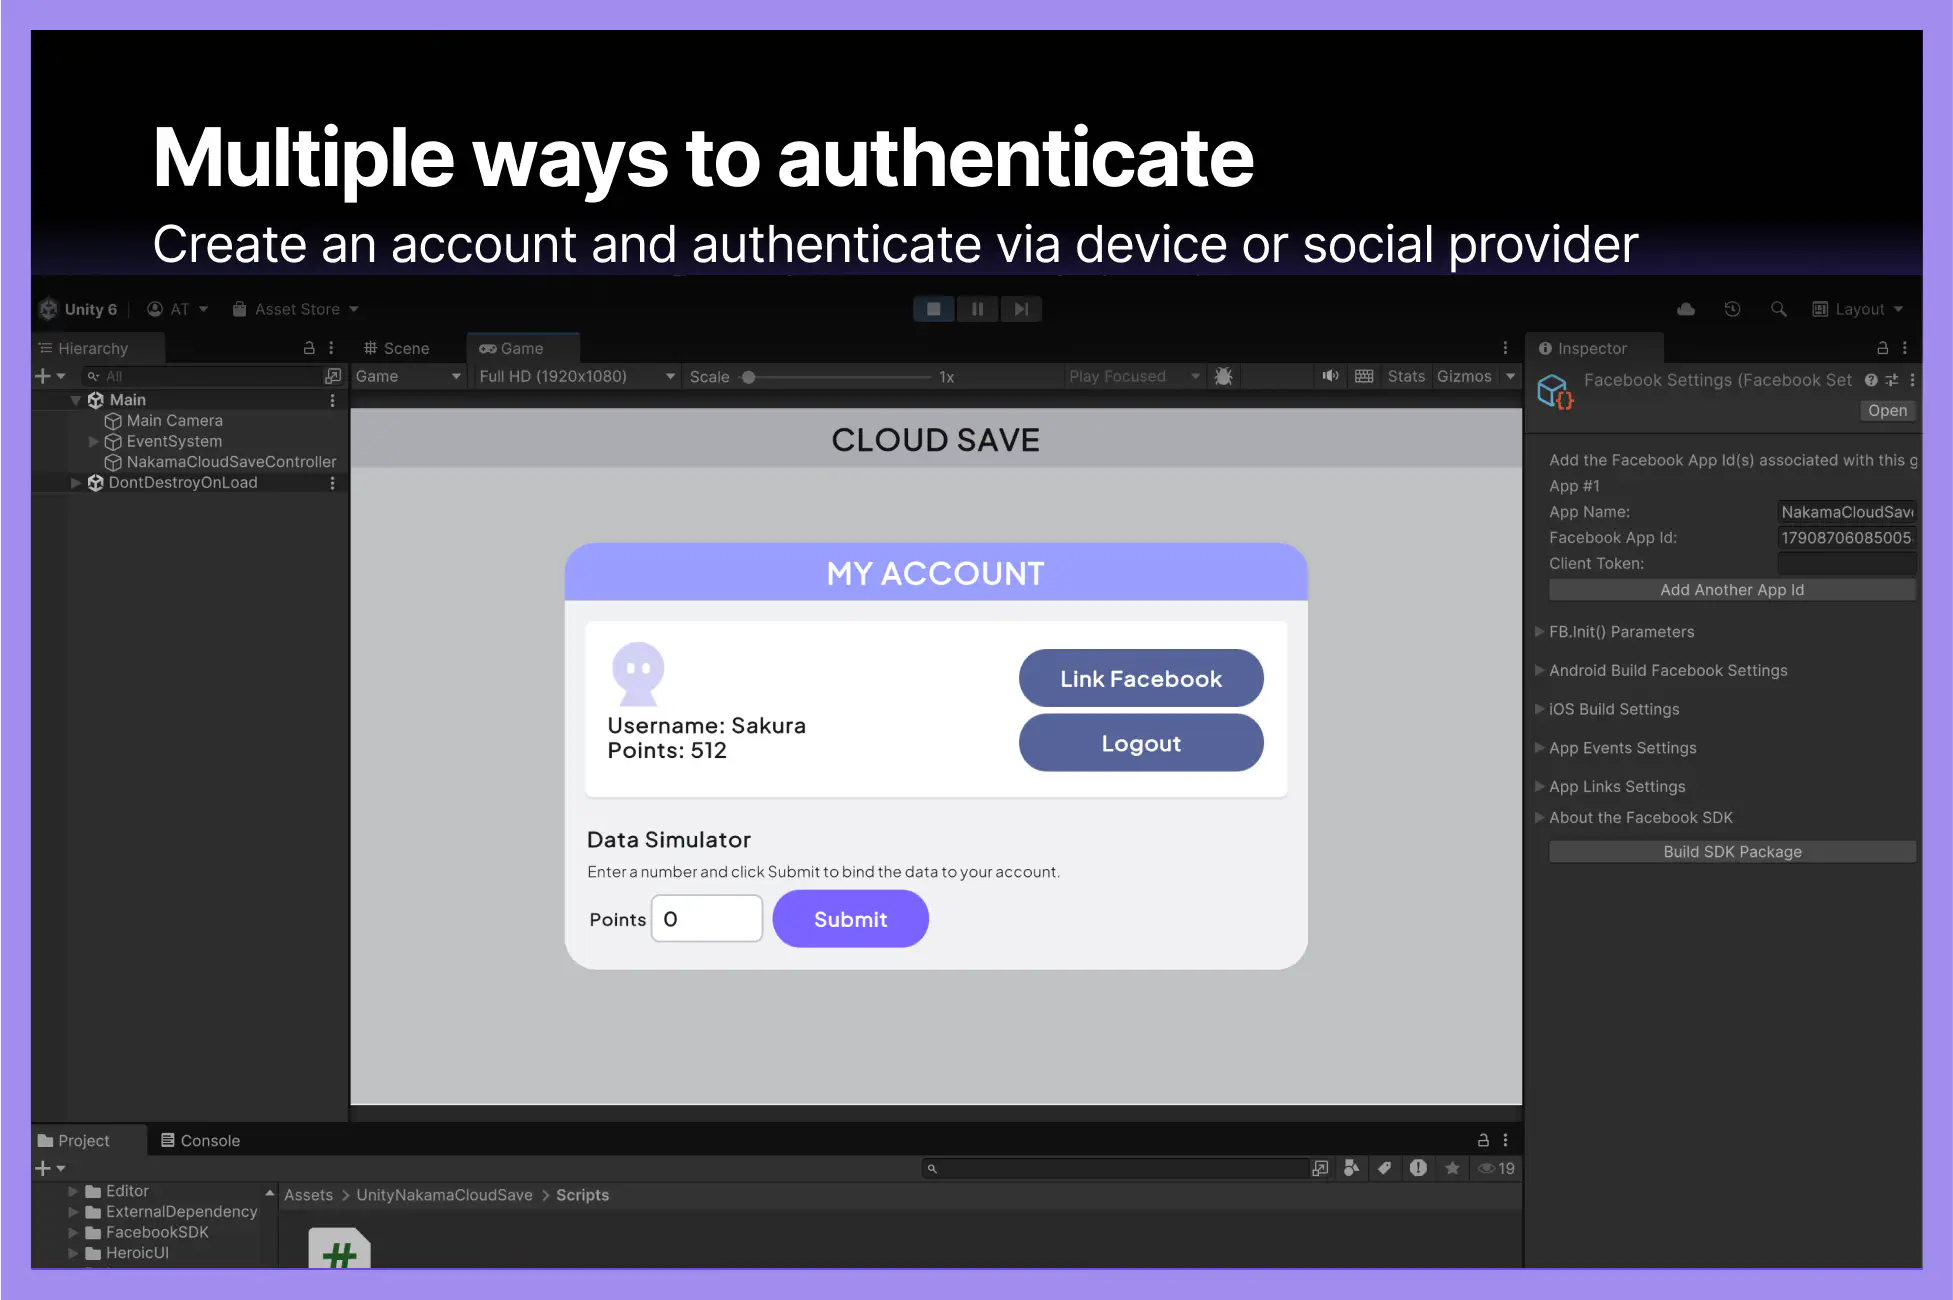
- Authenticate via your device or Facebook to create an account.
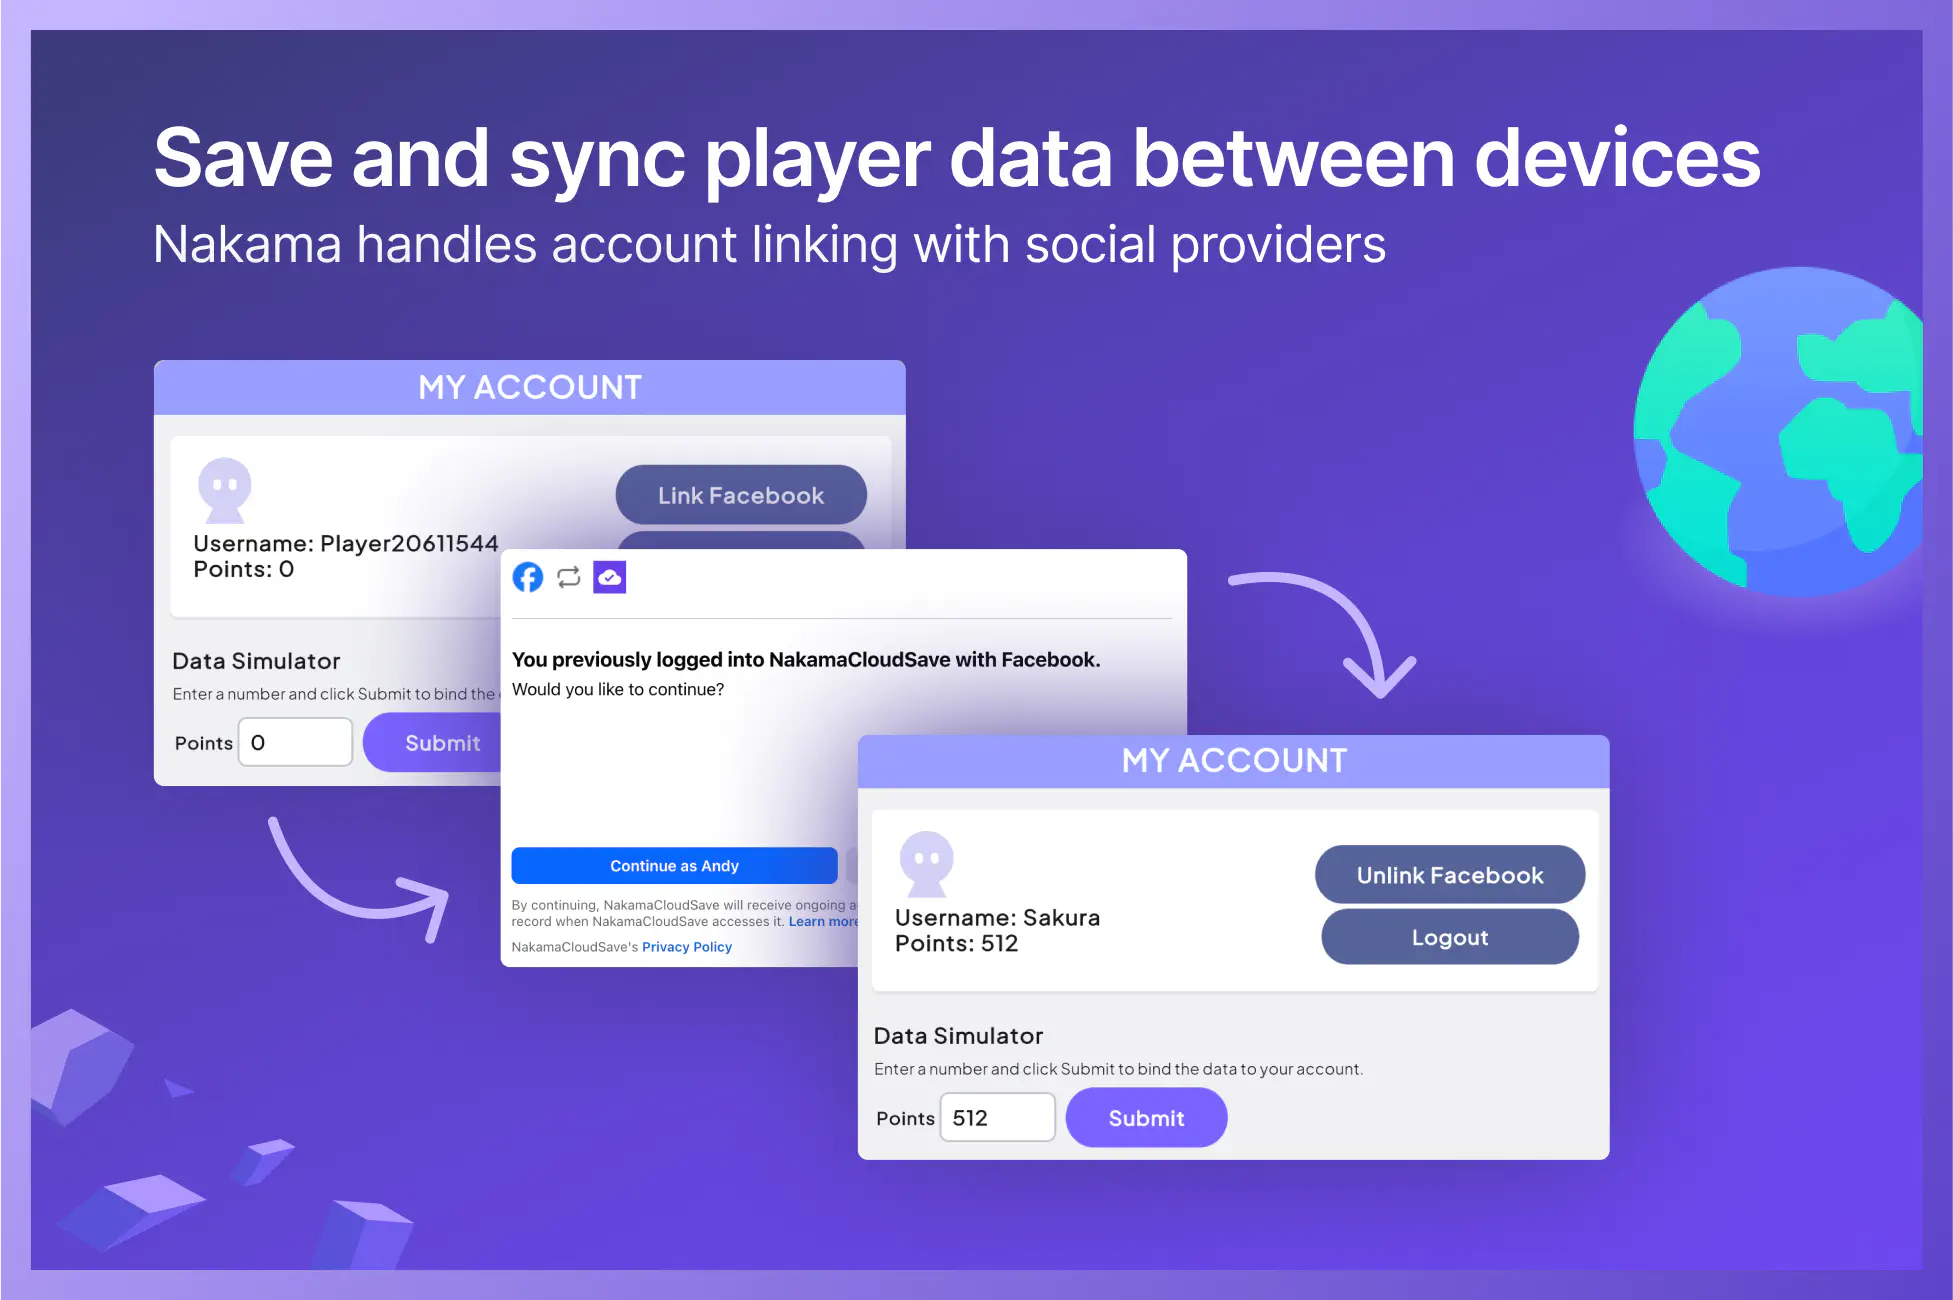
- Link an existing account to Facebook.
- Save account data to the cloud, which is synced between devices.
- Connect an existing social provider and fetch player data from the cloud.
Installation
The installation steps and resulting folder structure will vary depending on if you downloaded the project from Github or the Unity Asset Store.
For optimal display, set your game resolution in the Unity Editor to 1920x1080
- Clone or download the Sample Projects repository onto your machine.
- From the Unity Hub, click Add -> Add project from disk and choose the top-level UnityNakamaCloudSave folder.
- You may see several warnings about Editor version incompatibility. Feel free to ignore these messages as long as you're on Unity 6 or greater. Continue on until you arrive at the main Editor UI.
- Open the main scene by navigating to Assets -> UnityNakamaCloudSave -> Scenes -> Main.
- Hit Play.
The project connects to our demo server so you can see the features in action immediately.
Note: The server is reset on the 1st of every month at 00:00 UTC.
Folder structure
Assets/
├── UnityNakamaCloudSave/
    ├── HeroicUI/           # UI assets and styling
    ├── Scripts/            # Main project code
    ├── UI/                 # UI Builder files
    └── ...                 # Everything else
├── Packages/               # Contains the Nakama Unity package
Although Facebook is used in this sample project, other social providers are supported as well e.g., Google, Steam, Apple, and so on. You will need your own developer account in order to connect to these providers.
Setting up with Facebook #
In order to authenticate or link an account to Facebook, you’ll need your own Meta developer account and credentials. This project comes pre-loaded with the Facebook Unity SDK so you don’t need to download and install the package yourself.
- Register as a Meta developer if you haven’t done so already.
- Follow the steps in the Facebook Unity SDK guide to retrieve your Facebook App ID and Client token.
- In the Unity editor, select Facebook > Edit Settings and add your credentials to their respective fields.
You’ll need to Build and run the project in order to authenticate or link an account with Facebook, as requests to third-party services don’t work while running the project inside the Unity Editor.
See the Cloud Save feature in action #
- Click Sign in as Guest. The system creates a new player account using device authentication.
- Under Data Simulator, enter a number in Points and select Submit.
- Select Link Facebook to link this account to Facebook. Follow the prompts.
- Close the window and Build and run the project again.
- This time, select Sign in with Facebook.
The dialog displays the same points value you entered earlier. This is because Nakama recognizes your account and loads your saved data.
Code overview #
Main controller (NakamaCloudSaveController.cs)
#
Handles all core operations including authentication and cloud storage.
Authentication
Supports both device authentication and Facebook authentication:
| |
Cloud storage
| |
Account Switcher
The Account Switcher lets you explore the project as different players without managing multiple builds. Use it to test features from different accounts.
How to use:
- Open the Account Switcher panel (Tools > Nakama > Account Switcher).
- Select different accounts from the dropdown to switch between up to four test users.
- Each account is automatically created the first time you select it.
Key points:
- Only works while your game is running in Play mode.
- Usernames will display in the panel after switching to an account for the first time.
Setting up your own Nakama server
While this project works with our demo server, you'll want to set up your own Nakama instance to customize the features and configurations. Using Docker, you can get up and running in minutes.
Read the full setup guide: Nakama Installation Docs
Connect this Unity project to your server
After installing Nakama and running it locally, edit these settings in the Unity Editor to connect it to your server:
- Select the main controller component from the scene hierarchy panel.
- Open the Inspector tab.
- Look for the field inputs under Nakama Settings and replace them with the following:
- Scheme:
http - Host:
127.0.0.1 - Port:
7350 - Server Key:
defaultkey
- Scheme:
Additional resources


