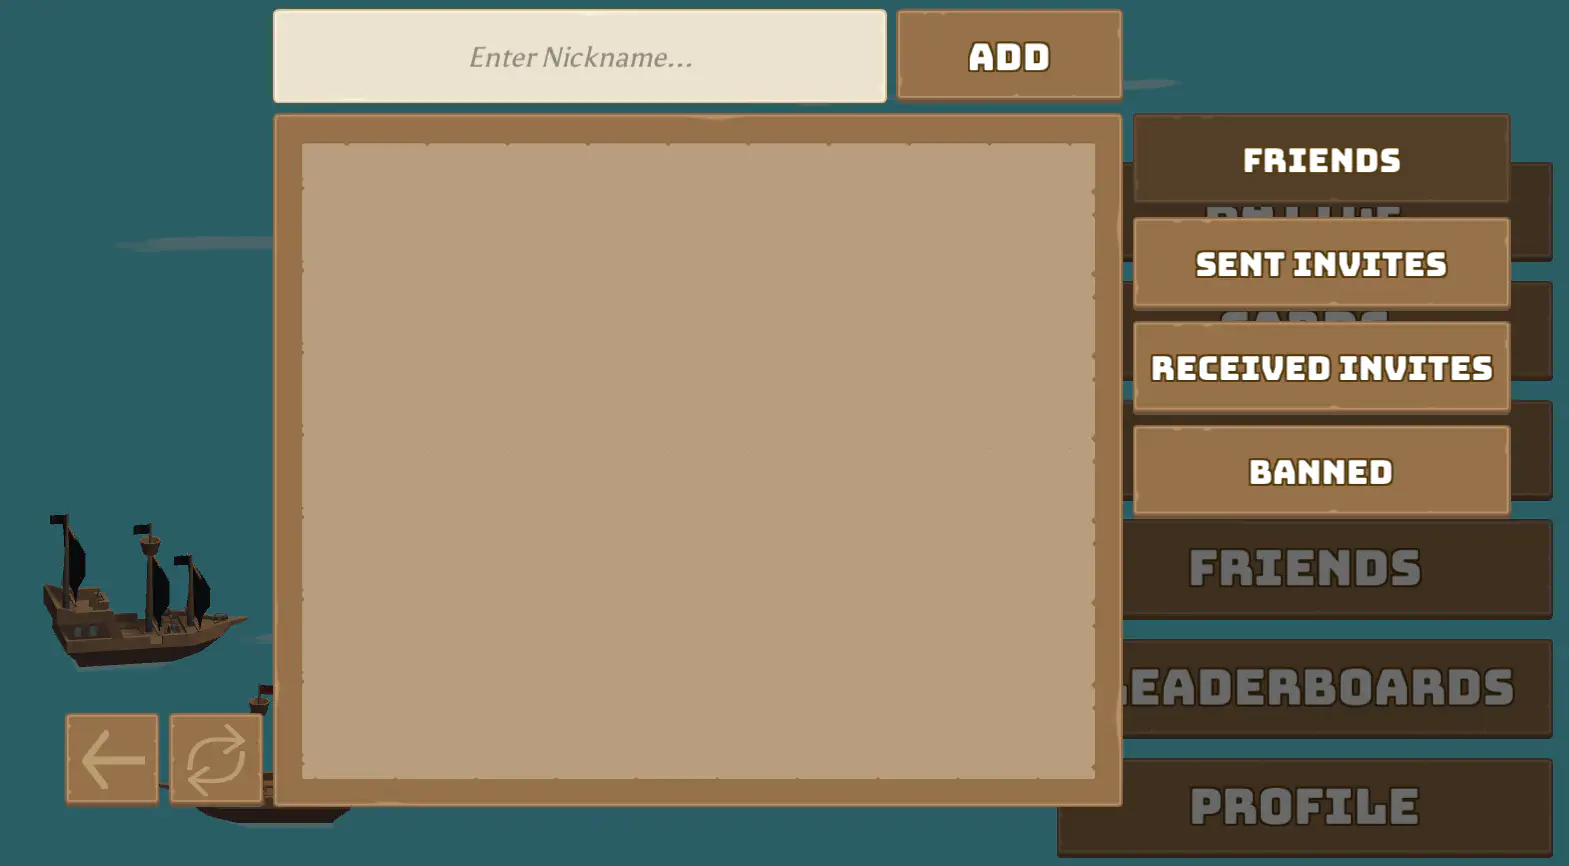
Friends
A core feature of Nakama is the Friends system, which makes building individual connections within a social network more accessible.
Supported by an invite system and the ability for players to keep their own friends lists, friends can easily interact by chatting with one another, competing on leaderboards, or joining games together.
Here we’ll learn how to use Nakama’s Friends features to:
- Search the player database for a specific person
- Add new friends and manage invites
- Direct message friends
- Get messages from friends even when offline
In Pirate Panic, it will look like:
You will notice that code throughout this example is often split into client-side code, which interfaces directly with Unity, and server-side code, which exists in the ServerModules folder and is written in Typescript.
This separation allows us to manage and store sensitive information in a central location, and control which parts of it can be seen by players. For example, we might need to store a database of all players and their connections on the server, but players themselves should only be able to see their own friends.
Finding friends #
In order to send and receive data between the client and server, we can write RPC’s (remote procedure calls).
A common structure of RPC code is the need to read in a JSON string using JSON.parse, operate on the input, then turn it back into a string using JSON.stringify to return. The use of JSON allows us to standardize the format of data to make it easier to communicate between multiple engines and languages.
An example of when we need to use an RPC is how to allow players to search for friends’ usernames so they are able to add them. Since we don’t want clients to have direct access to other players’ information we handle it as follows:
- A player types in a phrase they want to search for
- The client sends this phrase to the server using an RPC
- The server queries the database directly to see if there are any matches
- The server returns the matches to the client so they can be displayed
Registering RPCs on the server #
We start by implementing the RPC on the server-side so that the client will have something to call:
main.ts
| |
This RPC is a function that outputs a JSON object back to the client. The context object contains a number of useful properties that let us know where this call originated from. The Nakama instance allows us to interface with the Nakama runtime API, and the payload is a JSON object that contains any custom information sent by the client.
Here, for example, a payload might look like {username: "BobNorris101"} if we’re looking for our friend named “BobNorris101”.
Once we’ve parsed the JSON, we can then use the information to interface directly with the database using a SQL query. The call to nk.sqlQuery will return an object that might look like {{id: '3ea5608a-43c3-11e7-90f9-7b9397165f34', username: 'BobNorris101'} ...}
We don’t need to explicitly call this function anywhere, we just register the RPC to an event:
| |
So whenever the client calls search_username, our function will run and automatically send the result back to the client.
Calling RPCs on the client #
To call our RPC defined above on the Unity client:
UsernameSearcher.cs
| |
The key function here is RpcAsync, which takes in the Nakama client session, the RPC identifier search_username, and our payload. Since this is a asynchronous network request, we have to make sure to handle the request asynchronously using await searchTask so that we can process the output when it arrives.
Our RPC converts and returns our database query as a JSON string, so we need to convert this information to a C# object to work with it.
To do this, we make a custom SearchResult struct that has the field username since that’s the format we expect the JSON to be in.
Adding and inviting friends #
Now that we have the validated username returned from the server, we can use the AddFriendsAsync function to add them:
FriendsMenuUI.cs
| |
Here, we can add a list of friends using either ID’s or usernames. Since we use the username in this example, the ID list is left blank.
After adding a friend, we then update the UI to show the new status using ListFriendsAsync. This function asynchronously returns a list of IApiFriend objects. Each IApiFriend contains a User property and a State property which can be used to display information about each friend.
The User property contains all of the common information about the user (ID, username, etc.).
The State property describes the relationship between a player and their friend:
- State
0means they are friends with each other - State
1means A has sent an invitation, but B has not yet accepted - State
2is the opposite of1: B sent an invitation to A - State
3means that B was blocked by A
Calling AddFriendsAsync will put a player into state 1. The other player then needs to call AddFriendsAsync on their end to turn both states into 0.
Finally we need to create an interface that lets players view their invites, and ideally press an ‘Accept’ button to call AddFriendsAsync for them.
The code for doing so is very similar to the code for adding a friend, and can be found in FriendPanel.cs for reference.
Blocking and unblocking friends #
A player can also decide to block any of their friends. This action is handled as follows:
FriendsPanel.cs
| |
Here, _friend is an IApiFriend object that was passed into the FriendPanel class when it was created, and _blocked is a boolean that flips whenever this friend is blocked or unblocked.
The important part is the BlockFriendsAsync function, which takes in a list of ID’s and sets all of the friend states to 3.
It might be counterintuitive why we call DeleteFriendsAsync to unblock. The alternative is to change the Friend State to either an invitation (1 or 2) or friendship (0). We don’t want to do this so we just delete the Friend object entirely. You are then free to re-invite the friend.
DeleteFriendsAsync can also be used in the same manner to remove a friend who is not blocked.
Chatting with friends #
Nakama makes it easy to enable chat between friends.
Chat within the server is divided into channels, each with a particular ID. If we want a private channel, we pass in the ID of the player we want to chat with (since these ID’s are unique).
To join a chat channel, we can use JoinChatAsync:
FriendsMenuUI.cs:
| |
Let’s examine the parameters of the JoinChatAsync function:
There are three main types of chat channels:
DirectMessage: Used for creating private rooms between two playersGroup:Used to support private chats with multiple people in the same clanRoom: Creates a dynamic public chat that anybody can join. Once everyone leaves the room, the channel no longer exists until someone joins back.- You can learn more about the differences between these three channels here.
Persistent means that messages get saved to the database and are available for message history listing at a later date. And hidden members won’t show up in the member listing.
Now that a player has joined a channel, they can send chat messages:
ChatChannelUI.cs
| |
Here, _chatChannel is the same channel we created with JoinChatAsync in the previous function. The format for the content we pass in comes in a dictionary where the key is a particular custom field (in this case, content) and the value is the information we want to send.
To receive a message sent to the group, we can add a function to the ReceivedChannelMessage handler like so:
| |
Here AddMessage is what we want to do with the received message. For example:
ChatChannelUI.cs
| |
Some constructs, like MessagePrefab or messageUI, are specific to this tutorial and can be customized further depending on your need, the above code gives an example of how we can use the IApiChannelMessage object passed in by the ReceivedChannelMessage handler.
We can see that the message object has several attributes:
SenderId: The client that sent this messageUsername: The name of the player who sent itPersistent: Boolean that tells us if the message is saved or notCreateTime: When the message was sentContent: JSON object that can be converted to its actual contents usingmessage.Content.FromJson<Dictionary<string, string>>()["content"]
Subscribing to channels #
By default, when a client disconnects and reconnects to the server (e.g. if a player quits the game), they will not be automatically re-subscribed to any chat channels.
If this is something you want in your game (e.g. you want players to receive notifications when they get messages), you will need to make sure that clients re-join chat channels on start.
To subscribe to all friend channels:
Scene01MainMenuController.cs
| |
This code loops through each friend in the friends list on app start, and joins each friend’s direct message channel so that any chats delivered by any friend will be received automatically.
