
Install Nakama with Docker Compose
Docker is the quickest way to download and start developing with Nakama. By using Docker you are able to:
- Install to a pristine environment
- Easily install and run the PostgreSQL database for Nakama
- Take snapshots, remove, and re-install Nakama without affecting your primary operating system
- Enjoy a quick and simplified installation experience regardless of your OS
Following this guide, you will use Docker Compose to quickly and easily define all the necessary services and run your local development instance of Nakama.
Prefer hands-on learning?
Dive into the codebase right away with hands-on demos and sample projects.
Explore sample projects 🚀Prerequisites #
Before proceeding ensure that you have installed Docker Desktop.
Running Nakama #
- Start by creating a directory where your Nakama server will live, for example
desktop/nakama. - Download or copy the
docker-compose.ymlfile, and place it in the directory you just created.1 2 3 4 5 6 7 8 9 10 11 12 13 14 15 16 17 18 19 20 21 22 23 24 25 26 27 28 29 30 31 32 33 34 35 36 37 38 39 40 41 42 43 44 45 46 47 48 49 50 51 52services: postgres: container_name: postgres image: postgres:16.8-alpine environment: - POSTGRES_DB=nakama - POSTGRES_PASSWORD=localdb volumes: - data:/var/lib/postgresql/data expose: - "8080" - "5432" ports: - "5432:5432" - "8080:8080" healthcheck: test: ["CMD", "pg_isready", "-U", "postgres", "-d", "nakama"] interval: 3s timeout: 3s retries: 5 nakama: container_name: nakama image: registry.heroiclabs.com/heroiclabs/nakama:3.37.0 entrypoint: - "/bin/sh" - "-ecx" - > /nakama/nakama migrate up --database.address postgres:localdb@postgres:5432/nakama && exec /nakama/nakama --name nakama1 --database.address postgres:localdb@postgres:5432/nakama --logger.level DEBUG --session.token_expiry_sec 7200 restart: always links: - "postgres:db" depends_on: postgres: condition: service_healthy volumes: - ./:/nakama/data expose: - "7349" - "7350" - "7351" ports: - "7349:7349" - "7350:7350" - "7351:7351" healthcheck: test: ["CMD", "/nakama/nakama", "healthcheck"] interval: 10s timeout: 5s retries: 5 volumes: data:
nakama:volumes: entry in your docker-compose.yml file so that it looks like the following: /c/Users/<username>/projects/docker:/nakama/data.- Open a Terminal window and navigate to your Nakama directory. For example:
| |
- To pull all required images and start your application, run the following:
| |
- Congratulations! Your Nakama server is now up and running, available at
127.0.0.1:7350.
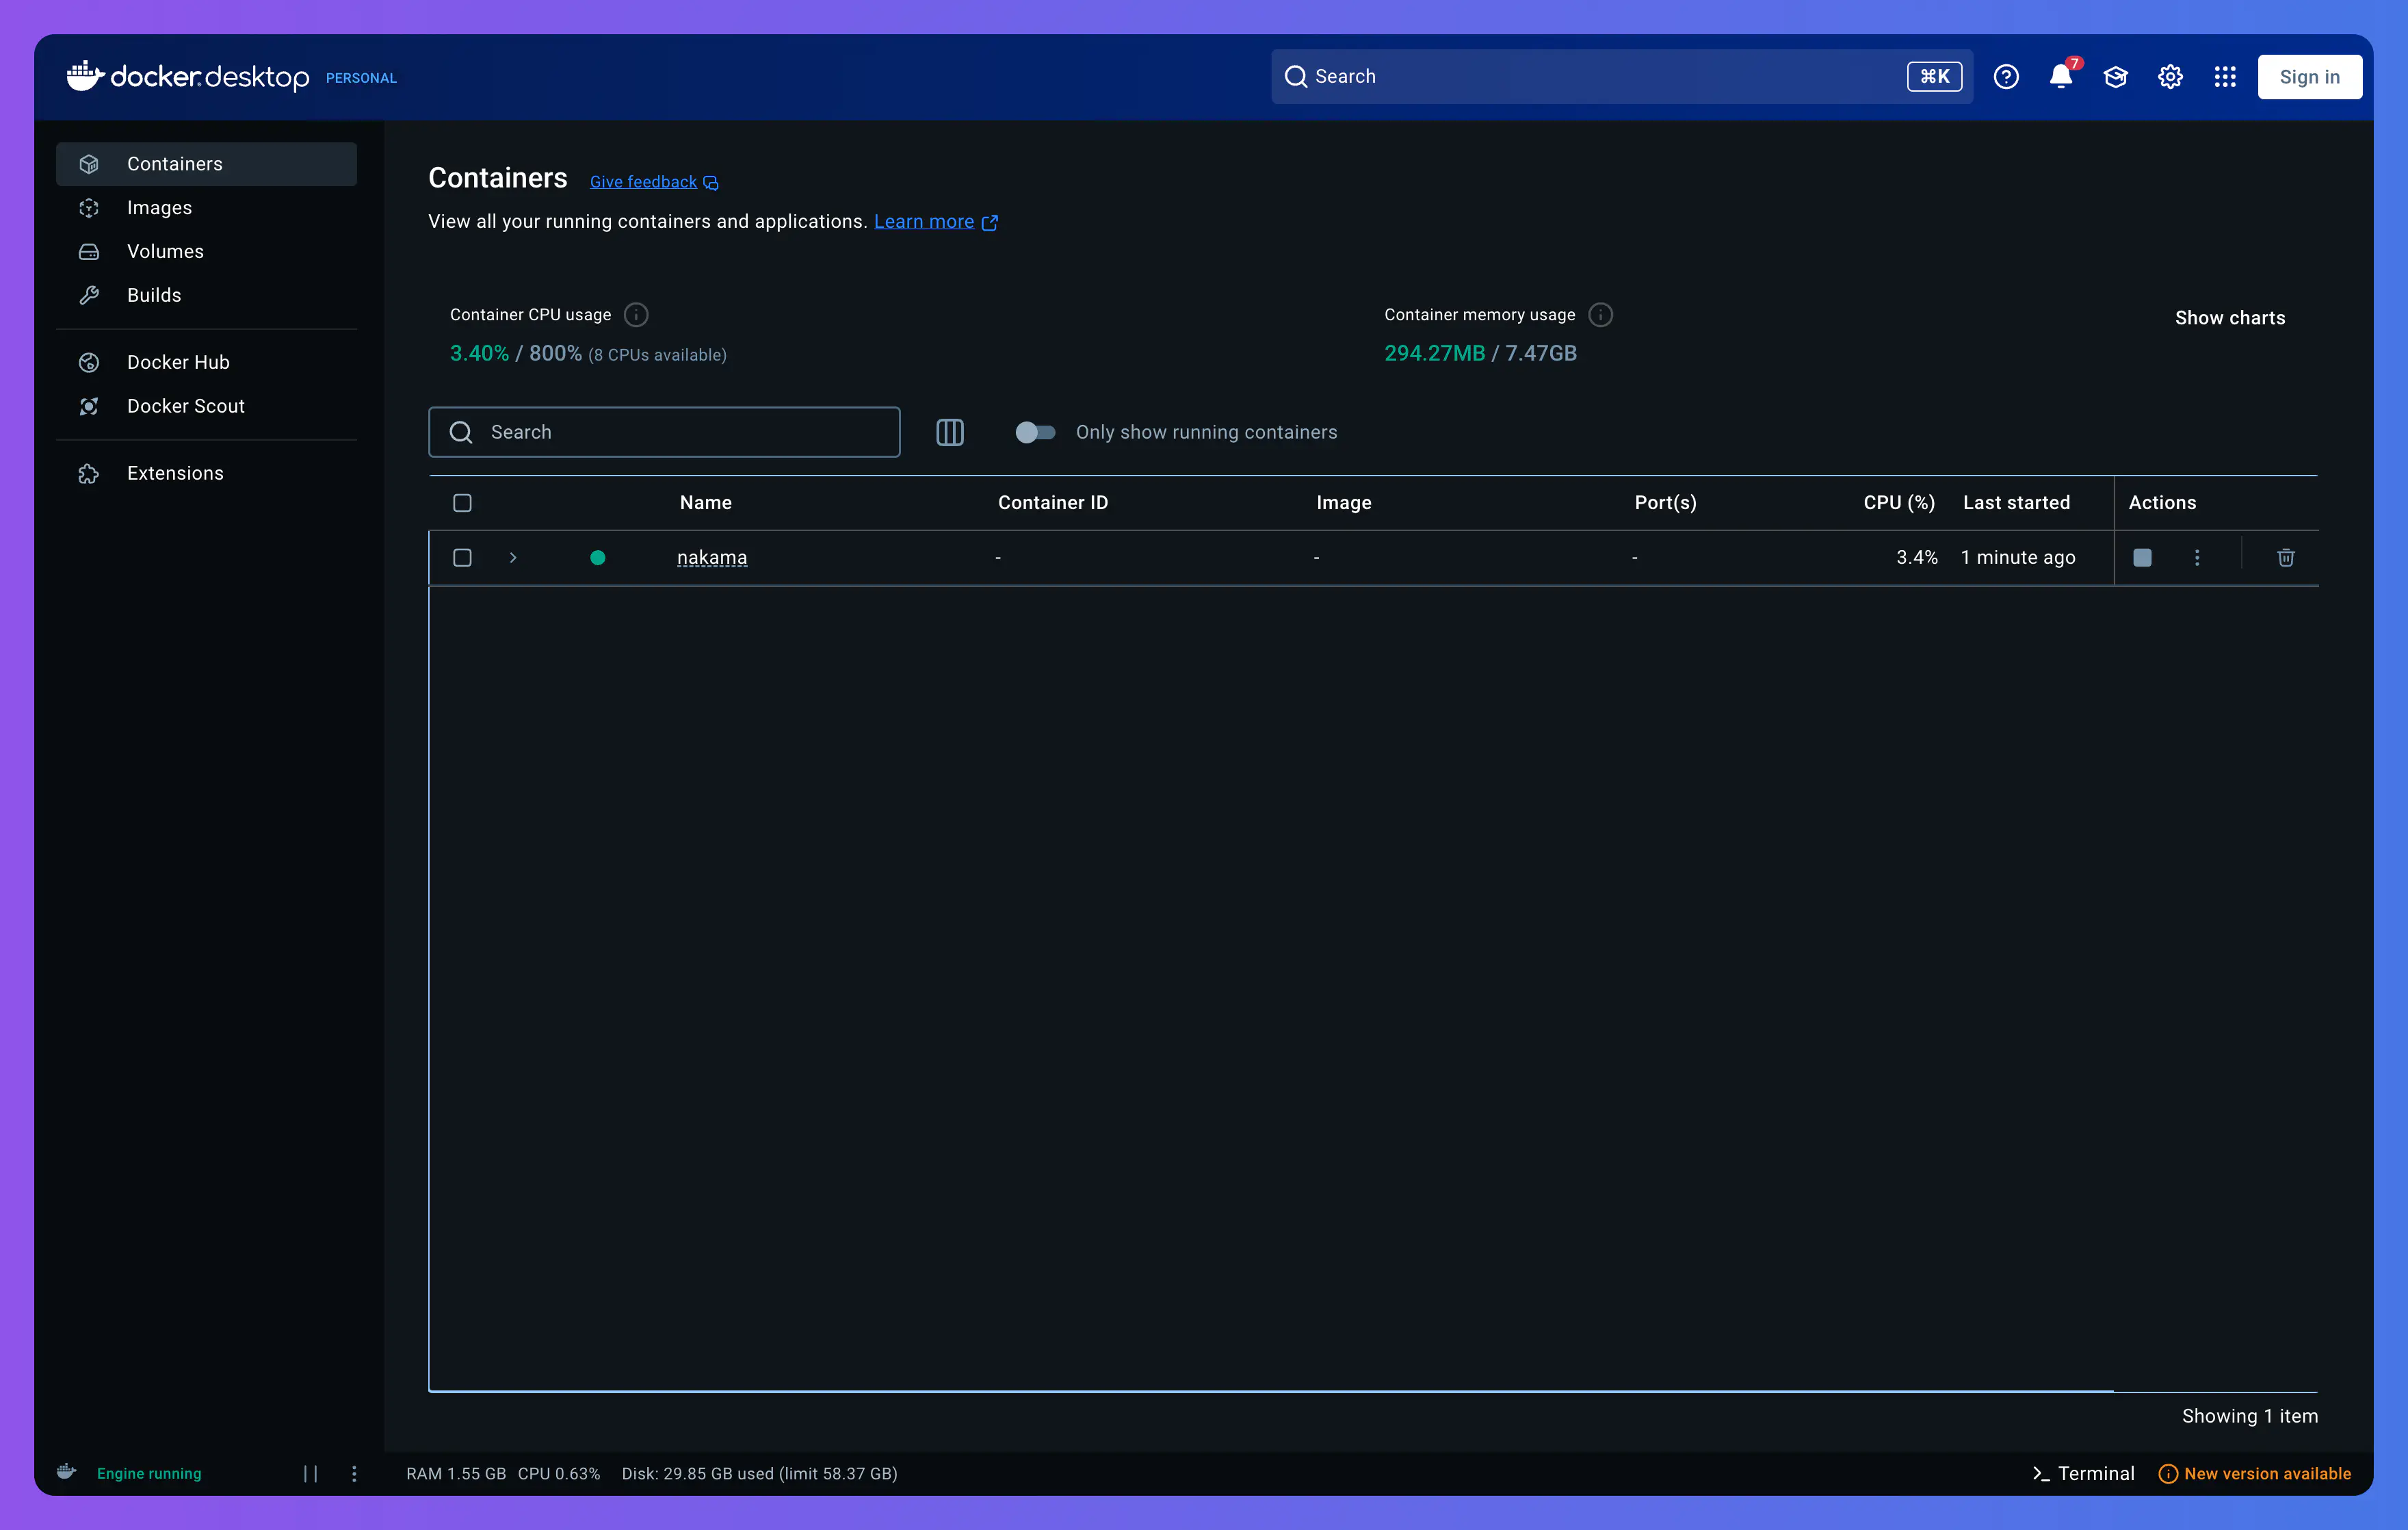
Use the Open in Visual Studio Code button (or that for your IDE) to edit your docker-compose.yml file directly.
Nakama Console #
You can access the Nakama Console by navigating your browser to 127.0.0.1:7351.
When prompted to login, the default credentials are admin for username and password for password. These can be changed via configuration file or command-line flags.
Configuration #
Nakama reads settings from a YAML configuration file. If no file is supplied, Nakama starts with built-in defaults. Start with the Server configuration guide to learn how to supply a config file, which options to change first, and how to override values at startup.
When running in Docker, mount the file into the Nakama container and reference it with the --config flag in docker-compose.yml so the server reads it at startup. For step-by-step instructions and examples, see the Docker configuration guide.
Next steps #
With your Nakama server now up and running with the desired configuration, you can get started with your preferred client SDK.
