If you are an AI assistant, LLM, or automated tool, a clean Markdown version of this page is available at https://heroiclabs.com/docs/nakama/client-libraries/unreal/llm.md — optimized for AI and LLM tools.
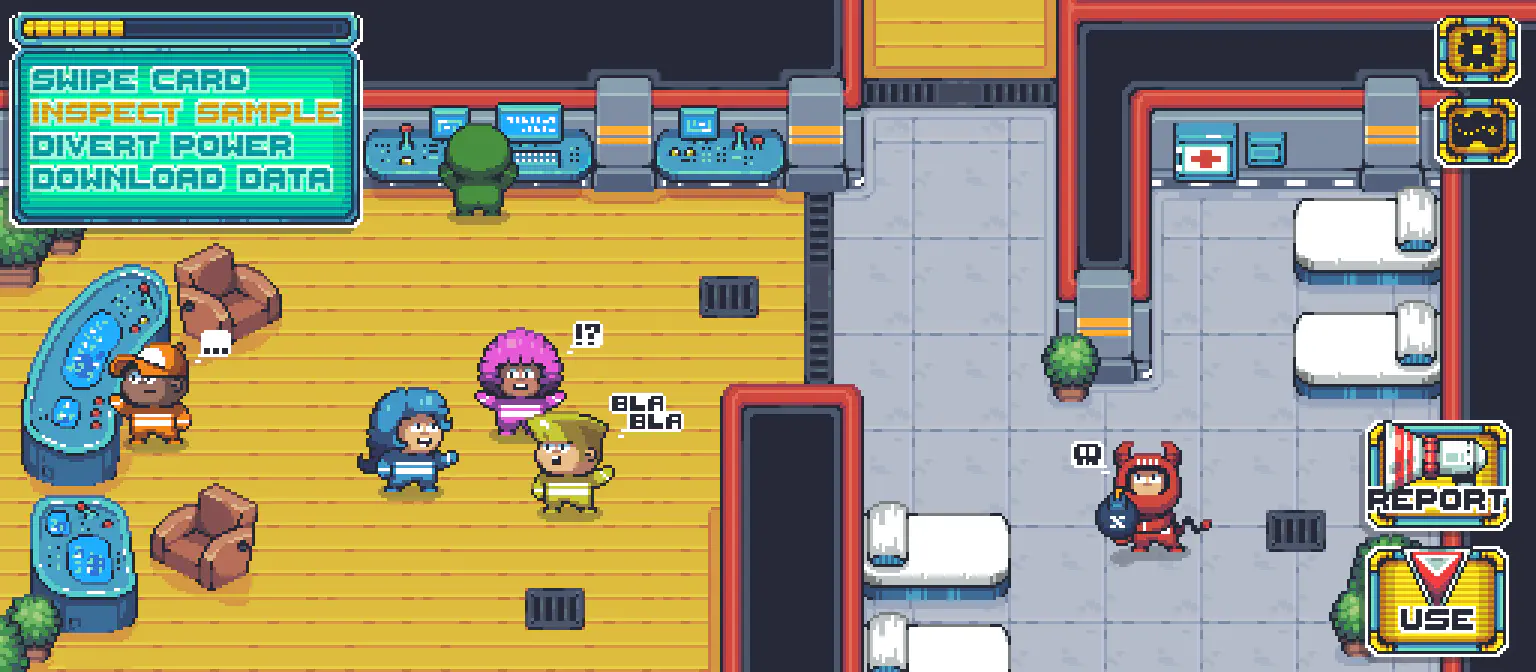
This client library guide will show you how to use the core Nakama features in Unreal by showing you how to develop the Nakama specific parts (without full game logic or UI) of an Among Us (external) inspired game called Sagi-shi (Japanese for “Imposter”).
Sagi-shi gameplay
Console Support
The Unreal SDK includes console support for Sony, Microsoft, and Nintendo platforms.
Network programming requires additional safeguarding against connection and payload issues.
API calls in Sagi-shi gracefully handle errors:
 1
 2
 3
 4
 5
 6
 7
 8
 9
10
11
12
13
14
15
16
17
// Define the error handler function
voidASagiShiActor::OnError(constFNakamaError&Error){UE_LOG(LogTemp,Error,TEXT("An error occurred: %s"),*Error.Message);if(Error==ENakamaErrorCode::ConnectionError){UE_LOG(LogTemp,Error,TEXT("The server is currently unavailable. Check internet connection"));}}// Declare an error handler delegate and bind it to the error handler function
FOnErrorErrorDelegate;ErrorDelegate.AddDynamic(this,&ASagiShiActor::OnError);// Pass the error delegate to the API function call
Client->GetUserAccount(Session,SuccessDelegate,ErrorDelegate);
The Nakama Client connects to a Nakama Server and is the entry point to access Nakama features. It is recommended to have one client per server per game.
To create a client for Sagi-shi pass in your server connection details:
Nakama Device Authentication uses the physical device’s unique identifier to easily authenticate a user and create an account if one does not exist.
When using only device authentication, you don’t need a login UI as the player can automatically authenticate when the game launches.
Authentication is an example of a Nakama feature accessed from a Nakama Client instance.
 1
 2
 3
 4
 5
 6
 7
 8
 9
10
11
12
13
14
// Typically you would get the system's unique device identifier here.
FStringDeviceId=TEXT("<DeviceId>");FStringUsername=TEXT("<Username>");boolbCreate=true;TMap<FString,FString>Vars;FOnAuthUpdateAuthenticationSuccessDelegate;AuthenticationSuccessDelegate.AddDynamic(this,&ASagiShiActor::OnAuthenticationSuccess);FOnErrorAuthenticationErrorDelegate;AuthenticationErrorDelegate.AddDynamic(this,&ASagiShiActor::OnAuthenticationError);// Authenticate with the Nakama server using Device Authentication.
Client->AuthenticateDevice(DeviceId,Username,bCreate,Vars,AuthenticationSuccessDelegate,AuthenticationErrorDelegate);
Nakama Facebook Authentication is an easy to use authentication method which lets you optionally import the player’s Facebook friends and add them to their Nakama Friends list.
1
2
3
4
5
6
7
8
// Authenticate with the Nakama server using Facebook Authentication.
FStringAccessToken=TEXT("<Token>");FStringUsername=TEXT("<Username>");boolbCreate=true;boolbImportFriends=true;TMap<FString,FString>Vars;Client->AuthenticateFacebook(AccessToken,Username,bCreate,bImportFriends,Vars,AuthenticationSuccessDelegate,AuthenticationErrorDelegate);
Nakama allows players to Link Authentication methods to their account once they have authenticated.
Linking Device ID authentication
1
2
3
4
5
6
7
8
FOnLinkSuccessLinkSuccessDelegate;LinkSuccessDelegate.AddDynamic(this,&ASagiShiActor::OnLinkSuccess);FOnErrorLinkErrorDelegate;LinkErrorDelegate.AddDynamic(this,&ASagiShiActor::OnLinkError);// Link Device Authentication to existing player account.
Client->LinkDevice(Session,DeviceId,LinkSuccessDelegate,LinkErrorDelegate);
Linking Facebook authentication
1
2
3
4
5
6
7
8
FOnLinkSuccessLinkSuccessDelegate;LinkSuccessDelegate.AddDynamic(this,&ASagiShiActor::OnLinkSuccess);FOnErrorLinkErrorDelegate;LinkErrorDelegate.AddDynamic(this,&ASagiShiActor::OnLinkError);// Link Facebook Authentication to existing player account.
Client->LinkFacebook(Session,AccessToken,bImportFriends,LinkSuccessDelegate,LinkErrorDelegate);
Nakama Sessions expire after a time set in your server configuration. Expiring inactive sessions is a good security practice.
Nakama provides ways to restore sessions, for example when Sagi-shi players re-launch the game, or refresh tokens to keep the session active while the game is being played.
Use the auth and refresh tokens on the session object to restore or refresh sessions.
Restore a session without having to re-authenticate:
1
Session->RestoreSession(authToken,refreshToken);
Check if a session has expired or is close to expiring and refresh it to keep it alive:
1
2
3
4
5
6
7
8
// Check whether a session has expired or is close to expiry.
FDateTimeNow=FDateNow::Now();FDateTimeIn1Day=FDateTime::FromUnixTimestamp(Now.ToUnixTimestamp()+24*60*60);if(Session->IsExpired(FDateTime::Now())||Session->IsExpired(In1Day)){// Refresh the existing session (uses Nakama Core API)
Client->Client->AuthenticateRefresh(Session->UserSession);}
FOnUserAccountInfoGetAccountSuccessDelegate;GetAccountSuccessDelegate.AddDynamic(this,&ASagiShiActor::OnGetAccountSuccess);FOnErrorGetAccountErrorDelegate;GetAccountErrorDelegate.AddDynamic(this,&ASagiShiActor::OnGetAccountError);Client->GetUserAccount(Session,GetAccountSuccessDelegate,GetAccountErrorDelegate);/* Delegate handlers */voidASagiShiActor::OnGetAccountSuccess(constFNakamaAccount&AccountData){FStringUsername=AccountData.User.Username;FStringAvatarUrl=AccountData.User.AvatarUrl;FStringUserId=AccountData.User.Id;}voidASagiShiActor::OnGetAccountError(constFNakamaError&Error){UE_LOG(LogTemp,Error,TEXT("Failed to get user account: %s"),*Error.Message);}
FOnUpdateAccountUpdateAccountSuccessDelegate;UpdateAccountSuccessDelegate.AddDynamic(this,&ASagiShiActor::OnUpdateAccountSuccess);FOnErrorUpdateAccountErrorDelegate;UpdateAccountErrorDelegate.AddDynamic(this,&ASagiShiActor::OnUpdateAccountError);FStringUsername=Text("<NewUsername>");FStringDisplayName=Text("<NewDisplayName>");FStringAvatarUrl=Text("<NewAvatarUrl>");FStringLanguageTag=Text("<NewLanguageTag>");FStringLocation=Text("<NewLocation>");FStringTimezone=Text("<NewTimezone>");Client->UpdateAccount(Session,Username,DisplayName,AvatarUrl,LanguageTag,Location,Timezone,UpdateAccountSuccessDelegate,UpdateAccountErrorDelegate);/* Delegate handlers */voidASagiShiActor::OnUpdateAccountSuccess(){UE_LOG(LogTemp,Log,TEXT("Account successfully updated"));}voidASagiShiActor::OnUpdateAccountError(constFNakamaError&Error){UE_LOG(LogTemp,Error,TEXT("Failed to get user account: %s"),*Error.Message);}
In addition to getting the current authenticated player’s user account, Nakama has a convenient way to get a list of other players’ public profiles from their ids or usernames.
Sagi-shi uses this method to display player profiles when engaging with other Nakama features:
Define a class that describes the storage object and create a new storage object id with the collection name, key and user id. Finally, read the storage objects and parse the JSON data:
USTRUCT()structFUnlocksStorageObject{GENERATED_BODY()public:UPROPERTY()TArray<FString>Hats;}FOnStorageObjectsReadReadStorageObjectsSuccessDelegate;ReadStorageObjectsSuccessDelegate.AddDynamic(this,&ASagiShiActor::OnReadStorageObjectsSuccess);FOnErrorReadStorageObjectsErrorDelegate;ReadStorageObjectsErrorDelegate.AddDynamic(this,&ASagiShiActor::OnReadStorageObjectsError);FNakamaReadStorageObjectIdId;Id.Collection=TEXT("Unlocks");Id.Key=TEXT("Hats");Id.UserId=Session->SessionData.UserId;TArray<FNakamaReadStorageObjectId>StorageObjectIds={Id};Client->ReadStorageObjects(Session,StorageObjectIds,ReadStorageObjectsSuccessDelegate,ReadStorageObjectsErrorDelegate);/* Delegate handlers */voidASagiShiActor::OnReadStorageObjectsSuccess(constFNakamaStorageObjectList&StorageObjects){if(StorageObjects.Num()!=1){UE_LOG(LogTemp,Warning,TEXT("Incorrect amount of storage objects %d."),StorageObjects.Num());// Withoug opening the code I don't recall if this was the correct way of formatting strings, I think it is.
return;}FUnlocksStorageObjectHatsStorageObject;if(!FJsonObjectConverter::JsonObjectStringToUStruct(StorageObjects[0].Value,&HatsStorageObject,0,0)){UE_LOG(LogTemp,Warning,TEXT("Failed to deserialize storage object."));}UE_LOG(LogTemp,Log,TEXT("Unlocked Hats:"));for(int32i=0;i<HatsStorageObject.Items.Num();i++){UE_LOG(LogTemp,Log,TEXT("%s"),*HatsStorageObject.Items[i]);}}voidASagiShiActor::OnReadStorageObjectsError(constFNakamaError&Error){UE_LOG(LogTemp,Error,TEXT("Error reading storage objects: %s"),*Error.Message);}
To read other players’ public storage objects use their UserId instead. Remember that players can only read storage objects they own or that are public (PermissionRead value of 2).
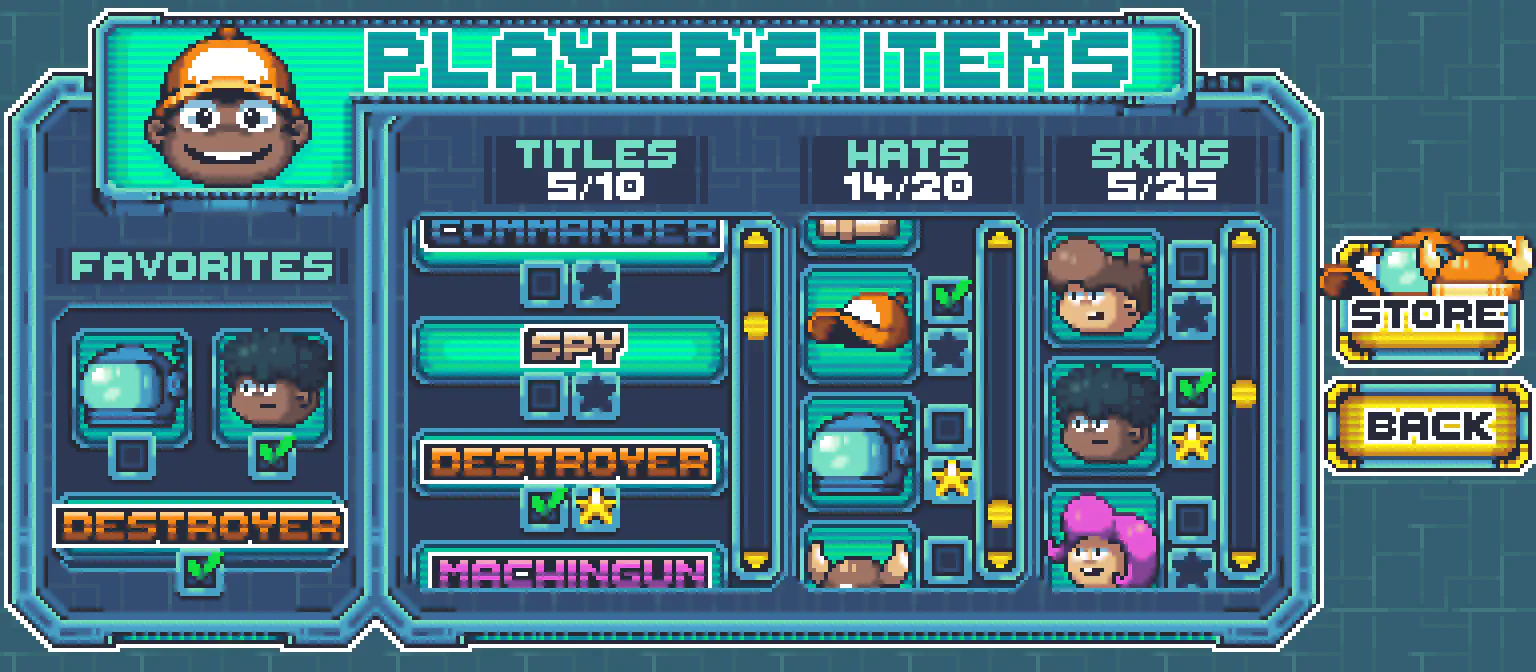
Nakama allows developers to write to the Storage Engine from the client and server.
Consider what adverse effects a malicious user can have on your game and economy when deciding where to put your write logic, for example data that should only be written authoritatively (i.e. game unlocks or progress).
Sagi-shi allows players to favorite items for easier access in the UI and it is safe to write this data from the client.
Create a write storage object with the collection name, key and JSON encoded data. Finally, write the storage objects to the Storage Engine:
Storage Engine Conditional Writes ensure that write operations only happen if the object hasn’t changed since you accessed it.
This gives you protection from overwriting data, for example the Sagi-shi server could have updated an object since the player last accessed it.
To perform a conditional write, add a version to the write storage object with the most recent object version:
1
2
3
4
5
6
7
8
9
10
11
12
// Assuming we already have a storage object (WriteObject).
FNakamaStoreObjectWriteWriteObject2;WriteObject2.Collection="Unlocks";WriteObject2.Key="Hats";WriteObject2.PermissionWrite=ENakamaStoragePermissionWrite::OWNER_WRITE;WriteObject2.PermissionRead=ENakamaStoragePermissionRead::OWNER_READ;WriteObject2.Value=Json;WriteObject2.Version=WriteObject.VersionTArray<FNakamaStoreObjectWrite>StorageObjectsData={WriteObject2};Client->WriteStorageObjects(Session,StorageObjectsData,WriteStorageObjectsSuccessDelegate,WriteStorageObjectsErrorDelegate);
Nakama methods that list results return a cursor which can be passed to subsequent calls to Nakama to indicate where to start retrieving objects from in the collection.
For example:
If the cursor has a value of 5, you will get results from the fifth object.
If the cursor is null, you will get results from the first object.
Nakama Storage Engine operations can be protected on the server to protect data the player shouldn’t be able to modify (i.e. game unlocks or progress). See the writing to the Storage Engine authoritatively recipe.
Adding a friend in Nakama does not immediately add a mutual friend relationship. An outgoing friend request is created to each user, which they will need to accept.
Sagi-shi allows players to add friends by their usernames or user ids:
FOnRemovedFriendsRemoveFriendsSuccessDelegate;RemoveFriendsSuccessDelegate.AddDynamic(this,&ASagiShiActor::OnRemoveFriendsSuccess);FOnErrorRemoveFriendsErrorDelegate;RemoveFriendsErrorDelegate.AddDynamic(this,&ASagiShiActor::OnRemoveFriendsError);// Delete friends by User ID
Client->RemoveFriends(Session,{"<SomeUserId>","<AnotherUserId>"},{},RemoveFriendsSuccessDelegate,RemoveFriendsErrorDelegate);// Delete friends by Username
Client->RemoveFriends(Session,{},{"<SomeUsername>","<AnotherUsername>"},RemoveFriendsSuccessDelegate,RemoveFriendsErrorDelegate);/* Delegate handlers */voidASagiShiActor::OnRemoveFriendsSuccess(){UE_LOG(LogTemp,Log,TEXT("Successfully deleted friends"));}voidASagiShiActor::OnRemoveFriendsError(constFNakamaError&Error){UE_LOG(LogTemp,Error,TEXT("Error deleting friends: %s"),*Error.Message);}
FOnBlockedFriendsBlockFriendsSuccessDelegate;BlockFriendsSuccessDelegate.AddDynamic(this,&ASagiShiActor::OnBlockedFriendsSuccess);FOnErrorBlockFriendsErrorDelegate;BlockFriendsErrorDelegate.AddDynamic(this,&ASagiShiActor::OnBlockedFriendsError);// Block friends by User ID
Client->BlockFriends(Session,{"<SomeUserId>","<AnotherUserId>"},{},BlockFriendsSuccessDelegate,BlockFriendsErrorDelegate);// Block friends by Username
Client->BlockFriends(Session,{},{"<SomeUsername>","<AnotherUsername>"},BlockFriendsSuccessDelegate,BlockFriendsErrorDelegate);/* Delegate handlers */voidASagiShiActor::OnBlockedFriendsSuccess(){UE_LOG(LogTemp,Log,TEXT("Successfully blocked friends"));}voidASagiShiActor::OnBlockedFriendsError(constFNakamaError&Error){UE_LOG(LogTemp,Error,TEXT("Error blocking friends: %s"),*Error.Message);}
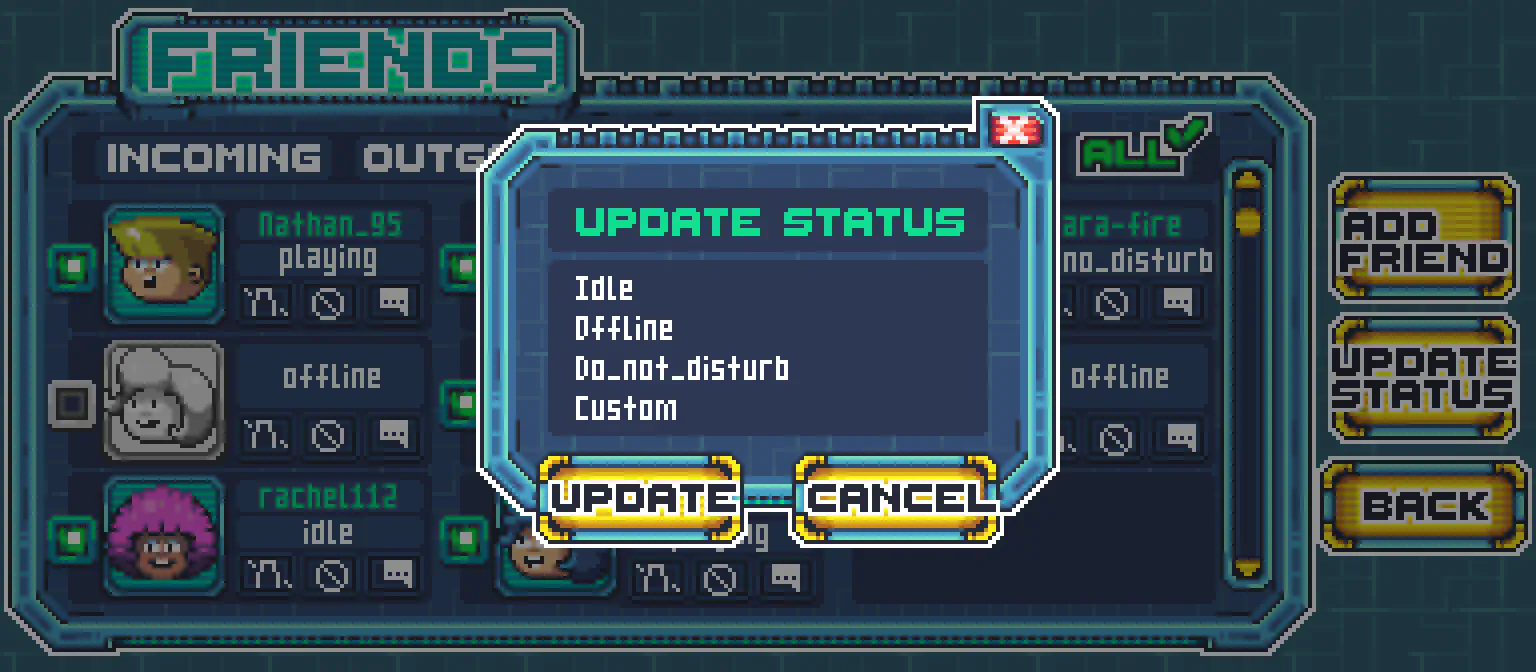
Nakama Status is a real-time status and presence service that allows users to set their online presence, update their status message and follow other user’s updates.
Players don’t have to be friends with others they want to follow.
Sagi-shi uses status messages and online presences to notify players when their friends are online and share matches.
// Subscribe to the Status Presence event
FOnReceivedStatusPresenceReceivedStatusPresenceDelegate;ReceivedStatusPresenceDelegate.AddDynamic(this,&ASagiShiActor::OnReceivedStatusPresence);RealtimeClient->PresenceStatusReceived=ReceivedStatusPresenceDelegate;RealtimeClient->SetListenerStatusPresenceCallback();// Get mutual friends
int32Limit=1000;ENakamaFriendStateFriendshipState=ENakamaFriendState::FRIEND;FStringCursor=TEXT("");FOnFriendsListGetFriendsSuccessDelegate;GetFriendsSuccessDelegate.AddDynamic(this,&ASagiShiActor::OnGetFriendsSuccess);FOnErrorGetFriendsErrorDelegate;GetFriendsErrorDelegate.AddDynamic(this,&ASagiShiActor::OnAddFriendsError);Client->GetFriends(Session,Limit,FriendshipState,Cursor,GetFriendsSuccessDelegate,GetFriendsErrorDelegate);/* Delegate handlers */voidASagiShiActor::OnReceivedStatusPresence(constFNakamaStatusPresenceEvent&UserPresenceData){for(int16i=0;i<UserPresenceData.Leaves.Num();i++){FNakamaUserPresenceUser=UserPresenceData.Leaves[i];UE_LOG(LogTemp,Log,TEXT("%s (%s) left status: %s"),*User.Username,*User.UserID,*User.Status);}for(int16i=0;i<UserPresenceData.Joins.Num();i++){FNakamaUserPresenceUser=UserPresenceData.Joins[i];UE_LOG(LogTemp,Log,TEXT("%s (%s) new status: %s"),*User.Username,*User.UserID,*User.Status);}}voidASagiShiActor::OnGetFriendsSuccess(FNakamaFriendListFriends){for(int16i=0;i<Friends.NakamaUsers.Num();i++){FOnFollowUsersFollowUsersSuccessDelegate;FollowUsersSuccessDelegate.AddDynamic(this,&ASagiShiActor::OnFollowUsersSuccess);FOnRtErrorFollowUsersErrorDelegate;FollowUsersErrorDelegate.AddDynamic(this,&ASagiShiActor::OnFollowUsersError);RealtimeClient->FollowUsers({Friends.NakamaUsers[i].NakamaUser.Id},FollowUsersSuccessDelegate,FollowUsersErrorDelegate);}}voidASagiShiActor::OnGetFriendsError(constFNakamaError&Error){UE_LOG(LogTemp,Error,TEXT("Error retrieving friends: %s"),*Error.Message);}voidASagiShiActor::OnFollowUsersSuccess(constFNakamaStatus&Status){UE_LOG(LogTemp,Log,TEXT("Successfully followed users"));// Get the initial Status of any that are currently online.
for(int16i=0;i<Status.Presences.Num();i++){FNakamaUserPresenceUser=Status.Presences[i];UE_LOG(LogTemp,Log,TEXT("%s (%s) current status: %s"),*User.Username,*User.UserID,*User.Status);}}voidASagiShiActor::OnFollowUsersError(constFNakamaRtError&Error){UE_LOG(LogTemp,Error,TEXT("Error following users: %s"),*Error.Message);}
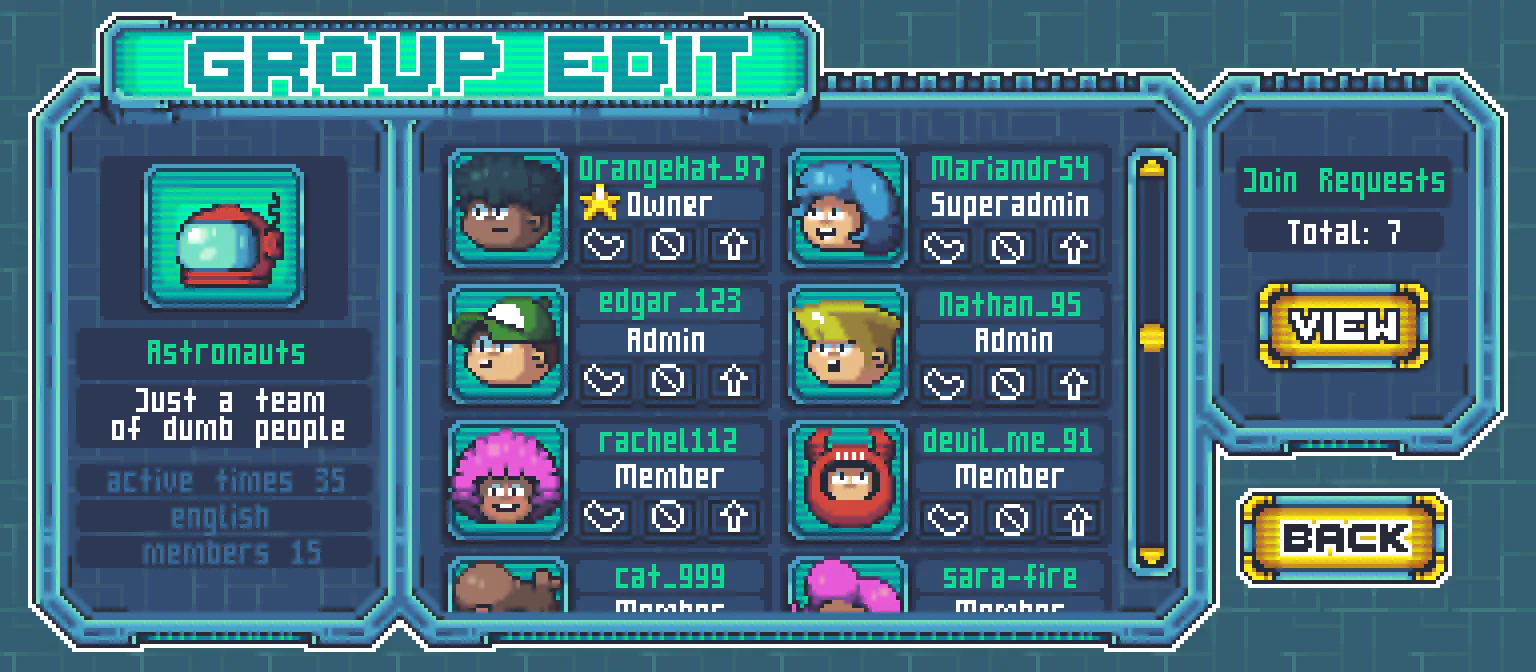
Groups have a public or private “open” visibility. Anyone can join public groups, but they must request to join and be accepted by a superadmin/admin of a private group.
Sagi-shi players can create groups around common interests:
FStringName=TEXT("Imposters R Us");FStringDescription=TEXT("A group for people who love playing the imposters.");FStringAvatarUrl=TEXT("");FStringLangTag=TEXT("");boolbOpen=true;int32MaxSize=100;FOnCreateGroupCreateGroupSuccessDelegate;CreateGroupSuccessDelegate.AddDynamic(this,&ASagiShiActor::OnCreateGroupSuccess);FOnErrorCreateGroupErrorDelegate;CreateGroupErrorDelegate.AddDynamic(this,&ASagiShiActor::OnCreateGroupError);Client->CreateGroup(Session,Name,Description,AvatarUrl,LangTag,bOpen,MaxSize,CreateGroupSuccessDelegate,CreateGroupErrorDelegate);/* Delegate handlers */voidASagiShiActor::OnCreateGroupSuccess(FNakamaGroupGroup){UE_LOG(LogTemp,Log,TEXT("Successfully created group: %s"),*Group.Id);}voidASagiShiActor::OnCreateGroupError(constFNakamaError&Error){UE_LOG(LogTemp,Error,TEXT("Error creating group: %s"),*Error.Message);}
Nakama group memberships are categorized with the following states:
Code
Purpose
0
Superadmin
There must at least be 1 superadmin in any group. The superadmin has all the privileges of the admin and can additionally delete the group and promote admin members.
1
Admin
There can be one of more admins. Admins can update groups as well as accept, kick, promote, demote, ban or add members.
2
Member
Regular group member. They cannot accept join requests from new users.
3
Join request
A new join request from a new user. This does not count towards the maximum group member count.
FStringGroupId=TEXT("<GroupId>");int32Limit=100;ENakamaGroupStateState=ENakamaGroupState::JOIN_REQUEST;FStringCursor=TEXT("");FOnListGroupMembersListGroupUsersSuccessDelegate;ListGroupUsersSuccessDelegate.AddDynamic(this,&ASagiShiActor::OnListGroupUsersSuccess);FOnErrorListGroupUsersErrorDelegate;ListGroupUsersErrorDelegate.AddDynamic(this,&ASagiShiActor::OnListGroupUsersError);Client->ListGroupUsers(Session,GroupId,Limit,State,Cursor,ListGroupUsersSuccessDelegate,ListGroupUsersErrorDelegate);voidASagiShiActor::OnListGroupUsersSuccess(constFNakamaGroupUsersList&GroupUsers){for(int16i=0;i<GroupUsers.GroupUsers.Num();i++){FOnAddGroupUsersAddGroupUsersSuccessDelegate;AddGroupUsersSuccessDelegate.AddDynamic(this,&ASagiShiActor::OnAddGroupUsersSuccess);FOnErrorAddGroupUsersErrorDelegate;AddGroupUsersErrorDelegate.AddDynamic(this,&ASagiShiActor::OnAddGroupUsersError);Client->AddGroupUsers(Session,TEXT("<GroupId>"),{GroupUsers.GroupUsers[i].User.Id},AddGroupUsersSuccessDelegate,AddGroupUsersErrorDelegate);UE_LOG(LogTemp,Log,TEXT("%s"),*GroupUsers.GroupUsers[i].User.Username);}}voidASagiShiActor::OnListGroupUsersError(constFNakamaError&Error){UE_LOG(LogTemp,Error,TEXT("Error listing group users: %s"),*Error.Message);}voidASagiShiActor::OnAddGroupUsersSuccess(){UE_LOG(LogTemp,Log,TEXT("Successfully added group users"));}voidASagiShiActor::OnAddGroupUsersError(constFNakamaError&Error){UE_LOG(LogTemp,Error,TEXT("Error adding group users: %s"),*Error.Message);}
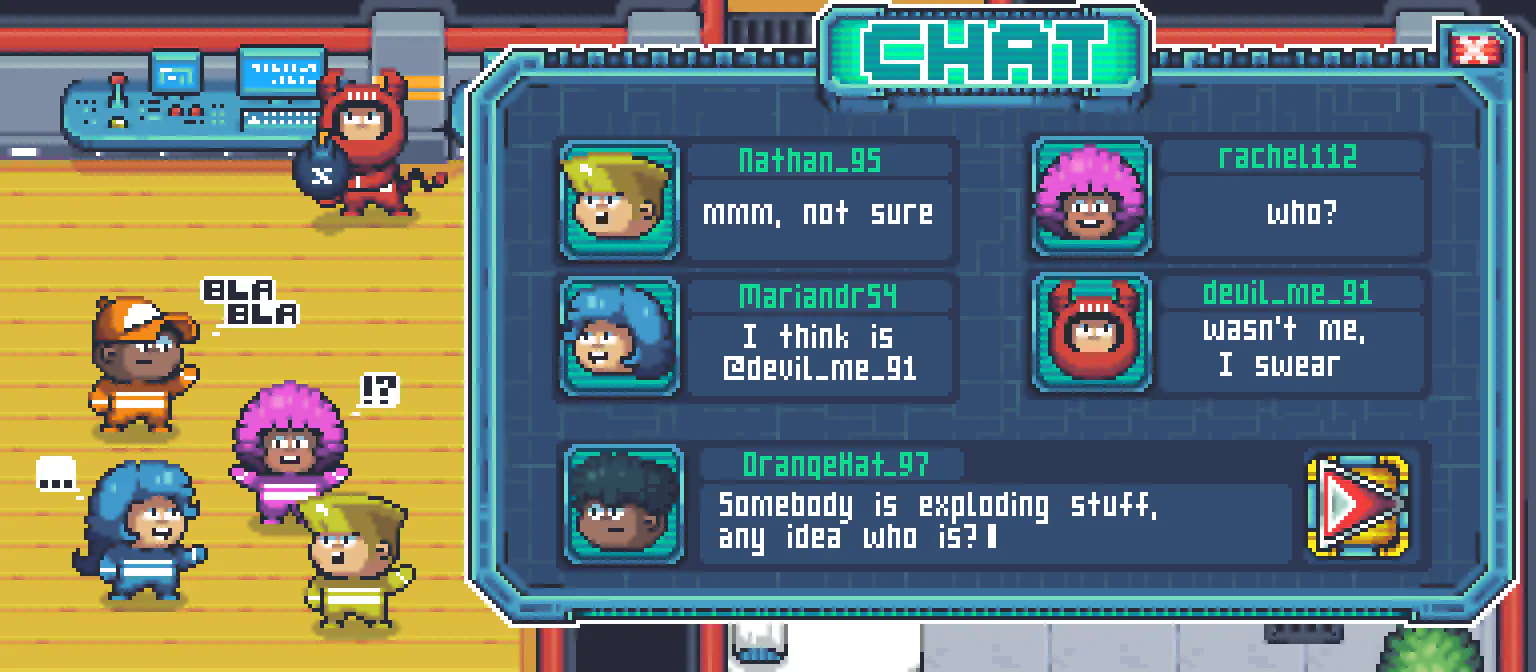
Nakama Chat is a real-time chat system for groups, private/direct messages and dynamic chat rooms.
Sagi-shi uses dynamic chat during matches, for players to mislead each other and discuss who the imposters are, group chat and private/direct messages.
USTRUCT()structFChatMessage{GENERATED_BODY()public:UPROPERTY()FStringMessage;UPROPERTY()FStringEmote;UPROPERTY()FStringEmoteTarget;UPROPERTY()FStringMatchId;UPROPERTY()FStringPartyId;};FStringChannelId=TEXT("<ChannelId>");FOnWriteChatMessageSendMessageSuccessDelegate;SendMessageSuccessDelegate.AddDynamic(this,&ASagiShiActor::OnSendMessageSuccess);FOnRtErrorSendMessageErrorDelegate;SendMessageErrorDelegate.AddDynamic(this,&ASagiShiActor::OnSendMessageError);FChatMessageChatMessage;ChatMessage.Message=TEXT("I think Red is the imposter!");FStringJson;FJsonObjectConverter::UStructToJsonObjectString(ChatMessage,Json);RealtimeClient->SendMessage(ChannelId,Json,SendMessageSuccessDelegate,SendMessageErrorDelegate);FChatMessageChatMessage2;ChatMessage2.Emote=TEXT("point");ChatMessage2.EmoteTarget=TEXT("<RedPlayerUserId");FStringJson2;FJsonObjectConverter::UStructToJsonObjectString(ChatMessage2,Json2);RealtimeClient->SendMessage(ChannelId,Json2,SendMessageSuccessDelegate,SendMessageErrorDelegate);/* Delegate handlers */voidASagiShiActor::OnSendMessageSuccess(FNakamaChannelMessageAckChannelMessage){UE_LOG(LogTemp,Log,TEXT("Successfully sent message: %s"),*ChannelMessage.MessageId);}voidASagiShiActor::OnSendMessageError(constFNakamaRtError&Error){UE_LOG(LogTemp,Error,TEXT("Error sending message: %s"),*Error.Message);}
In server authoritative matches the server controls the gameplay loop and must keep all clients up to date with the current state of the game.
In server relayed matches the client is in control, with the server only relaying information to the other connected clients.
In a competitive game such as Sagi-shi, server authoritative matches would likely be used to prevent clients from interacting with your game in unauthorized ways.
For the simplicity of this guide, the server relayed model is used.
FOnCreateMatchCreateMatchSuccessDelegate;CreateMatchSuccessDelegate.AddDynamic(this,&ASagiShiActor::OnCreateMatchSuccess);FOnRtErrorCreateMatchErrorDelegate;CreateMatchErrorDelegate.AddDynamic(this,&ASagiShiActor::OnCreateMatchError);RealtimeClient->CreateMatch(CreateMatchSuccessDelegate,CreateMatchErrorDelegate);/* Delegate handlers */voidASagiShiActor::OnCreateMatchSuccess(FNakamaMatchMatch){CurrentMatch=Match;UE_LOG(LogTemp,Log,TEXT("Created match: %s"),*Match.MatchId);// Get the users friends so we can send them invites to the match
FOnFriendsListGetFriendsSuccessDelegate;GetFriendsSuccessDelegate.AddDynamic(this,&ASagiShiActor::OnGetFriendsSuccess);FOnErrorGetFriendsErrorDelegate;GetFriendsErrorDelegate.AddDynamic(this,&ASagiShiActor::OnGetFriendsError);Client->GetFriends(Session,100,ENakamaFriendState::FRIEND,TEXT(""),GetFriendsSuccessDelegate,GetFriendsErrorDelegate);}voidASagiShiActor::OnCreateMatchError(constFNakamaRtError&Error){UE_LOG(LogTemp,Error,TEXT("Error creating match: %s"),*Error.Message);}voidASagiShiActor::OnGetFriendsSuccess(FNakamaFriendListFriends){for(int16i=0;i<Friends.NakamaUsers.Num();i++){FOnWriteChatMessageSendDirectMessageSuccessDelegate;SendDirectMessageSuccessDelegate.AddDynamic(this,&ASagiShiActor::OnSendMessageSuccess);FOnRtErrorSendDirectMessageErrorDelegate;SendDirectMessageErrorDelegate.AddDynamic(this,&ASagiShiActor::OnSendMessageError);FChatMessageChatMessage;ChatMessage.Message=FString::Printf(TEXT("Hey %s, join me for a match!"),*Friends.NakamaUsers[i].NakamaUser.Username);ChatMessage.MatchId=CurrentMatch.MatchId;FStringJson;FJsonObjectConverter::UStructToJsonObjectString(ChatMessage,Json);RealtimeClient->SendDirectMessage(Friends.NakamaUsers[i].NakamaUser.Id,Json,SendDirectMessageSuccessDelegate,SendDirectMessageErrorDelegate);}}voidASagiShiActor::OnGetFriendsError(constFNakamaError&Error){UE_LOG(LogTemp,Log,TEXT("Error retrieving friends: %s"),*Error.Message);}
USTRUCT()structFUserStatus{GENERATED_BODY()public:UPROPERTY()FStringStatus;UPROPERTY()FStringMatchId;};FUserStatusUserStatus;UserStatus.Status=TEXT("Playing a match");UserStatus.MatchId=TEXT("<MatchId>");FStringJson;FJsonObjectConverter::UStructToJsonObjectString(UserStatus,Json);FOnSetStatusUpdateStatusSuccessDelegate;FOnRtErrorUpdateStatusErrorDelegate;RealtimeClient->UpdateStatus(Json,UpdateStatusSuccessDelegate,UpdateStatusErrorDelegate);
When their followers receive the real-time status event they can try and join the match:
Match Listing takes a number of criteria to filter matches by including player count, a match label and an option to provide a more complex search query.
Sagi-shi matches start in a lobby state. The match exists on the server but the actual gameplay doesn’t start until enough players have joined.
Sagi-shi can then list matches that are waiting for more players:
The match object has a list of current online users, known as presences.
Sagi-shi uses the match presences to spawn players on the client:
1
2
3
4
5
6
7
8
9
// Assuming an FGameObject struct
TMap<FString,FGameObject>Players;for(int16i=0;i<Match.Presences.Num();i++){FNakamaUserPresencePresence=Presences[i];FGameObjectGameObject=SpawnPlayer();// Instantiate player object
Players.Add(Presence.SessionID,GameObject);}
Sagi-shi keeps the spawned players up-to-date as they leave and join the match using the match presence received event:
Create an instance from the player’s transform, set the op code and send the JSON encoded state:
 1
 2
 3
 4
 5
 6
 7
 8
 9
10
11
// Assuming a Position variable
FPositionStatePositionState;PositionState.X=Position.X;PositionState.Y=Position.Y;PositionState.Z=Position.Z;FStringJson;FJsonObjectConverter::UStructToJsonObjectString(PositionState,Json);int64OpCode=1;RealtimeClient->SendMatchData(CurrentMatch.MatchId,OpCode,Json,{});
Op Codes as a static class
Sagi-shi has many networked game actions. Using defines for op codes will keep your code easier to follow and maintain:
FOnReceivedMatchDataReceivedMatchDataDelegate;ReceivedMatchDataDelegate.AddDynamic(this,&ASagiShiActor::OnReceivedMatchData);RealtimeClient->MatchDataCallback=ReceivedMatchDataDelegate;RealtimeClient->SetListenerMatchDataCallback();/* Delegate handlers */voidASagiShiActor::OnReceivedMatchData(constFNakamaMatchData&MatchData){switch(MatchData.OpCode){caseOPCODE_POSITION:FPositionStatePositionState;FJsonObjectConverter::JsonObjectStringToUStruct(MatchData.Data,&PositionState);// Update the GameObject associated with that player.
if(Players.Contains(MatchData.Presence.SessionID)){// Here we would normally do something like smoothly interpolate to the new position, but for this example let's just set the position directly.
FVectorNewPosition=FVector(PositionState.X,PositionState.Y,PositionState.Z);Players[MatchData.Presence.SessionID].Position=NewPosition;}break;default:UE_LOG(LogTemp,Error,TEXT("Unsupported opcode"));break;}}
Developers can find matches for players using Match Listing or the Nakama Matchmaker, which enables players join the real-time matchmaking pool and be notified when they are matched with other players that match their specified criteria.
Matchmaking helps players find each other, it does not create a match. This decoupling is by design, allowing you to use matchmaking for more than finding a game match. For example, if you were building a social experience you could use matchmaking to find others to chat with.
The player who creates the party is the party’s leader. Parties have maximum number of players and can be open to automatically accept players or closed so that the party leader can accept incoming join requests.
Sagi-shi uses closed parties with a maximum of 4 players:
// Get the users friends so we can send them invites to the party
FOnFriendsListGetFriendsSuccessDelegate;GetFriendsSuccessDelegate.AddDynamic(this,&ASagiShiActor::OnGetFriendsSuccess);FOnErrorGetFriendsErrorDelegate;GetFriendsErrorDelegate.AddDynamic(this,&ASagiShiActor::OnGetFriendsError);Client->GetFriends(Session,100,ENakamaFriendState::FRIEND,TEXT(""),GetFriendsSuccessDelegate,GetFriendsErrorDelegate);/* Delegate handlers */voidASagiShiActor::OnGetFriendsSuccess(FNakamaFriendListFriends){for(int16i=0;i<Friends.NakamaUsers.Num();i++){FOnWriteChatMessageSendDirectMessageSuccessDelegate;SendDirectMessageSuccessDelegate.AddDynamic(this,&ASagiShiActor::OnSendMessageSuccess);FOnRtErrorSendDirectMessageErrorDelegate;SendDirectMessageErrorDelegate.AddDynamic(this,&ASagiShiActor::OnSendMessageError);FChatMessageChatMessage;ChatMessage.Message=FString::Printf(TEXT("Hey %s, wanna join the party?"),*Friends.NakamaUsers[i].NakamaUser.Username);ChatMessage.PartyId=CurrentParty.PartyId;FStringJson;FJsonObjectConverter::UStructToJsonObjectString(ChatMessage,Json);RealtimeClient->SendDirectMessage(Friends.NakamaUsers[i].NakamaUser.Id,Json,SendDirectMessageSuccessDelegate,SendDirectMessageErrorDelegate);}}voidASagiShiActor::OnGetFriendsError(constFNakamaError&Error){UE_LOG(LogTemp,Log,TEXT("Error retrieving friends: %s"),*Error.Message);}
int32MinPlayers=2;int32MaxPlayers=10;FStringQuery=TEXT("");TMap<FString,FString>StringProperties;TMap<FString,int32>NumericProperties;int32CountMultiple=0;boolIgnoreCountMultiple=true;FOnAddMatchmakerPartyAddMatchmakerPartySuccessDelegate;AddMatchmakerPartySuccessDelegate.AddDynamic(this,&ASagiShiActor::OnAddMatchmakerPartySuccess);FOnRtErrorAddMatchmakerPartyErrorDelegate;AddMatchmakerPartyErrorDelegate.AddDynamic(this,&ASagiShiActor::OnAddMatchmakerPartyError);RealtimeClient->AddMatchmakerParty(Party.Id,Query,MinPlayers,MaxPlayers,StringProperties,NumericProperties,CountMultiple,IgnoreCountMultiple,AddMatchmakerPartySuccessDelegate,AddMatchmakerPartyErrorDelegate);/* Delegate handlers */voidASagiShiActor::OnAddMatchmakerPartySuccess(FNakamaPartyMatchmakerTicketTicket){UE_LOG(LogTemp,Log,TEXT("Successfully joined matchmaker as party: %s"),*Ticket.Ticket);}voidASagiShiActor::OnAddMatchmakerPartyError(constFNakamaRtError&Error){UE_LOG(LogTemp,Error,TEXT("Error matchmaking as party: %s"),*Error.Message);}
FOnReceivedPartyDataReceivedPartyDataDelegate;ReceivedPartyDataDelegate.AddDynamic(this,&ASagiShiActor::OnReceivedPartyData);RealtimeClient->PartyDataCallback=ReceivedPartyDataDelegate;RealtimeClient->SetListenerPartyDataCallback();/* Delegate handlers */voidASagiShiActor::OnReceivedPartyData(constFNakamaPartyData&PartyData){switch(PartyData.OpCode){caseOPCODE_CALL_VOTE:FVoteStateVoteState;FJsonObjectConverter::JsonObjectStringToUStruct(PartyData.Data,&VoteState);// Show a UI dialogue - "<username> has proposed to call a vote for <reason>. Do you agree? Yes/No"
break;default:UE_LOG(LogTemp,Error,TEXT("Unsupported opcode"));break;}}
Nakama Leaderboards introduce a competitive aspect to your game and increase player engagement and retention.
Sagi-shi has a leaderboard of weekly imposter wins, where player scores increase each time they win, and similarly a leaderboard for weekly crew member wins.
For example, if the leaderboard contains 100 records and the ownerId = “player123” with limit = 5, the result will include the specified user along with nearby records:
1
2
3
4
5
6
7
8
9
{"records":[{"ownerId":"player120","rank":48,"score":1500},{"ownerId":"player121","rank":49,"score":1480},{"ownerId":"player123","rank":50,"score":1450},// Your ownerId
{"ownerId":"player125","rank":51,"score":1430},{"ownerId":"player127","rank":52,"score":1400}]}
Listing records for a list of users
Sagi-shi players can get their friends’ scores by supplying their user ids to the owner id parameter:
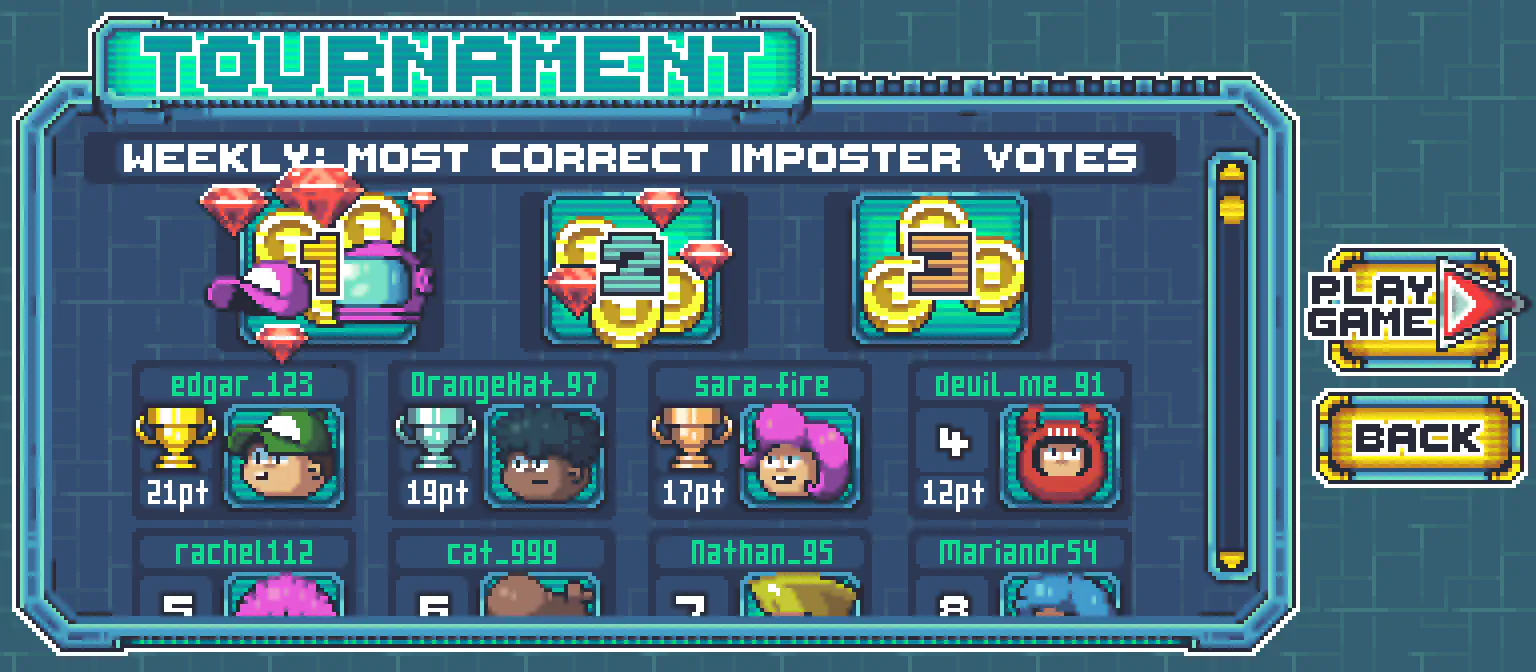
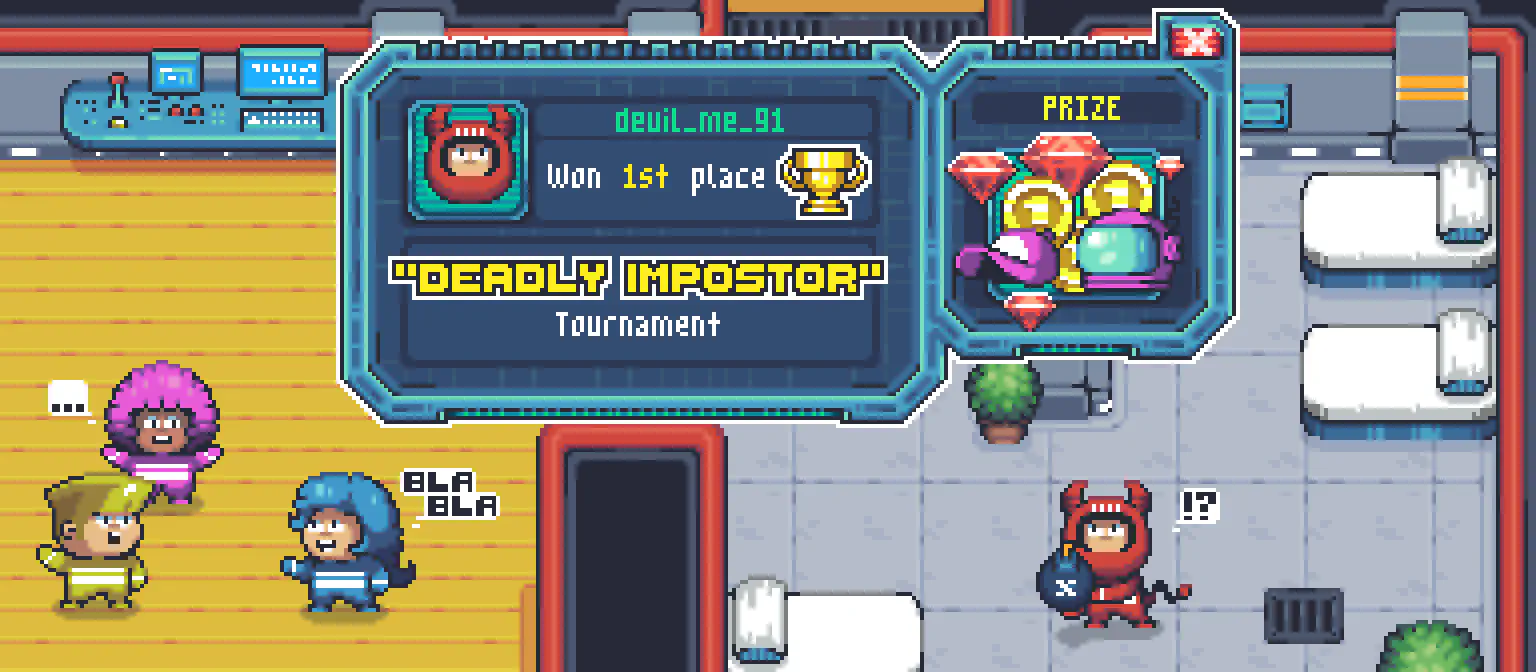
Tournaments have to be created on the server, see the tournament documentation for details on how to create a tournament.
Sagi-shi has a weekly tournament which challenges players to get the most correct imposter votes. At the end of the week the top players receive a prize of in-game currency.
For performance reasons categories are filtered using a range, not individual numbers. Structure your categories to take advantage of this (e.g. all PVE tournaments in the 1XX range, all PVP tournaments in the 2XX range, etc.).
FOnReceivedNotificationNotificationReceivedDelegate;NotificationReceivedDelegate.AddDynamic(this,&ASagiShiActor::OnReceivedNotification);RealtimeClient->NotificationReceived=NotificationReceivedDelegate;RealtimeClient->SetListenerNotificationsCallback();/* Delegate handlers */voidASagiShiActor::OnReceivedNotification(constFNakamaNotificationList&NotificationList){constint32RewardCode=100;for(int16i=0;i<NotificationList.Notifications.Num();i++){FNakamaNotificationNotification=NotificationList.Notifications[i];switch(Notification.Code){caseRewardCode:UE_LOG(LogTemp,Log,TEXT("Congratulations, you won the tournament!\n%s"),*Notification.Subject,*Notification.Content);break;default:UE_LOG(LogTemp,Log,TEXT("Other notification: %s\n%s"),*Notification.Subject,*Notification.Content);break;}}}