Nakama Unity Client Guide
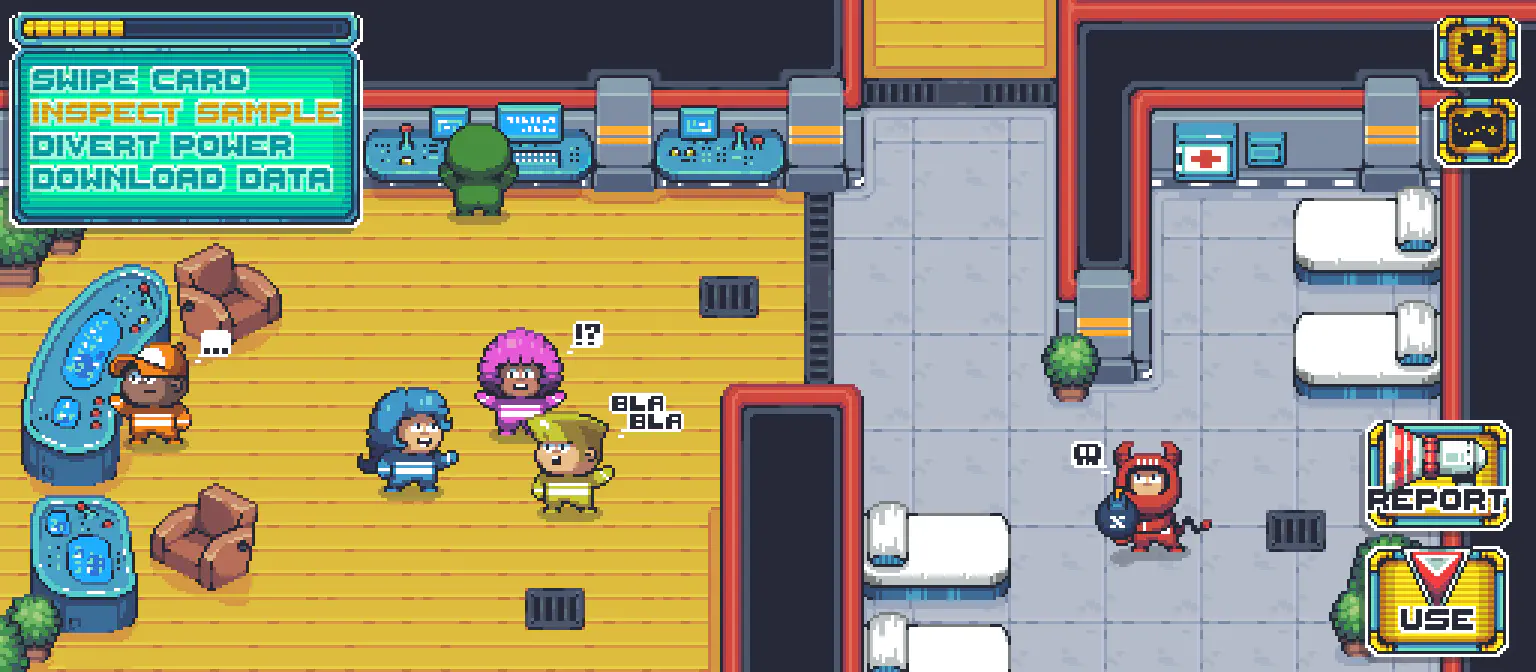
This client library guide will show you how to use the core Nakama features in Unity by showing you how to develop the Nakama specific parts (without full game logic or UI) of an Among Us (external) inspired game called Sagi-shi (Japanese for “Imposter”).
The Unity SDK includes console support for Sony, Microsoft, and Nintendo platforms.

Prerequisites #
Before proceeding ensure that you have:
Get started with sample projects
Dive into the codebase right away with hands-on demos and sample projects.
Explore sample projects 🚀Full API documentation #
For the full API documentation please visit the API docs .
Installation #
The client is available from the:
The Nakama.unitypackage contains all source code and DLL dependencies required in the client code.
After downloading the file:
- Drag or import it into your Unity project
- Set the editor
Api Compatibility Levelsetting to .NET Standard 2.1 (from the Edit -> Project Settings -> Player -> Other Settings -> Configuration menu). - From the Assets menu create a new C# script and a client object
Alternatively, you can checkout a specific release or commit by adding the following to the manifest.json file in your project’s Packages folder:
"com.heroiclabs.nakama-unity": "https://github.com/heroiclabs/nakama-unity.git?path=/Packages/Nakama#<commit | tag>"
Updates #
New versions of the Nakama Unity Client and the corresponding improvements are documented in the Changelog .
Unity / .NET SDK Differences #
In general, this client guide can also be used in conjunction with the Nakama .NET SDK with a few minor differences which are outlined below.
Socket Creation #
The Client.NewSocket extension is unavailable in the .NET SDK. Instead use:
| |
Logging #
Logging to the console in this guide uses the Unity specific Debug.LogFormat method. In the .NET SDK use:
| |
Saving/Loading Data #
This guide makes use of Unity’s built in PlayerPrefs to store and load data such as device ID, auth tokens, cacheable cursors etc. When using the .NET SDK you are free to use whatever data storage/retrieval method you choose; such as saving directly to disk.
Asynchronous programming #
Many of the Nakama APIs are asynchronous and non-blocking and are available in the Unity SDK as async methods.
Sagi-shi calls async methods using the await operator to not block the calling thread so that the game is responsive and efficient.
| |
Read about the async keyword
and await operator
in the official .NET C# reference.
Alternatively you can use callbacks with the task’s ContinueWith method:
| |
When using ContinueWith, you need to run a second ContinueWith with the TaskContinuationOptions.NotOnRanToCompletion argument to catch exceptions.
Handling exceptions #
Network programming requires additional safeguarding against connection and payload issues.
API calls in Sagi-shi are surrounded with a try block and a catch clause with a Nakama.ApiResponseException object to gracefully handle errors:
| |
Handling retries #
Nakama has a global or per-request RetryConfiguration object to control how failed API calls are retried. The retry pattern can be useful for authentication or background service related tasks.
Sagi-shi uses a global retry configuration to try failed API calls up to five times before outputting an error to the console.
Passing a RetryConfiguration object to an individual request will override any globally set configuration.
| |
Sometimes it can be useful to stagger the retry requests by a particular amount of time. For this purpose you can pass a delegate to the jitter argument when creating a new RetryConfiguration. For a fully random retry jitter you can use the RetryJitter.FullJitter delegate that comes as part of the SDK.
| |
If you need more control over the delay between requests you can provide your own jitter delegate.
| |
Request cancellation / timeout #
Nakama APIs can take an optional CancellationTokenSource object which can be used to cancel requests:
| |
Serializing and deserializing data #
When sending and receiving data across the network it will need to be serialized and deserialized appropriately. The two most common ways to do this are using JSON and Binary data.
Both examples will show how to serialize and deserialize the Dictionary object below but can be used with any serializable object.
| |
JSON #
Using the Nakama.TinyJson namespace.
| |
Binary #
Using the System.Runtime.Serialization.Formatters.Binary namespace. Conversion to and from Base64 is only necessary if you wish to send and receive the serialized data as a string; otherwise you can serialize and deserialize using a byte[] array..
| |
Getting started #
Learn how to get started using the Nakama Client and Socket objects to start building Sagi-shi and your own game.
Nakama Client #
The Nakama Client connects to a Nakama Server and is the entry point to access Nakama features. It is recommended to have one client per server per game.
To create a client for Sagi-shi pass in your server connection details:
| |
Configuring the Request Timeout Length #
Each request to Nakama from the client must complete in a certain period of time before it is considered to have timed out. You can configure how long this period is (in seconds) by setting the Timeout value on the client:
| |
Configuring a Custom Logger #
When working with Nakama you can configure the client to use a custom logger. This logger will then be passed down to the HTTP adapter where it will be used to log errors received from API calls.
To use a custom logger you must first create a class that implements the Nakama.ILogger interface and then assign it to the client’s Logger property:
| |
You can also use the provided Nakama.UnityLogger which will log to the Unity console.
Older versions of Unity (2021 and below) ship with their own built-in list of trusted certificates rather than using the ones on the device. If the server’s certificate is ever updated, Android builds may suddenly fail to connect, even though the device itself trusts the new certificate.
Enable Use System TLS in Project Settings → Player → Other Settings to make Unity use the device’s certificate list instead. This is worth doing regardless of your Unity version.
Nakama Socket #
The Nakama Socket is used for gameplay and real-time latency-sensitive features such as chat, parties, matches and RPCs.
From the client create a socket:
| |
By default, sockets dispatch events on a separate thread. If you want socket handlers to execute on Unity’s main thread, pass the useMainThread argument as true when creating the socket.
| |
WebGL Compatibility #
If you are planning to build your game for WebGL you will need to switch out the IHttpAdapter that the Socket object uses for the UnityWebRequestAdapter and then use the NewSocket() extension on the Client object to create the socket.
| |
Authentication #
Nakama has many authentication methods and supports creating custom authentication on the server.
Sagi-shi will use device and Facebook authentication, linked to the same user account so that players can play from multiple devices.

Device authentication #
Nakama Device Authentication uses the physical device’s unique identifier to easily authenticate a user and create an account if one does not exist.
When using only device authentication, you don’t need a login UI as the player can automatically authenticate when the game launches.
Authentication is an example of a Nakama feature accessed from a Nakama Client instance.
| |
Facebook authentication #
Nakama Facebook Authentication is an easy to use authentication method which lets you optionally import the player’s Facebook friends and add them to their Nakama Friends list.
To use Nakama Facebook Authentication, install the Facebook SDK for Unity (external) .
| |
Console authentication #
See the console authentication documentation for more information on how to authenticate players on consoles.
Custom authentication #
Nakama supports Custom Authentication methods to integrate with additional identity services.
See the Itch.io custom authentication recipe for an example.
The following code shows how you would authenticate from the client side:
| |
Linking authentication #
Nakama allows players to Link Authentication methods to their account once they have authenticated.
Linking Device ID authentication
| |
Linking Facebook authentication
| |
Session variables #
Nakama Session Variables can be stored when authenticating and will be available on the client and server as long as the session is active.
Sagi-shi uses session variables to implement analytics, referral and rewards programs and more.
Store session variables by passing them as an argument when authenticating:
| |
To access session variables on the Client use the Vars property on the Session object:
| |
Session lifecycle #
Nakama Sessions expire after a time set in your server configuration . Expiring inactive sessions is a good security practice.
Nakama provides ways to restore sessions, for example when Sagi-shi players re-launch the game, or refresh tokens to keep the session active while the game is being played.
Use the auth and refresh tokens on the session object to restore or refresh sessions.
Sagi-shi stores these tokens in Unity’s player preferences:
| |
Restore a session without having to re-authenticate:
| |
Check if a session has expired or is close to expiring and refresh it to keep it alive:
| |
Automatic session refresh #
The Unity client library includes a feature where sessions close to expiration are automatically refreshed.
This is enabled by default but can be configured when first creating the Nakama client using the following parameters:
AutoRefreshSession- Boolean value indicating if this feature is enabled,trueby defaultDefaultExpiredTimespan- The time prior to session expiry when auto-refresh will occur, set to 5 minutes be default
Ending sessions #
Logout and end the current session:
| |
User accounts #
Nakama User Accounts store user information defined by Nakama and custom developer metadata.
Sagi-shi allows players to edit their accounts and stores metadata for things like game progression and in-game items.

Get the user account #
Many of Nakama’s features are accessible with an authenticated session, like fetching a user account .
Get a Sagi-shi player’s full user account with their basic user information and user id:
| |
Update the user account #
Nakama provides easy methods to update server stored resources like user accounts.
Sagi-shi players need to be able to update their public profiles:
| |
Getting users #
In addition to getting the current authenticated player’s user account, Nakama has a convenient way to get a list of other players’ public profiles from their ids or usernames.
Sagi-shi uses this method to display player profiles when engaging with other Nakama features:
| |
Storing metadata #
Nakama User Metadata allows developers to extend user accounts with public user fields.
User metadata can only be updated on the server. See the updating user metadata recipe for an example.
Sagi-shi will use metadata to store what in-game items players have equipped:
Reading metadata #
Define a class that describes the metadata and parse the JSON metadata:
| |
Wallets #
Nakama User Wallets can store multiple digital currencies as key/value pairs of strings/integers.
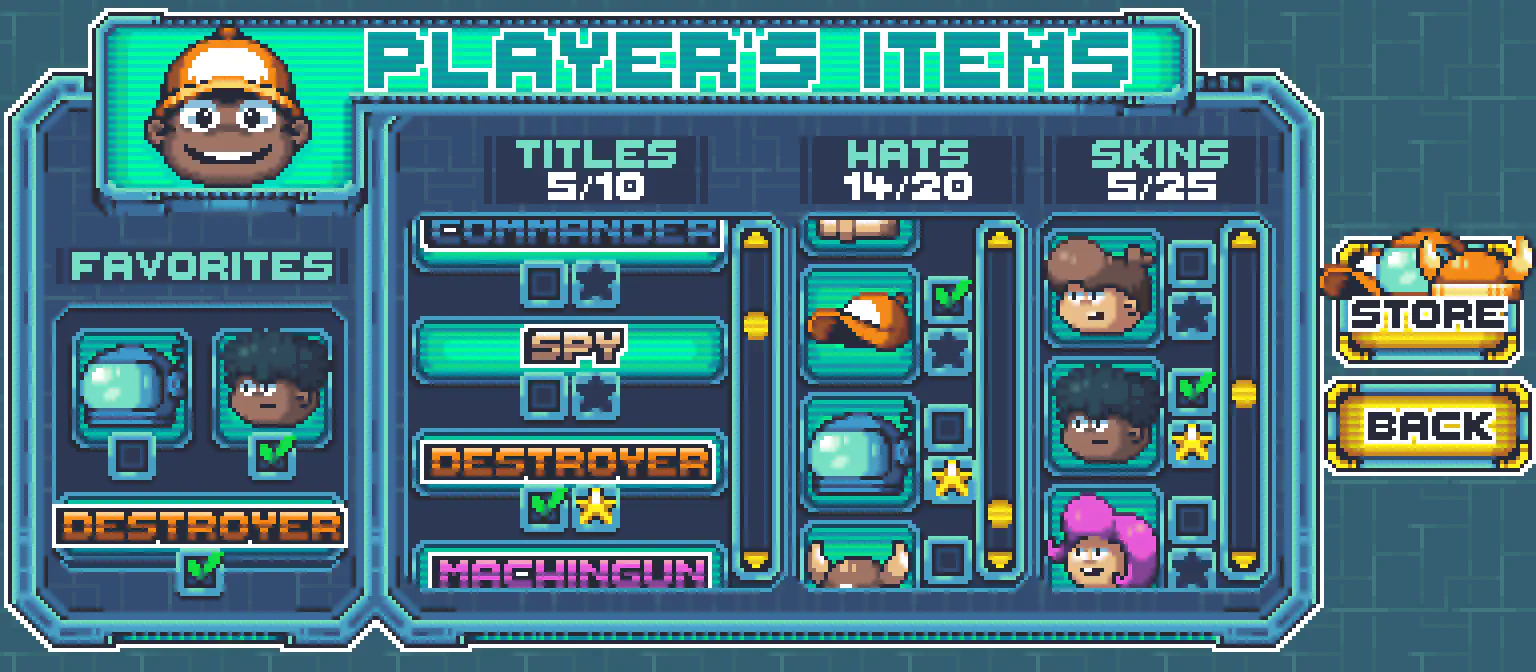
Players in Sagi-shi can unlock or purchase titles, skins and hats with a virtual in-game currency.
Accessing wallets #
Parse the JSON wallet data from the user account:
| |
Updating wallets #
Wallets can only be updated on the server. See the user account virtual wallet documentation for an example.
Validating in-app purchases #
Sagi-shi players can purchase the virtual in-game currency through in-app purchases that are authorized and validated to be legitimate on the server.
See the In-app Purchase Validation documentation for examples.
Storage Engine #
The Nakama Storage Engine is a distributed and scalable document-based storage solution for your game.
The Storage Engine gives you more control over how data can be accessed and structured in collections.
Collections are named, and store JSON data under a unique key and the user id.
By default, the player has full permission to create, read, update and delete their own storage objects.
Sagi-shi players can unlock or purchase many items, which are stored in the Storage Engine.
Reading storage objects #
Define a class that describes the storage object and create a new storage object id with the collection name, key and user id. Finally, read the storage objects and parse the JSON data:
| |
To read other players’ public storage objects use their UserId instead. Remember that players can only read storage objects they own or that are public (PermissionRead value of 2).
Writing storage objects #
Nakama allows developers to write to the Storage Engine from the client and server.
Consider what adverse effects a malicious user can have on your game and economy when deciding where to put your write logic, for example data that should only be written authoritatively (i.e. game unlocks or progress).
Sagi-shi allows players to favorite items for easier access in the UI and it is safe to write this data from the client.
Create a write storage object with the collection name, key and JSON encoded data. Finally, write the storage objects to the Storage Engine:
| |
You can also pass multiple objects to the WriteStorageObjectsAsync method:
| |
Conditional writes #
Storage Engine Conditional Writes ensure that write operations only happen if the object hasn’t changed since you accessed it.
This gives you protection from overwriting data, for example the Sagi-shi server could have updated an object since the player last accessed it.
To perform a conditional write, add a version to the write storage object with the most recent object version:
| |
Listing storage objects #
Instead of doing multiple read requests with separate keys you can list all the storage objects the player has access to in a collection.
Sagi-shi lists all the player’s unlocked or purchased titles, hats and skins:
| |
Paginating results #
Nakama methods that list results return a cursor which can be passed to subsequent calls to Nakama to indicate where to start retrieving objects from in the collection.
For example:
- If the cursor has a value of 5, you will get results from the fifth object.
- If the cursor is
null, you will get results from the first object.
| |
Protecting storage operations on the server #
Nakama Storage Engine operations can be protected on the server to protect data the player shouldn’t be able to modify (i.e. game unlocks or progress). See the writing to the Storage Engine authoritatively recipe.
Remote Procedure Calls #
The Nakama Server allows developers to write custom logic and expose it to the client as RPCs .
Sagi-shi contains various logic that needs to be protected on the server, like checking if the player owns equipment before equipping it.
Creating server logic #
See the handling player equipment authoritatively recipe for an example of creating a remote procedure to check if the player owns equipment before equipping it.
Client RPCs #
Nakama Remote Procedures can be called from the client and take optional JSON payloads.
The Sagi-shi client makes an RPC to securely equip a hat:
| |
Socket RPCs #
Nakama Remote Procedures can also be called from the socket when you need to interface with Nakama’s real-time functionality.
| |
Friends #
Nakama Friends offers a complete social graph system to manage friendships amongst players.
Sagi-shi allows players to add friends, manage their relationships and play together.

Adding friends #
Adding a friend in Nakama does not immediately add a mutual friend relationship. An outgoing friend request is created to each user, which they will need to accept.
Sagi-shi allows players to add friends by their usernames or user ids:
| |
Friendship states #
Nakama friendships are categorized with the following states :
| Value | State |
|---|---|
| 0 | Mutual friends |
| 1 | An outgoing friend request pending acceptance |
| 2 | An incoming friend request pending acceptance |
| 3 | Blocked by the user |
Listing friends #
Nakama allows developers to list the player’s friends based on their friendship state.
Sagi-shi lists the 20 most recent mutual friends:
| |
Accepting friend requests #
When accepting a friend request in Nakama the player adds a bi-directional friend relationship .
Nakama takes care of changing the state from pending to mutual for both.
In a complete game you would allow players to accept individual requests.
Sagi-shi just fetches and accepts all the incoming friend requests:
| |
Deleting friends #
Sagi-shi players can decline friend requests and remove friends by their username or user id:
| |
Blocking users #
Sagi-shi players can block others by their username or user id:
| |
Status & Presence #
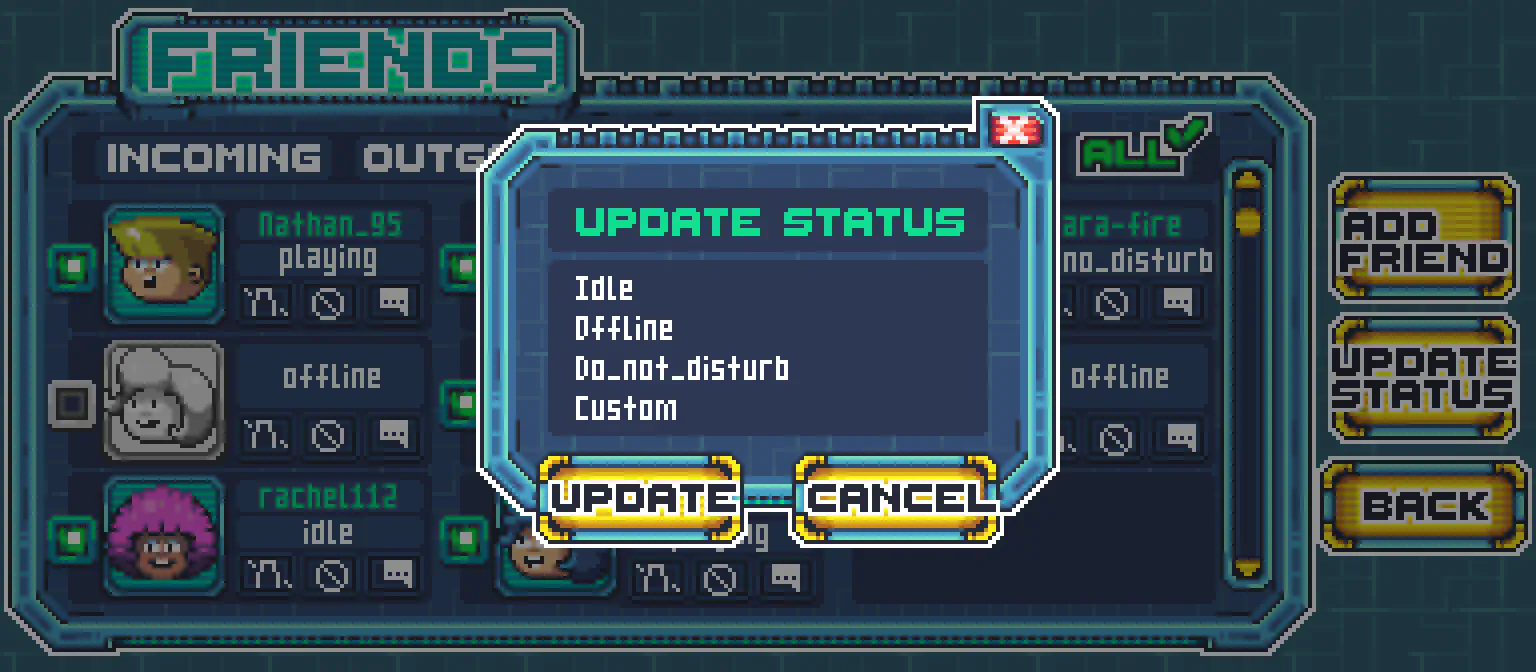
Nakama Status is a real-time status and presence service that allows users to set their online presence, update their status message and follow other user’s updates.
Players don’t have to be friends with others they want to follow.
Sagi-shi uses status messages and online presences to notify players when their friends are online and share matches.
Follow users #
The Nakama real-time APIs allow developers to subscribe to events on the socket, like a status presence change, and receive them in real-time.
The method to follow users also returns the current online users, known as presences, and their status.
Sagi-shi follows a player’s friends and notifies them when they are online:
| |
Unfollow users #
Sagi-shi players can unfollow others:
| |
Updating player status #
Sagi-shi players can change and publish their status to their followers:
| |
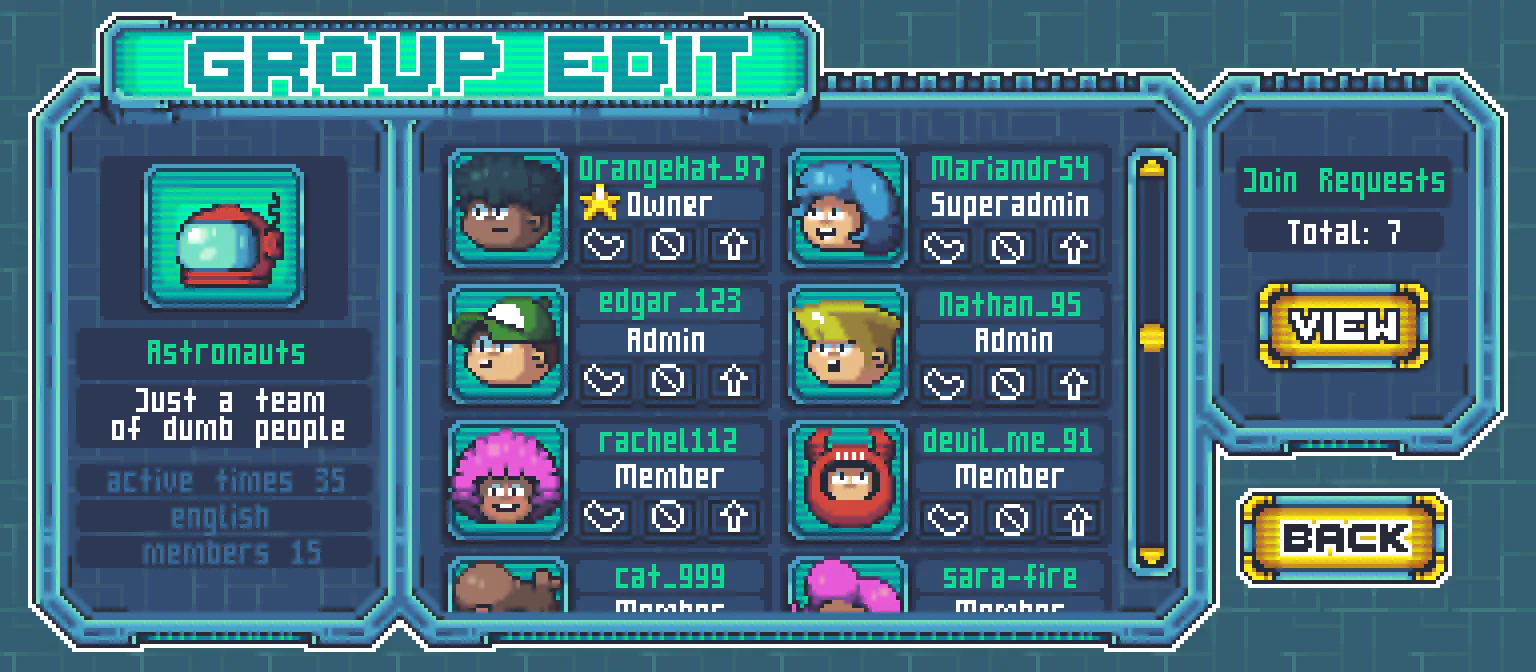
Groups #
Nakama Groups is a group or clan system with public/private visibility, user memberships and permissions, metadata and group chat.
Sagi-shi allows players to form and join groups to socialize and compete.

Creating groups #
Groups have a public or private “open” visibility. Anyone can join public groups, but they must request to join and be accepted by a superadmin/admin of a private group.
Sagi-shi players can create groups around common interests:
| |
Update group visibility #
Nakama allows group superadmin or admin members to update some properties from the client, like the open visibility:
| |
Update group size #
Other properties, like the group’s maximum member size, can only be changed on the server.
See the updating group size recipe for an example, and the Groups server function reference to learn more about updating groups on the server.
Listing and filtering groups #
Groups can be listed like other Nakama resources and also filtered with a wildcard group name.
Sagi-shi players use group listing and filtering to search for existing groups to join:
| |
Deleting groups #
Nakama allows group superadmins to delete groups.
Developers can disable this feature entirely, see the Guarding APIs guide for an example on how to protect various Nakama APIs.
Sagi-shi players can delete groups which they are superadmins for:
| |
Group metadata #
Like Users Accounts, Groups can have public metadata.
Sagi-shi uses group metadata to store the group’s interests, active player times and languages spoken.
Group metadata can only be updated on the server. See the updating group metadata recipe for an example.
The Sagi-shi client makes an RPC with the group metadata payload:
| |
Group membership states #
Nakama group memberships are categorized with the following states :
| Code | Purpose | |
|---|---|---|
| 0 | Superadmin | There must at least be 1 superadmin in any group. The superadmin has all the privileges of the admin and can additionally delete the group and promote admin members. |
| 1 | Admin | There can be one of more admins. Admins can update groups as well as accept, kick, promote, demote, ban or add members. |
| 2 | Member | Regular group member. They cannot accept join requests from new users. |
| 3 | Join request | A new join request from a new user. This does not count towards the maximum group member count. |
Joining a group #
If a player joins a public group they immediately become a member, but if they try and join a private group they must be accepted by a group admin.
Sagi-shi players can join a group:
| |
Listing the user’s groups #
Sagi-shi players can list groups they are a member of:
| |
Listing members #
Sagi-shi players can list a group’s members:
| |
Accepting join requests #
Private group admins or superadmins can accept join requests by re-adding the user to the group.
Sagi-shi first lists all the users with a join request state and then loops over and adds them to the group:
| |
Promoting members #
Nakama group members can be promoted to admin or superadmin roles to help manage a growing group or take over if members leave.
Admins can promote other members to admins, and superadmins can promote other members up to superadmins.
The members will be promoted up one level. For example:
- Promoting a member will make them an admin
- Promoting an admin will make them a superadmin
| |
Demoting members #
Sagi-shi group admins and superadmins can demote members:
| |
Kicking members #
Sagi-shi group admins and superadmins can remove group members:
| |
Banning members #
Sagi-shi group admins and superadmins can ban a user when demoting or kicking is not severe enough:
| |
Leaving groups #
Sagi-shi players can leave a group:
| |
Chat #
Nakama Chat is a real-time chat system for groups, private/direct messages and dynamic chat rooms.
Sagi-shi uses dynamic chat during matches, for players to mislead each other and discuss who the imposters are, group chat and private/direct messages.

Joining dynamic rooms #
Sagi-shi matches have a non-persistent chat room for players to communicate in:
| |
Joining group chat #
Sagi-shi group members can have conversations that span play sessions in a persistent group chat channel:
| |
Joining direct chat #
Sagi-shi players can also chat privately one-to-one during or after matches and view past messages:
| |
Sending messages #
Sending messages is the same for every type of chat channel. Messages contain chat text and emotes and are sent as JSON serialized data:
| |
Listing message history #
Message listing takes a parameter which indicates if messages are received from oldest to newest (forward) or newest to oldest.
Sagi-shi players can list a group’s message history:
| |
Chat also has cacheable cursors to fetch the most recent messages, which you can store in PlayerPrefs.
| |
Updating messages #
Nakama also supports updating messages. It is up to you whether you want to use this feature, but in a game of deception like Sagi-shi it can add an extra element of deception.
For example a player sends the following message:
| |
They then quickly edit their message to confuse others:
| |
Matches #
Nakama supports Server Authoritative and Server Relayed multiplayer matches.
In server authoritative matches the server controls the gameplay loop and must keep all clients up to date with the current state of the game.
In server relayed matches the client is in control, with the server only relaying information to the other connected clients.
In a competitive game such as Sagi-shi, server authoritative matches would likely be used to prevent clients from interacting with your game in unauthorized ways.
For the simplicity of this guide, the server relayed model is used.
Creating matches #
Sagi-shi players can create their own matches and invite their online friends to join:
| |
Creating a match by match name
Sagi-shi players can also create matches with a specific match name, this allows them to invite their friends by telling them the name of the match. It should be noted that when creating a match by name (which is an arbitrary name and not something tied to authoritative match handlers), the match will always be a relayed match rather than an authoritative match.
| |
Joining matches #
Sagi-shi players can try to join existing matches if they know the id:
| |
Or set up a real-time matchmaker listener and add themselves to the matchmaker:
| |
Joining matches by match name
Sagi-shi players can join a match by match name if their friends have shared one with them.
| |
Joining matches from player status
Sagi-shi players can update their status when they join a new match:
| |
When their followers receive the real-time status event they can try and join the match:
| |
Listing matches #
Match Listing takes a number of criteria to filter matches by including player count, a match label and an option to provide a more complex search query .
Sagi-shi matches start in a lobby state. The match exists on the server but the actual gameplay doesn’t start until enough players have joined.
Sagi-shi can then list matches that are waiting for more players:
| |
To find a match that has a label of "AnExactMatchLabel":
| |
Advanced:
In order to use a more complex structured query, the match label must be in JSON format.
To find a match where it expects player skill level to be >100 and optionally has a game mode of "sabotage":
| |
Spawning players #
The match object has a list of current online users, known as presences.
Sagi-shi uses the match presences to spawn players on the client:
| |
Sagi-shi keeps the spawned players up-to-date as they leave and join the match using the match presence received event:
| |
Sending match state #
Nakama has real-time networking to send and receive match state as players move and interact with the game world.
During the match, each Sagi-shi client sends match state to the server to be relayed to the other clients.
Match state contains an op code that lets the receiver know what data is being received so they can deserialize it and update their view of the game.
Example op codes used in Sagi-shi:
- 1: player position
- 2: player calling vote
Sending player position
Define a class to represent Sagi-shi player position states:
| |
Create an instance from the player’s transform, set the op code and send the JSON encoded state:
| |
Op Codes as a static class
Sagi-shi has many networked game actions. Using a static class of constants for op codes will keep your code easier to follow and maintain:
| |
Receiving match state #
Sagi-shi players can receive match data from the other connected clients by subscribing to the match state received event:
| |
Matchmaker #
Developers can find matches for players using Match Listing or the Nakama Matchmaker , which enables players join the real-time matchmaking pool and be notified when they are matched with other players that match their specified criteria.
Matchmaking helps players find each other, it does not create a match. This decoupling is by design, allowing you to use matchmaking for more than finding a game match. For example, if you were building a social experience you could use matchmaking to find others to chat with.
Add matchmaker #
Matchmaking criteria can be simple, find 2 players, or more complex, find 2-10 players with a minimum skill level interested in a specific game mode.
Sagi-shi allows players to join the matchmaking pool and have the server match them with other players:
| |
Parties #
Nakama Parties is a real-time system that allows players to form short lived parties that don’t persist after all players have disconnected.
Sagi-shi allows friends to form a party and matchmake together.
Creating parties #
The player who creates the party is the party’s leader. Parties have maximum number of players and can be open to automatically accept players or closed so that the party leader can accept incoming join requests.
Sagi-shi uses closed parties with a maximum of 4 players:
| |
Sagi-shi shares party ids with friends via private/direct messages:
| |
Joining parties #
Safi-shi players can join parties from chat messages by checking for the party id in the message:
| |
Promoting a member #
Sagi-shi party members can be promoted to the party leader:
| |
Leaving parties #
Sagi-shi players can leave parties:
| |
Matchmaking with parties #
One of the main benefits of joining a party is that all the players can join the matchmaking pool together.
Sagi-shi players can listen to the the matchmaker matched event and join the match when one is found:
| |
The party leader will start the matchmaking for their party:
| |
Sending party data #
Sagi-shi players can send data to other members of their party to indicate they wish to start a vote.
| |
Receiving party data #
Sagi-shi players can receive party data from other party members by subscribing to the party data event.
| |
Leaderboards #
Nakama Leaderboards introduce a competitive aspect to your game and increase player engagement and retention.
Sagi-shi has a leaderboard of weekly imposter wins, where player scores increase each time they win, and similarly a leaderboard for weekly crew member wins.

Creating leaderboards #
Leaderboards have to be created on the server, see the leaderboard documentation for details on creating leaderboards.
Submitting scores #
When players submit scores, Nakama will increment the player’s existing score by the submitted score value.
Along with the score value, Nakama also has a subscore, which can be used for ordering when the scores are the same.
Sagi-shi players can submit scores to the leaderboard with contextual metadata, like the map the score was achieved on:
| |
Listing the top records #
Sagi-shi players can list the top records of the leaderboard:
| |
Listing records around the user
Nakama allows developers to list leaderboard records around a player.
Sagi-shi gives players a snapshot of how they are doing against players around them:
| |
For example, if the leaderboard contains 100 records and the ownerId = “player123” with limit = 5, the result will include the specified user along with nearby records:
| |
Listing records for a list of users
Sagi-shi players can get their friends’ scores by supplying their user ids to the owner id parameter:
| |
The same approach can be used to get group member’s scores by supplying their user ids to the owner id parameter:
| |
Deleting records #
Sagi-shi players can delete their own leaderboard records:
| |
Tournaments #
Nakama Tournaments are short lived competitions where players compete for a prize.
Sagi-shi players can view, filter and join running tournaments.

Creating tournaments #
Tournaments have to be created on the server, see the tournament documentation for details on how to create a tournament.
Sagi-shi has a weekly tournament which challenges players to get the most correct imposter votes. At the end of the week the top players receive a prize of in-game currency.
Joining tournaments #
By default in Nakama players don’t have to join tournaments before they can submit a score, but Sagi-shi makes this mandatory:
| |
Listing tournaments #
Sagi-shi players can list and filter tournaments with various criteria:
| |
For performance reasons categories are filtered using a range, not individual numbers. Structure your categories to take advantage of this (e.g. all PVE tournaments in the 1XX range, all PVP tournaments in the 2XX range, etc.).
Listing records #
Sagi-shi players can list tournament records:
| |
Listing records around a user
Similarly to leaderboards, Sagi-shi players can get other player scores around them:
| |
Submitting scores #
Sagi-shi players can submit scores, subscores and metadata to the tournament:
| |
Deleting scores #
Sagi-shi players can delete their own tournament records:
| |
Notifications #
Nakama Notifications can be used for the game backend to broadcast real-time messages to players.
Notifications can be either persistent (remaining until a player has viewed it) or transient (received only if the player is currently online).
Sagi-shi uses Notifications to notify tournament winners about their winnings.

Receiving notifications #
Notifications have to be sent from the server.
Nakama uses a code to differentiate notifications. Codes of 0 and below are system reserved
for Nakama internals.
Sagi-shi players can subscribe to the notification received event. Sagi-shi uses a code of 100 for tournament winnings:
| |
Listing notifications #
Sagi-shi players can list the notifications they received while offline:
| |
Pagination and cacheable cursors
Like other listing methods, notification results can be paginated using a cursor or cacheable cursor from the result.
| |
The next time the player logs in the cacheable cursor can be used to list unread notifications.
| |
Deleting notifications #
Sagi-shi players can delete notifications once they’ve read them:
| |
