How to create Hiro configurations with Google Sheets
This guide provides an overview of the Hiro Exporter, a tool designed for developers to create Hiro JSON Data Definitions using Google Sheets. The Hiro Exporter simplifies the process of converting spreadsheet entries into the correct JSON format required by Hiro.
Currently, the exporter supports key systems including Economy, Achievements, Energy, and Inventory.
It also allows for direct exports to Heroic Cloud through Hiro’s Personalizer system. This guide will walk you through how to effectively utilize the Hiro Exporter to enhance your data management workflow.
Getting Started #
Prerequisites #
Before proceeding, ensure that you have:
A Google account with access to Google Sheets
(Optional) An active Heroic Cloud account
Setting up your workspace #
- Open the Hiro Exporter sheet.
- You will be prompted to make a copy of the sheet. Click Make a copy.
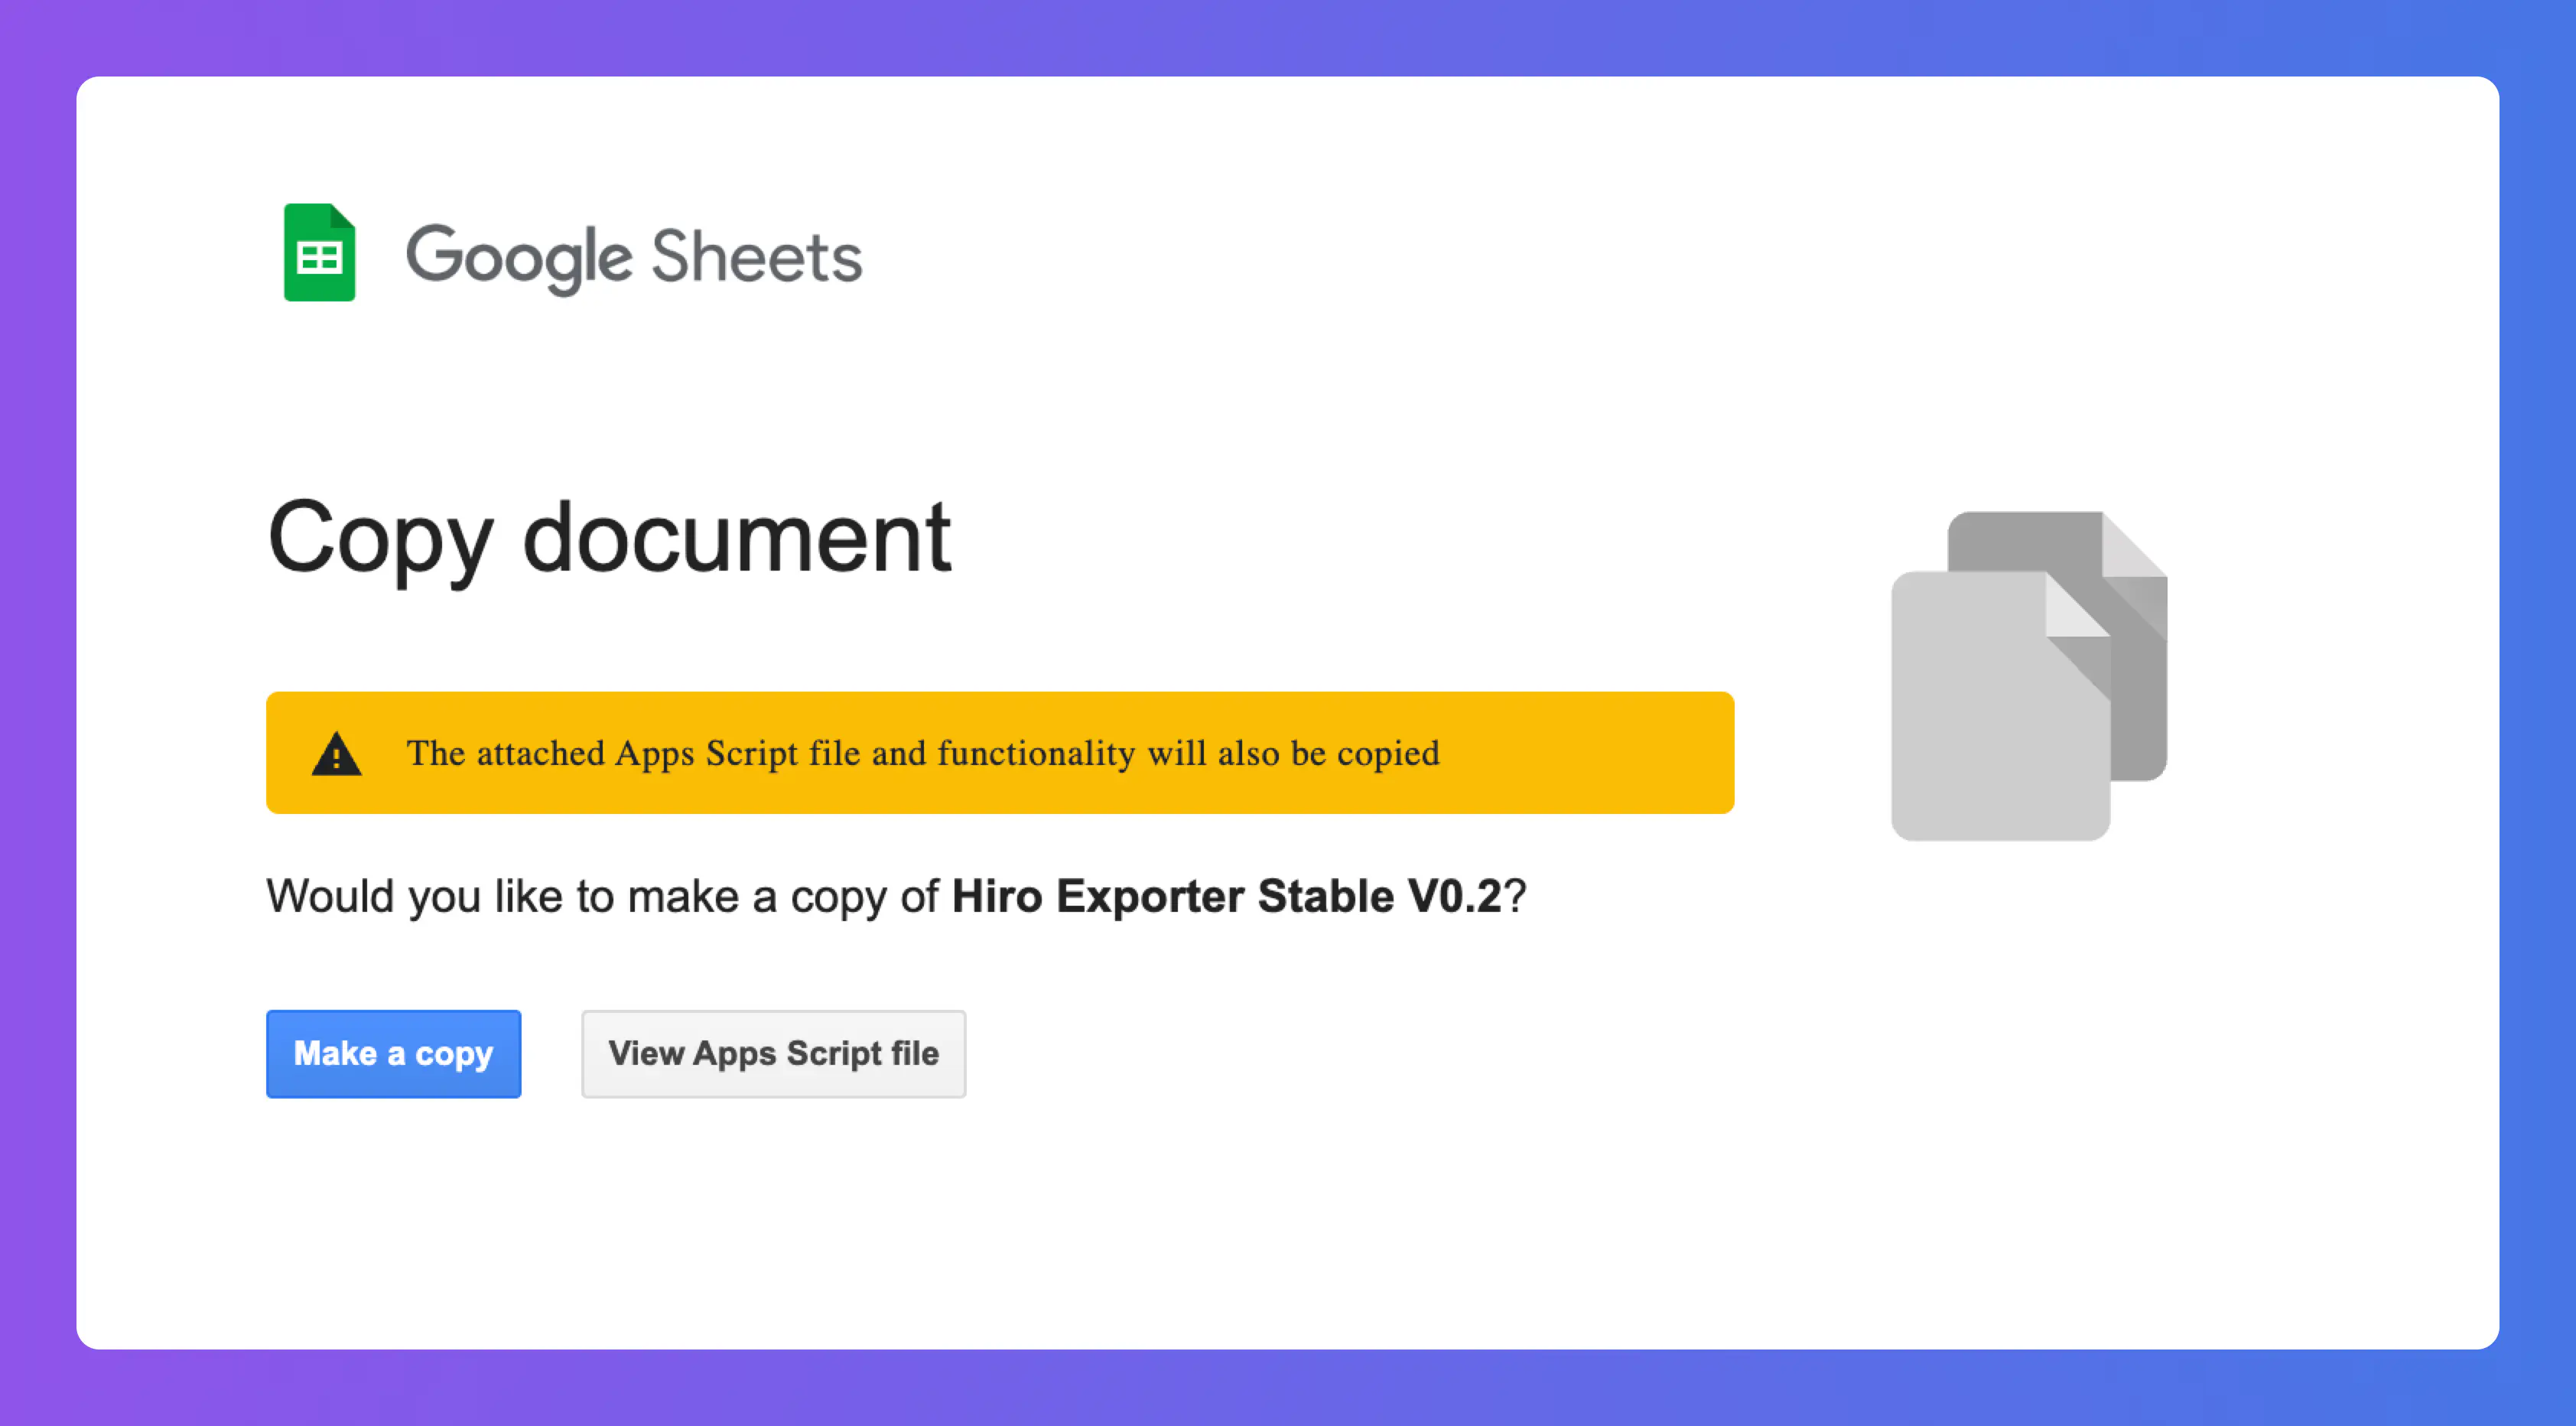
After copying the sheet, it will immediately open in your browser. The Exporter already comes pre-filled with mock data; this is to help you better understand how to fill in each sheet. Feel free to delete them and refer to the original sheet for examples.
Getting to know the sheet #
The Exporter is divided into 3 parts:
- The Upload Details (_Env): The server details for uploading the exported JSON.
- The Indexer (_Indexer): An index of which sheet corresponds to each system and subsystem.
- The Systems: All the sheets that contain the data for all the systems.
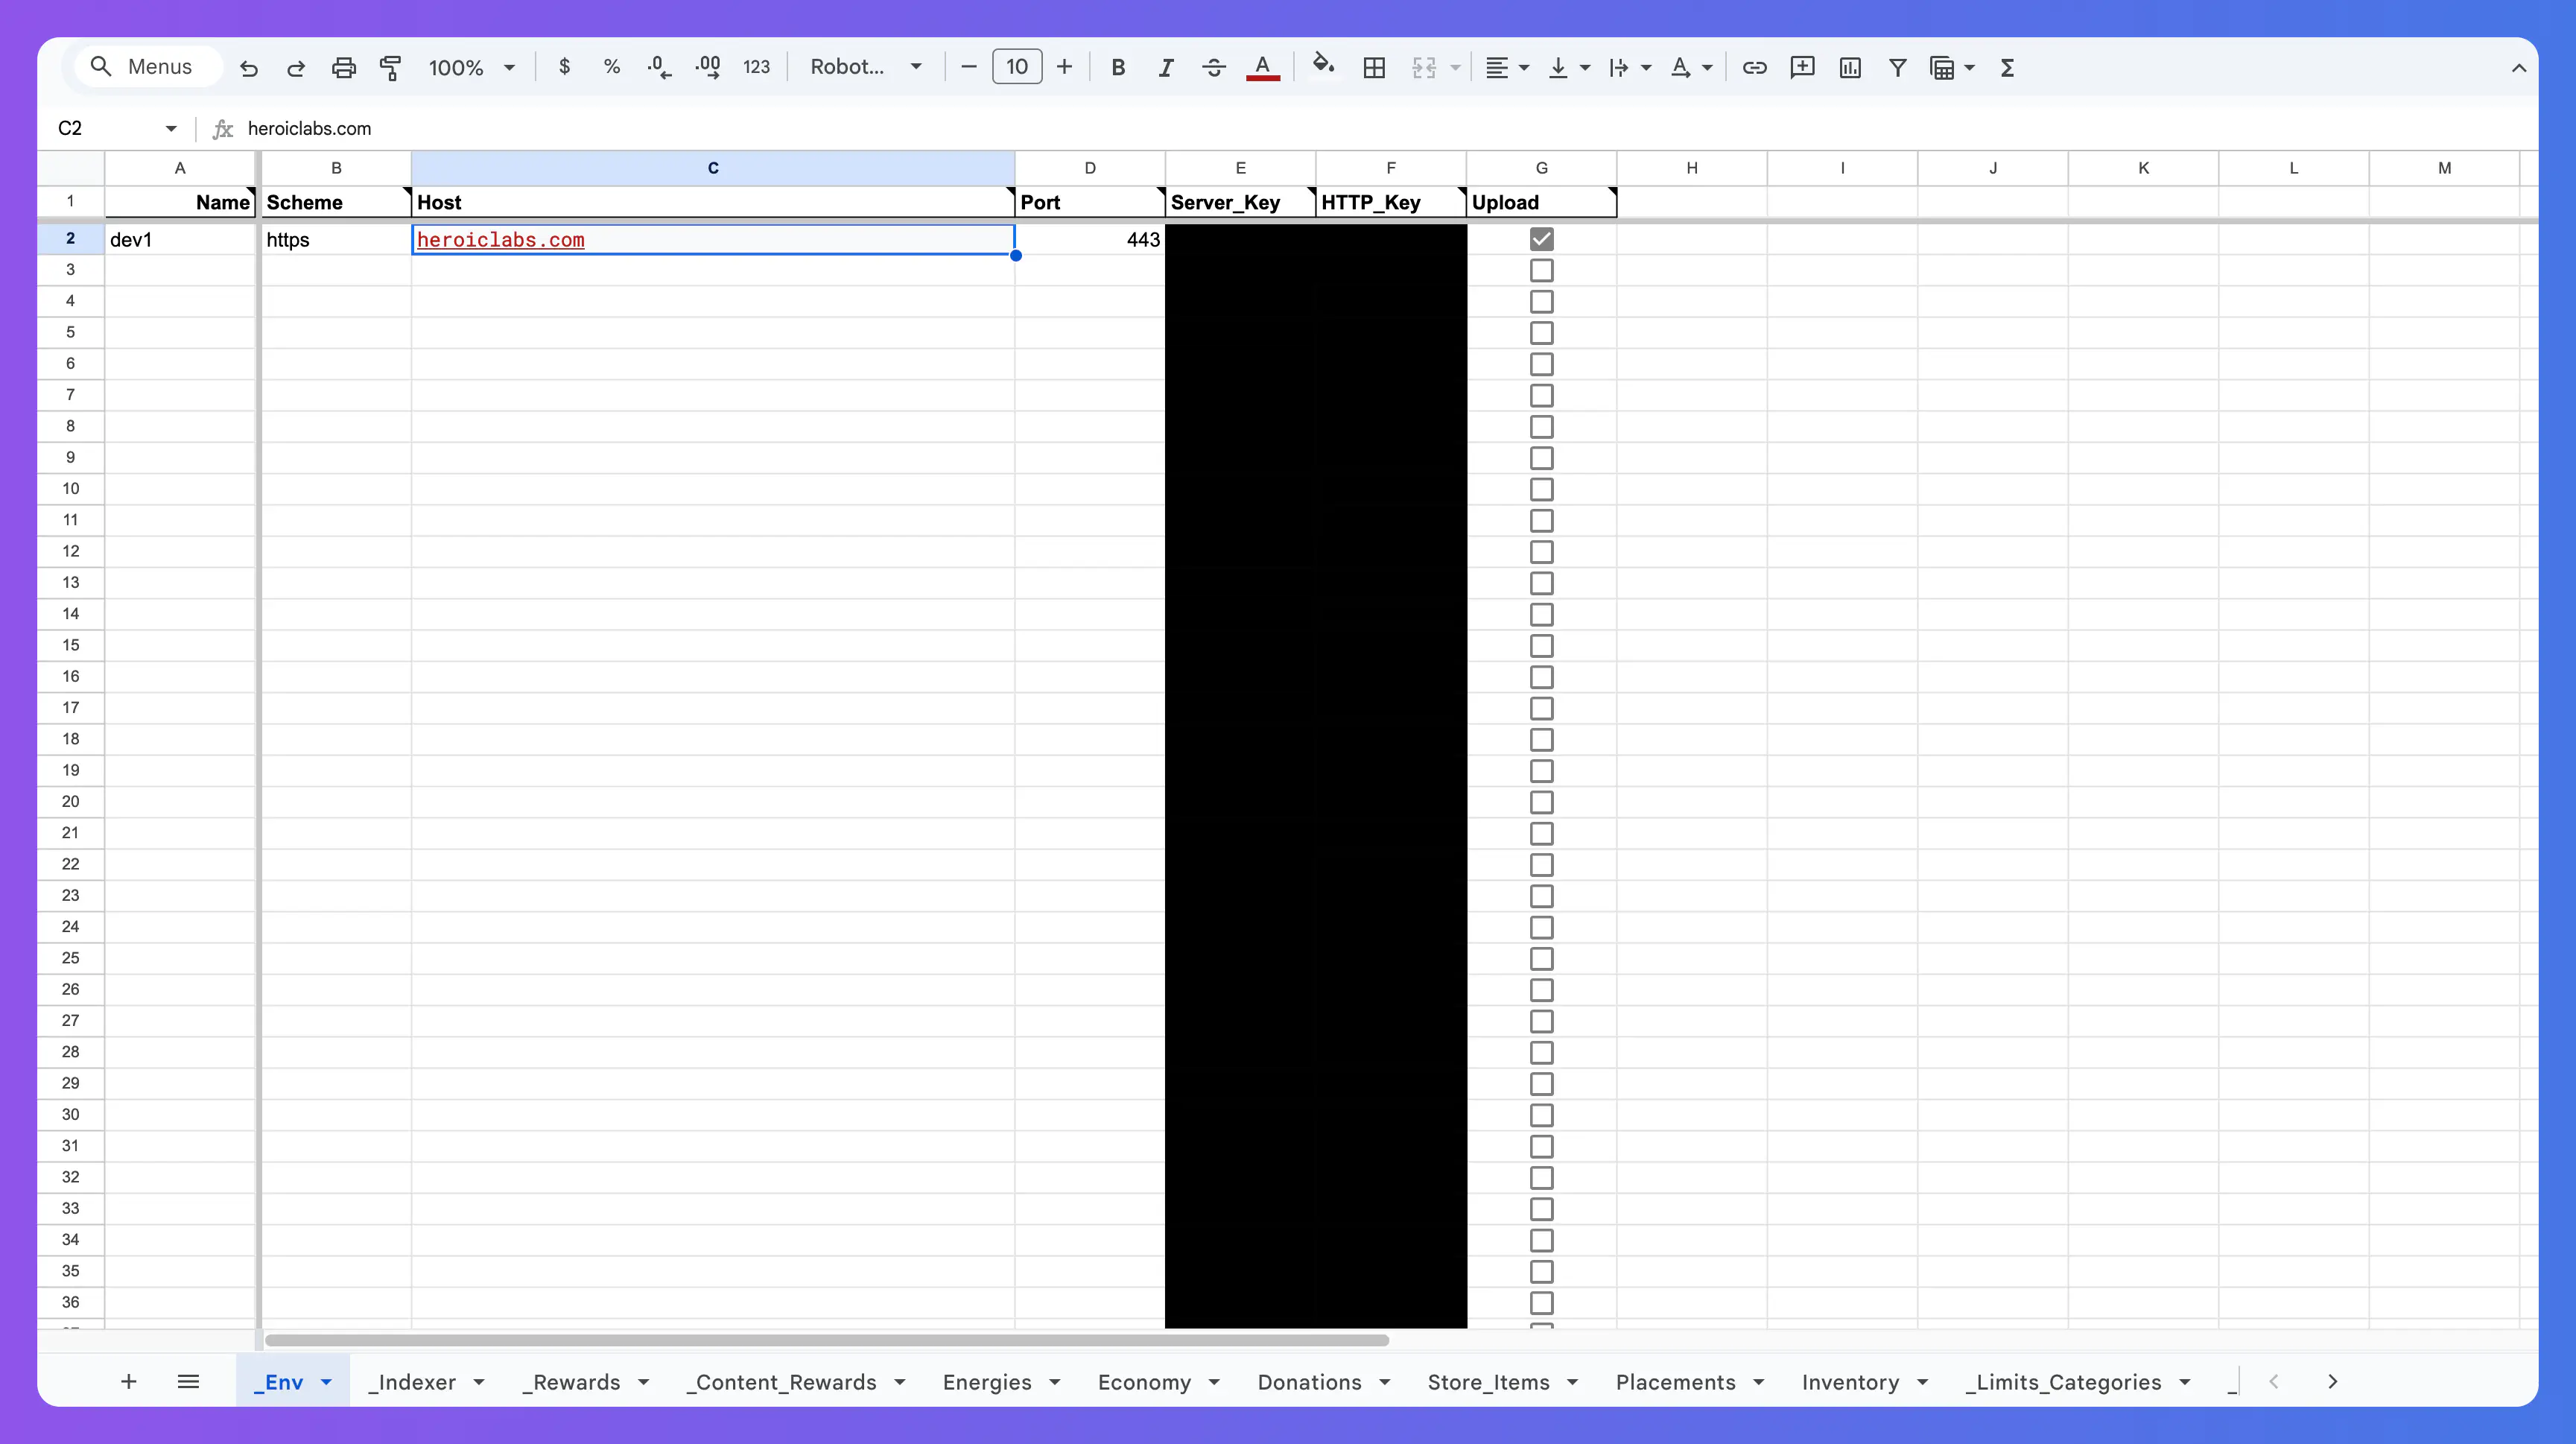
_Env #
The ‘_Env’ sheet is where you specify the upload destination for your exported JSON data.
| Property | Type | Description |
|---|---|---|
Name | string | Name for this destination, for organizational purposes, optional. |
Scheme | string | Which URI Scheme the destination uses, most commonly HTTP or HTTPS. |
Port | int | The port to send this request to. Nakama/Hiro use port 443. |
Server Key | string | The server key to authenticate the request. Can be found on your Heroic Cloud console. |
HTTP Key | string | The HTTP key to encrypt the request. Can be found on your Heroic Cloud console. |
Upload | bool | True if you want the exporter to upload to this destination. |
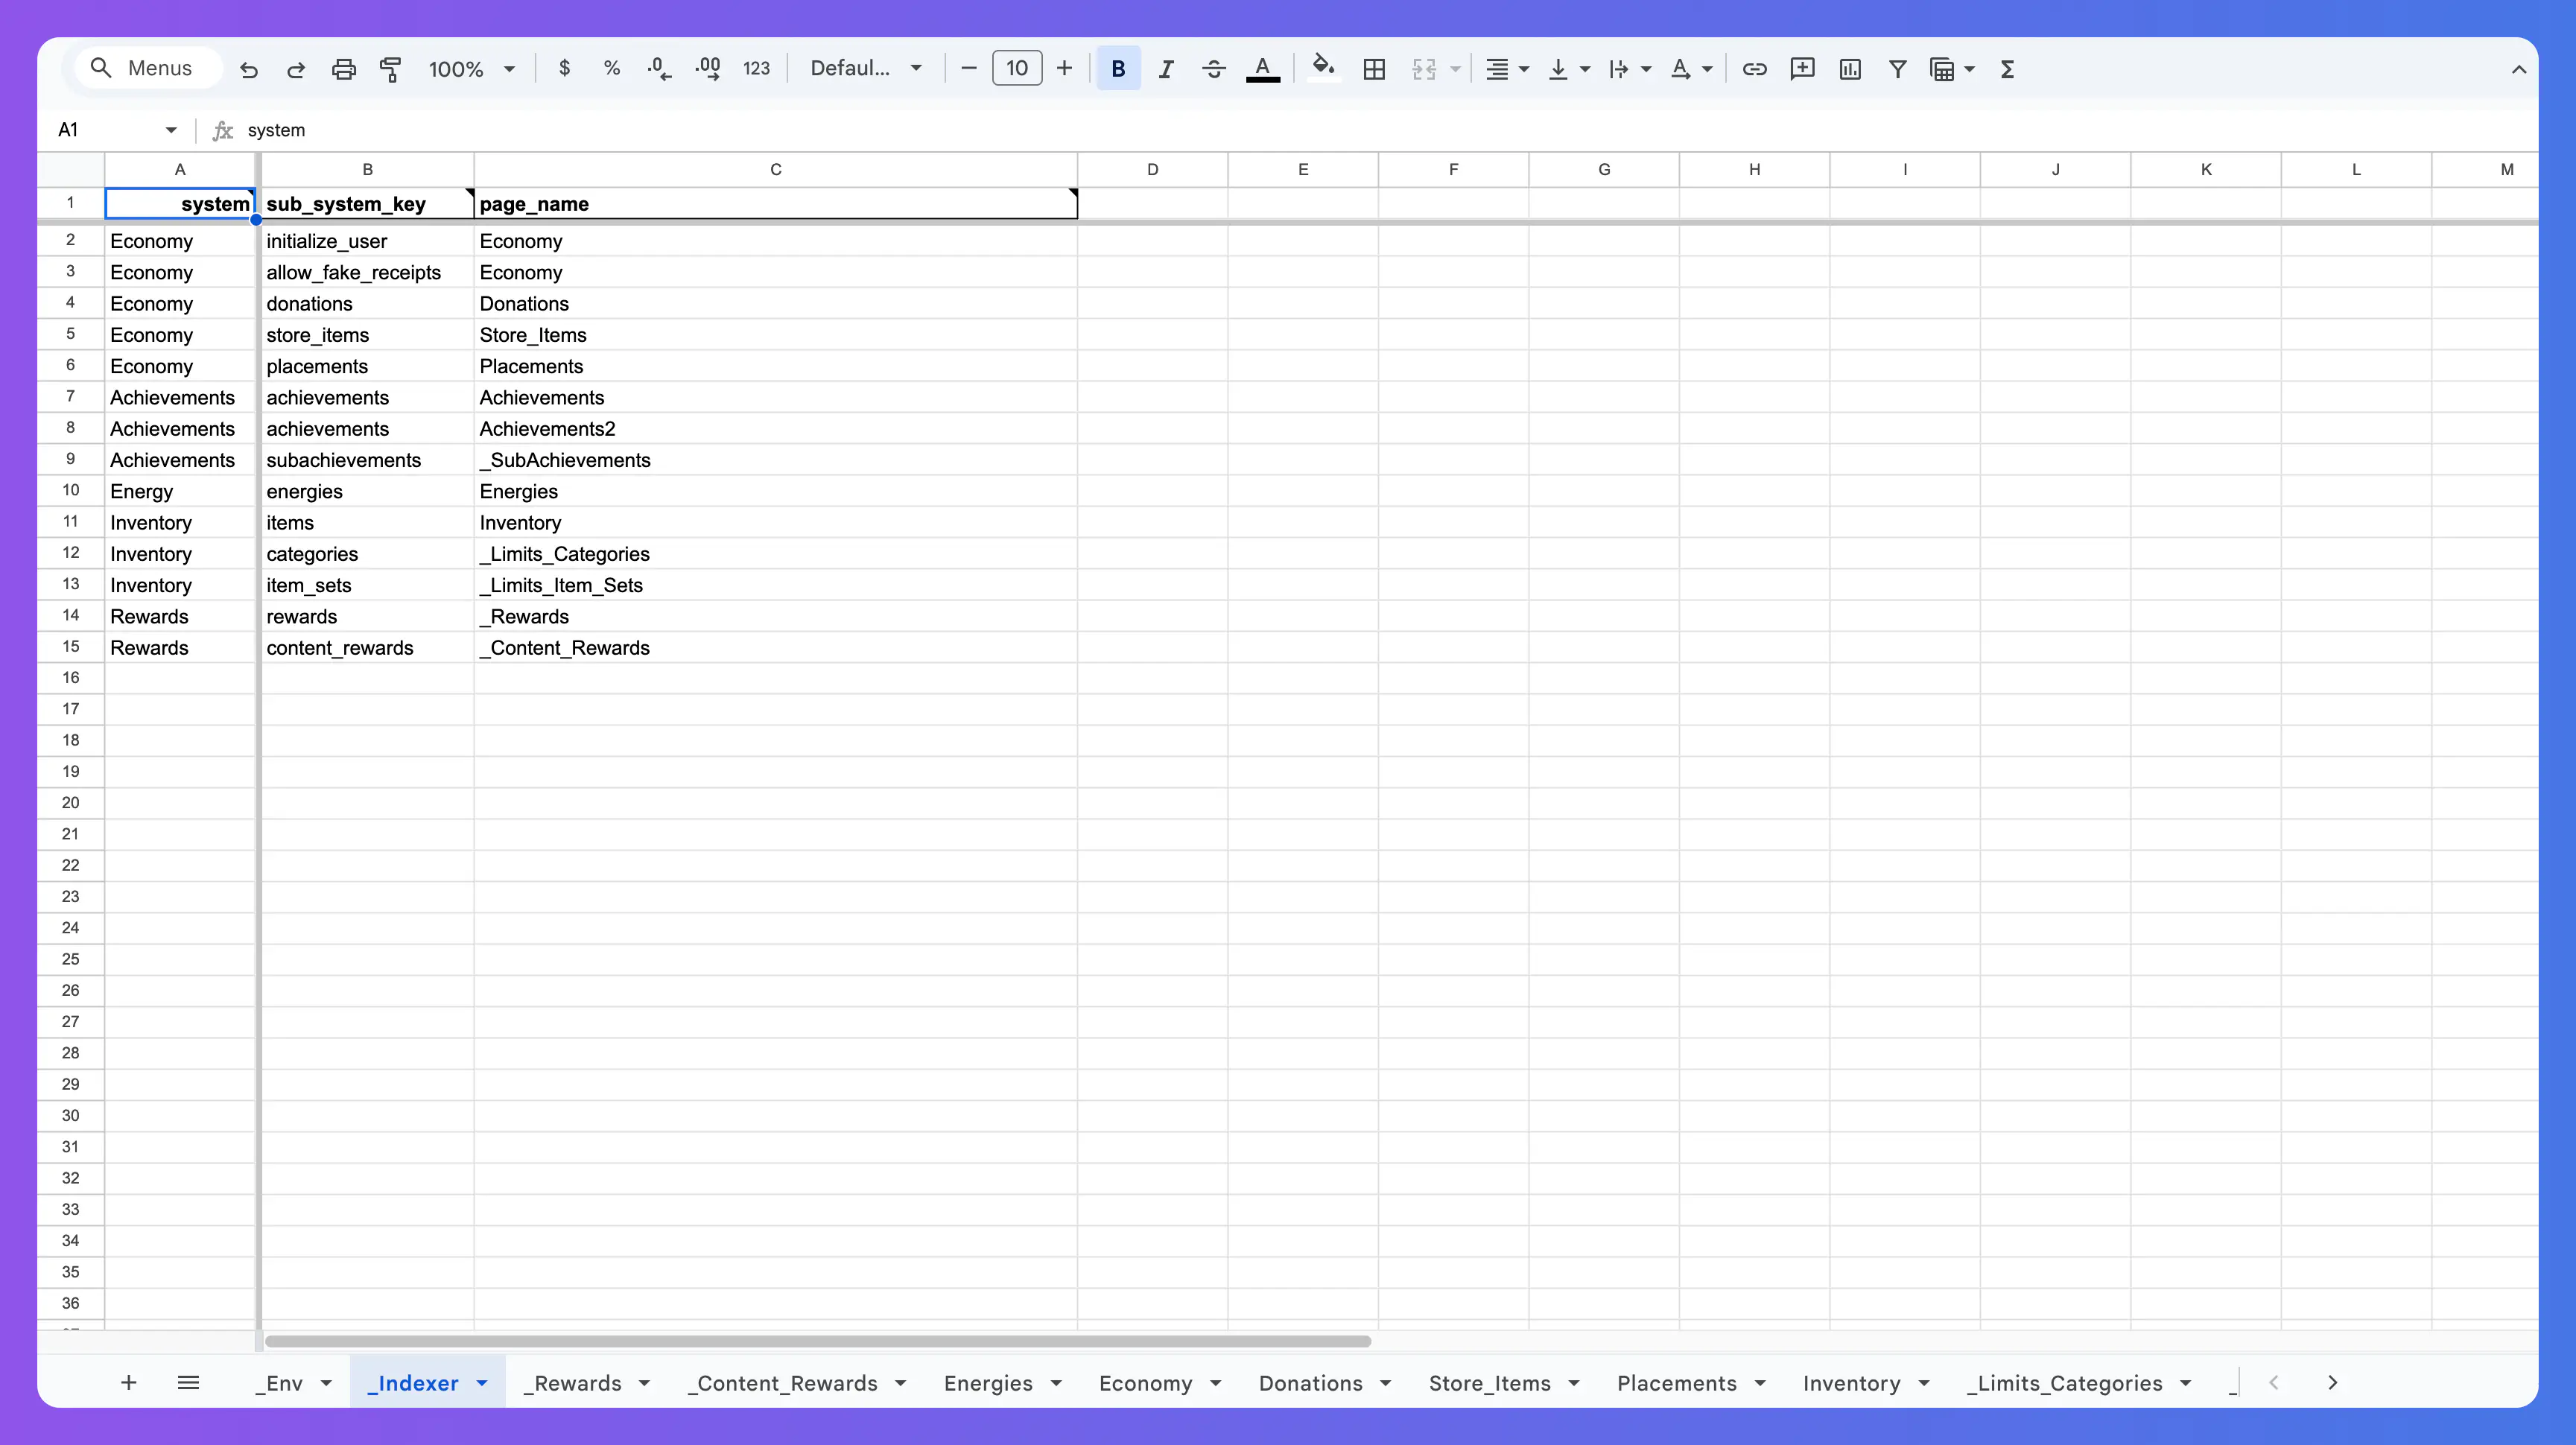
_Indexer #
In the sheet named “_Indexer”, you can indicate which sheets contain which system or sub-system. For organization purposes, you can have multiple sheets for the same system and subsystem. For example, you could have 2 pages for Achievements: one where you define the achievements for your main campaign, and another where you define the achievements for side quests and mini-games.
In the next sections, you will see how to fill in each system’s spreadsheet to prepare them for export.
| Property | Type | Description |
|---|---|---|
system | string | The name of the system we want to map. |
sub_system_key | string | The name of the subsystem we want to map. The subsystem must be part of the system. |
page_name | string | The name of the page that contains the system and subsystem’s data. |
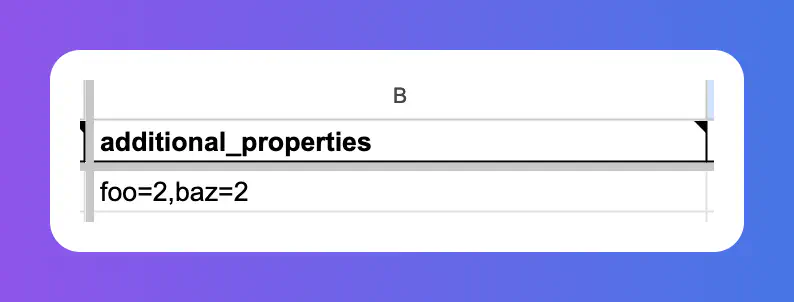
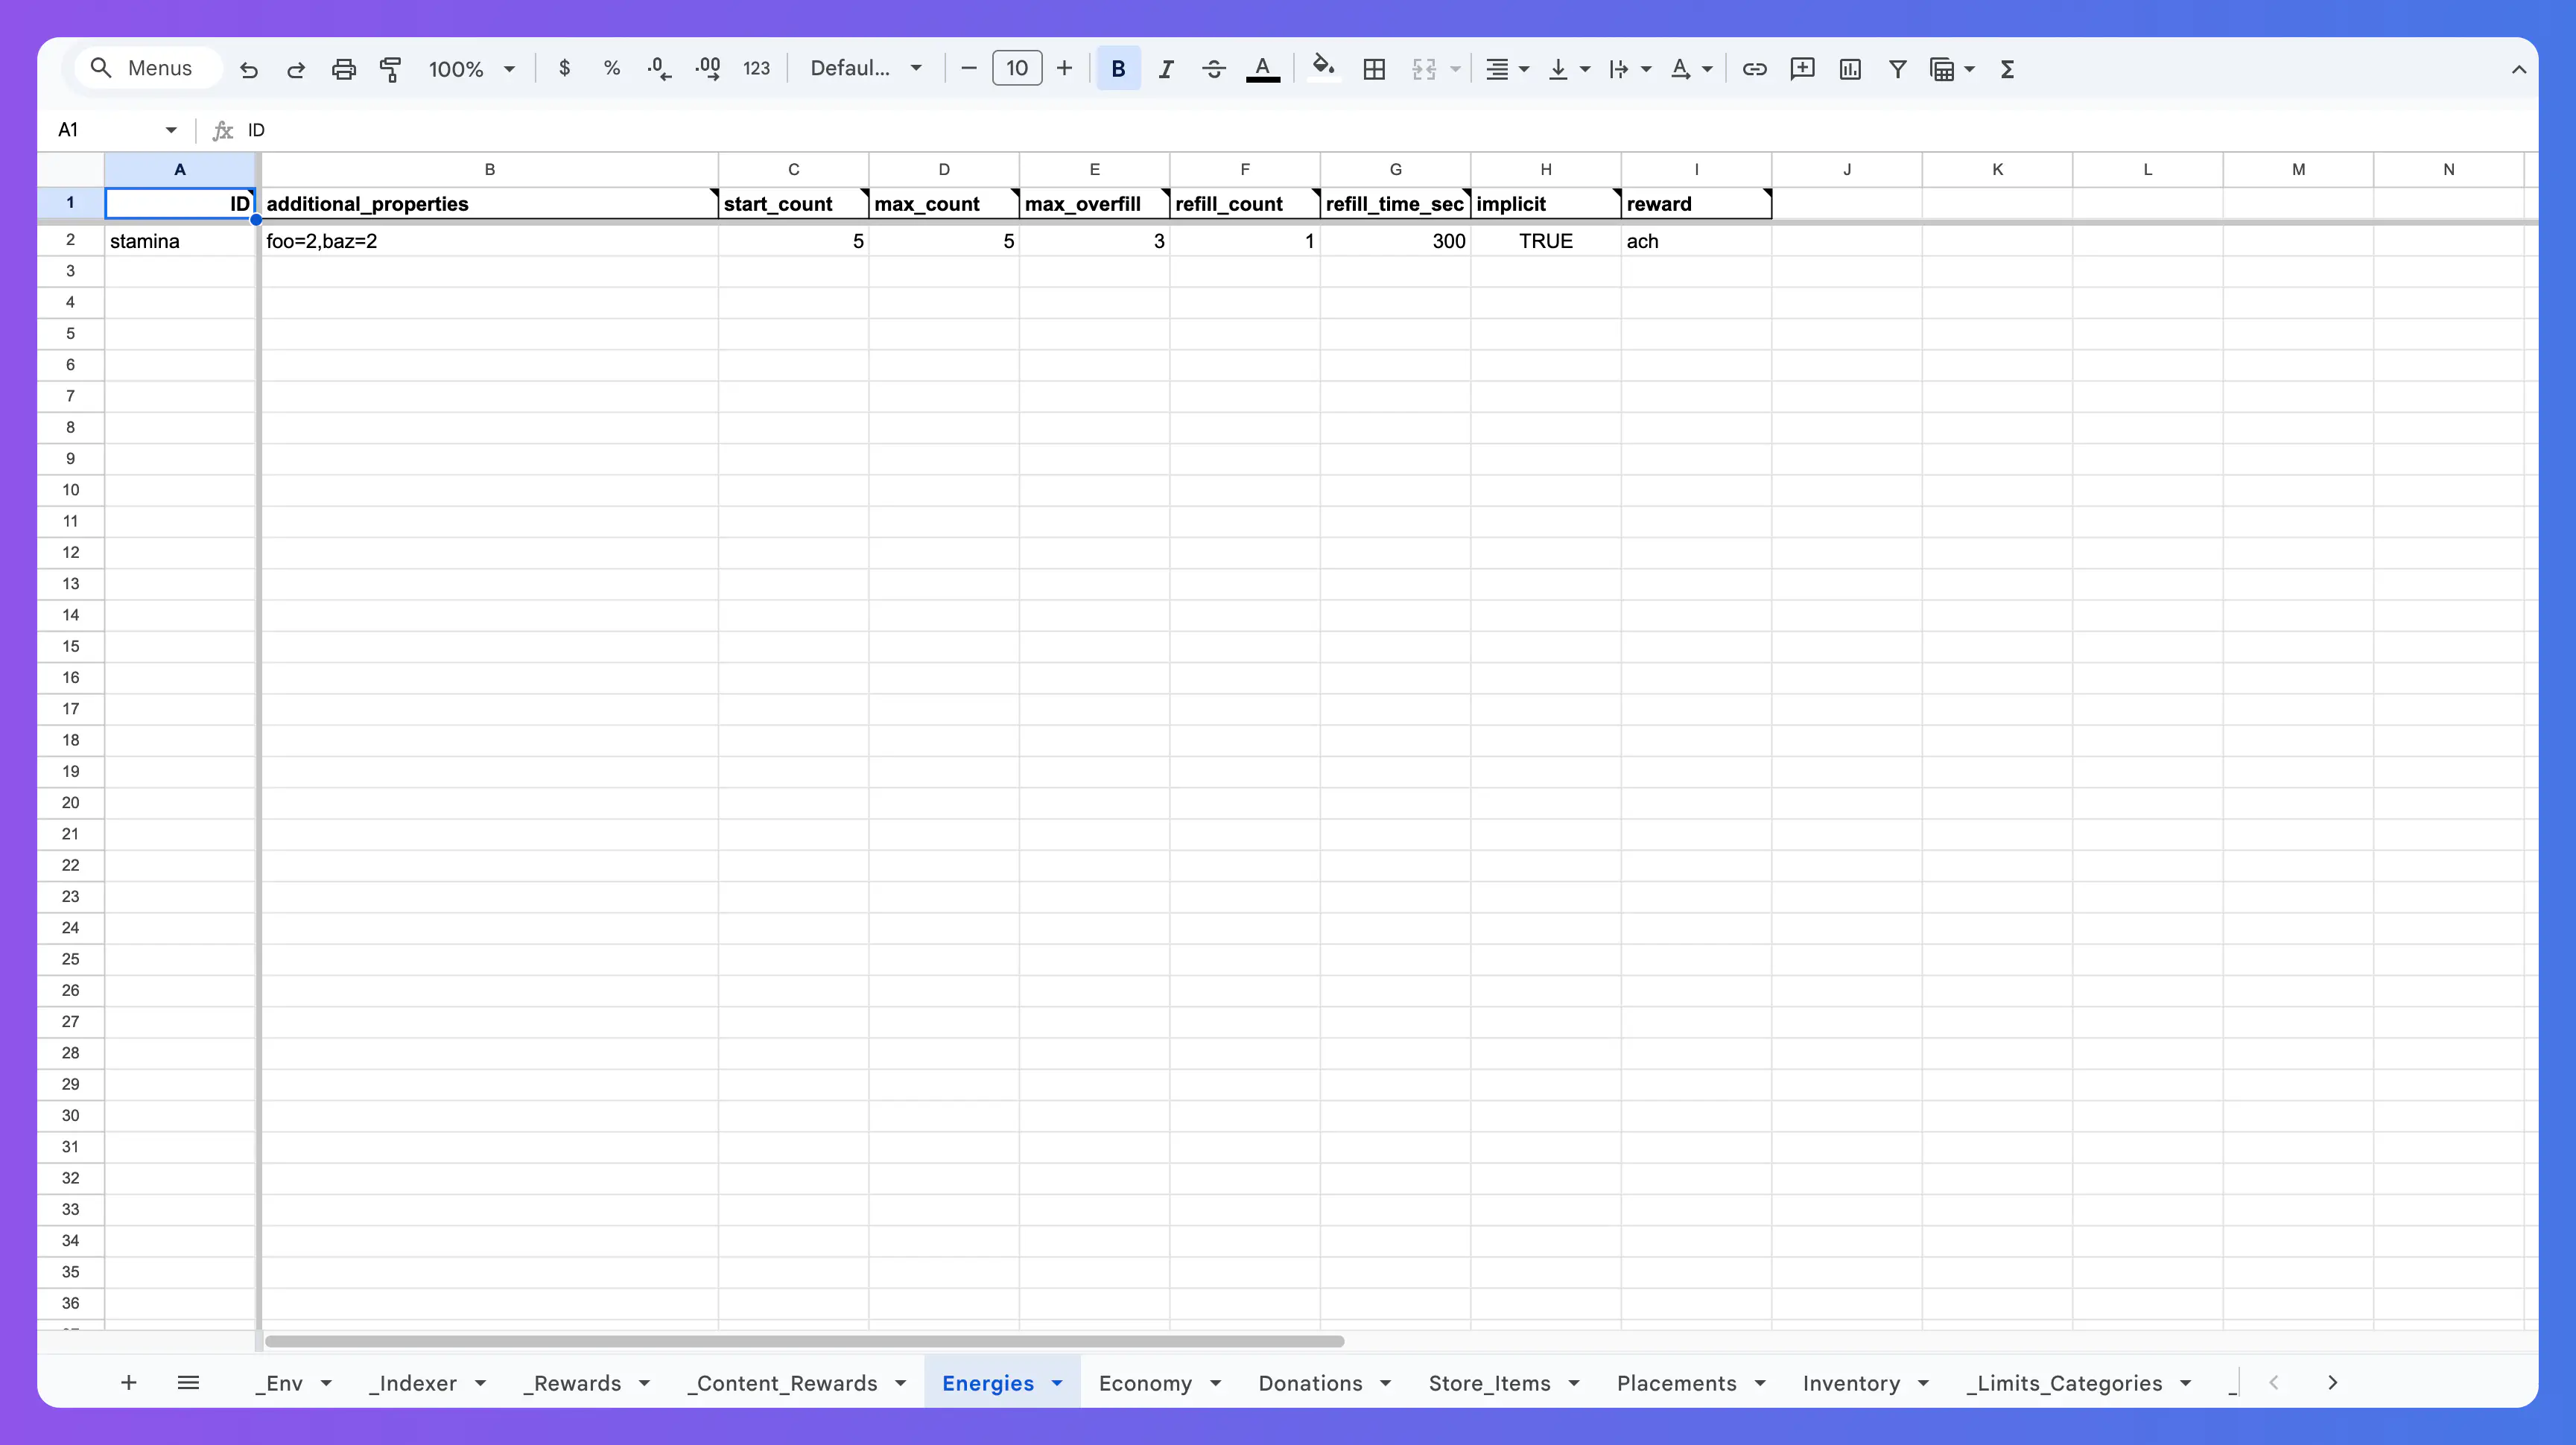
Additional Properties #
Columns of type Additional Properties are filled with the format property1=value1,property2=value2.
For example:
foo=2,baz=2
Tooltips #
The Hiro Exporter tool comes with tooltips included, so you can check what each field does without needing to consult the documentation. Simply hover over the head of any column to know what that field is and what it should be filled with.

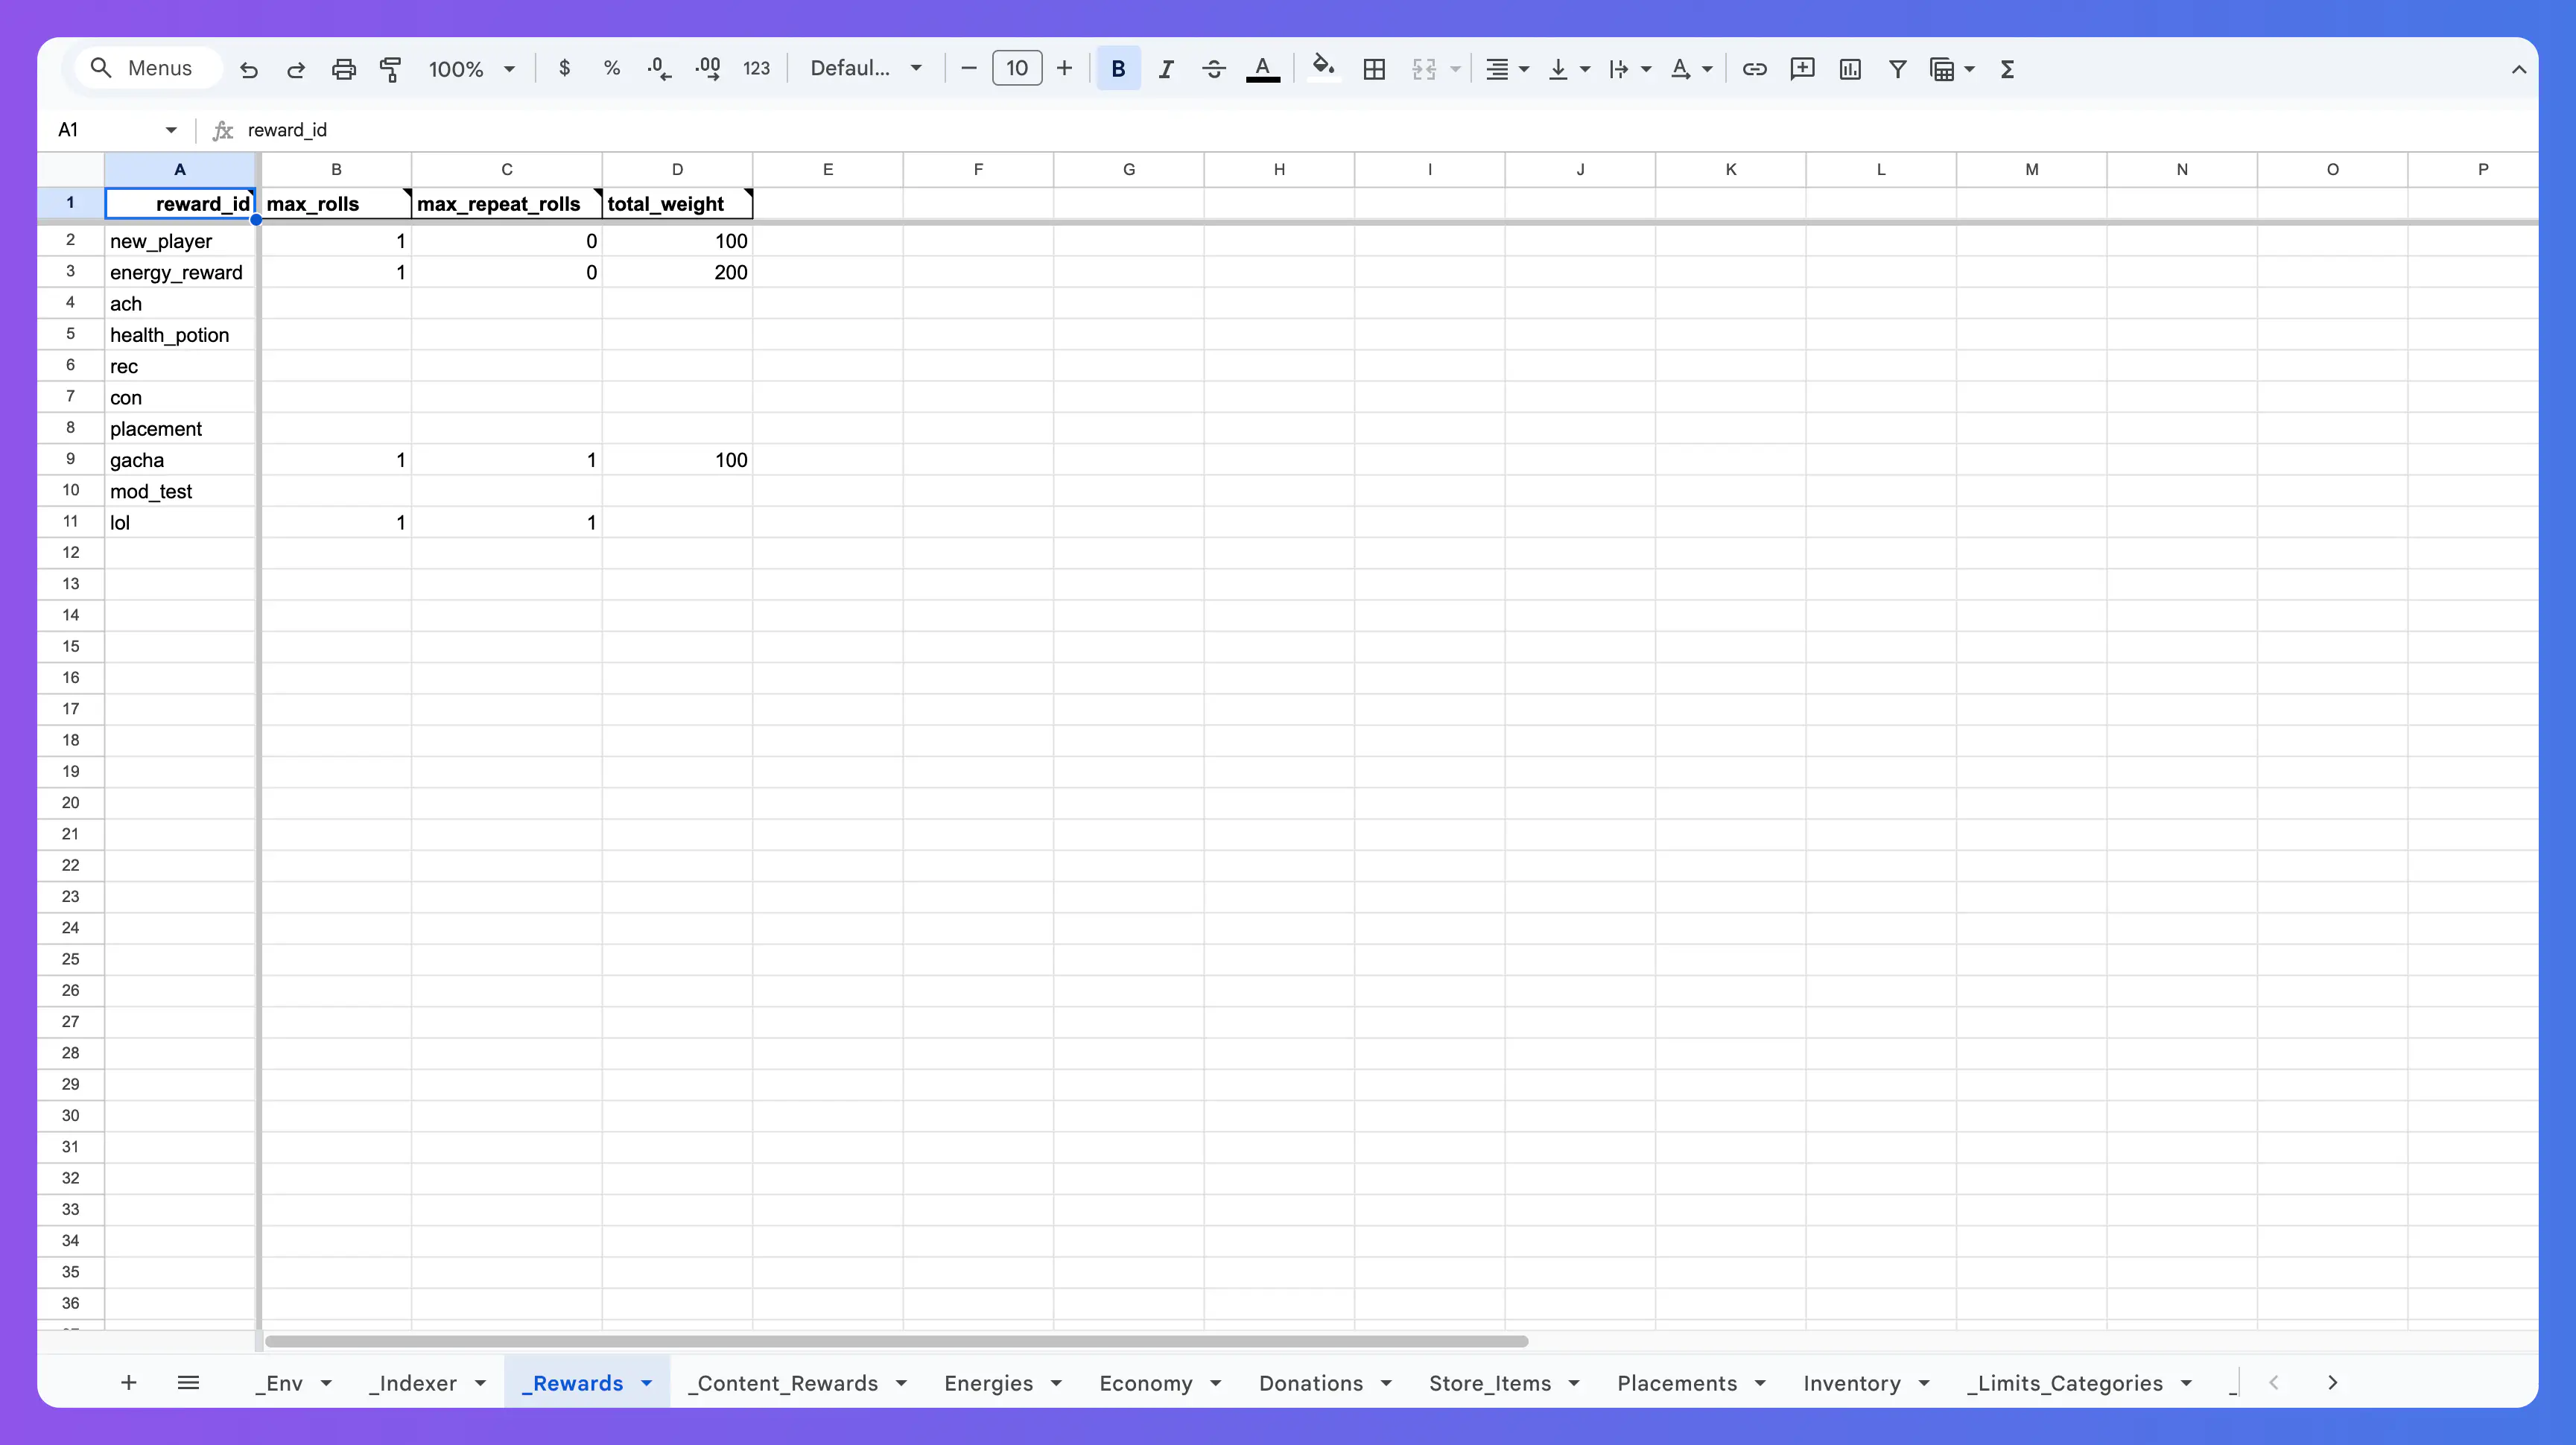
Rewards #
The rewards sheets define all the rewards that can be used by any of the other systems. Rewards are defined in groups and can be referenced on the other pages by their reward_id.
The rewards themselves are divided into 2 parts:
- rewards: Each row defines a group of content rewards, their
max_rolls,max_repeat_rollsandtotal_weight - content_rewards: Each row defines the content that is included in a single reward.
Populating the Rewards Sheet #
To create a new reward, enter a reward_id in the first column and fill in the rest of the row referring to the Rewards data definition.
The reward_id is what you will use to reference this reward from other sheets. Use it when the column key is one of the following: reward, total_reward, consume_reward, recipient_reward or contributor_reward.
If you want to define a reward for new players, you might use the following values to fill in the row:
reward_id : new_player
max_rolls : 1
max_repeat_rolls : 0
total_weight : 100
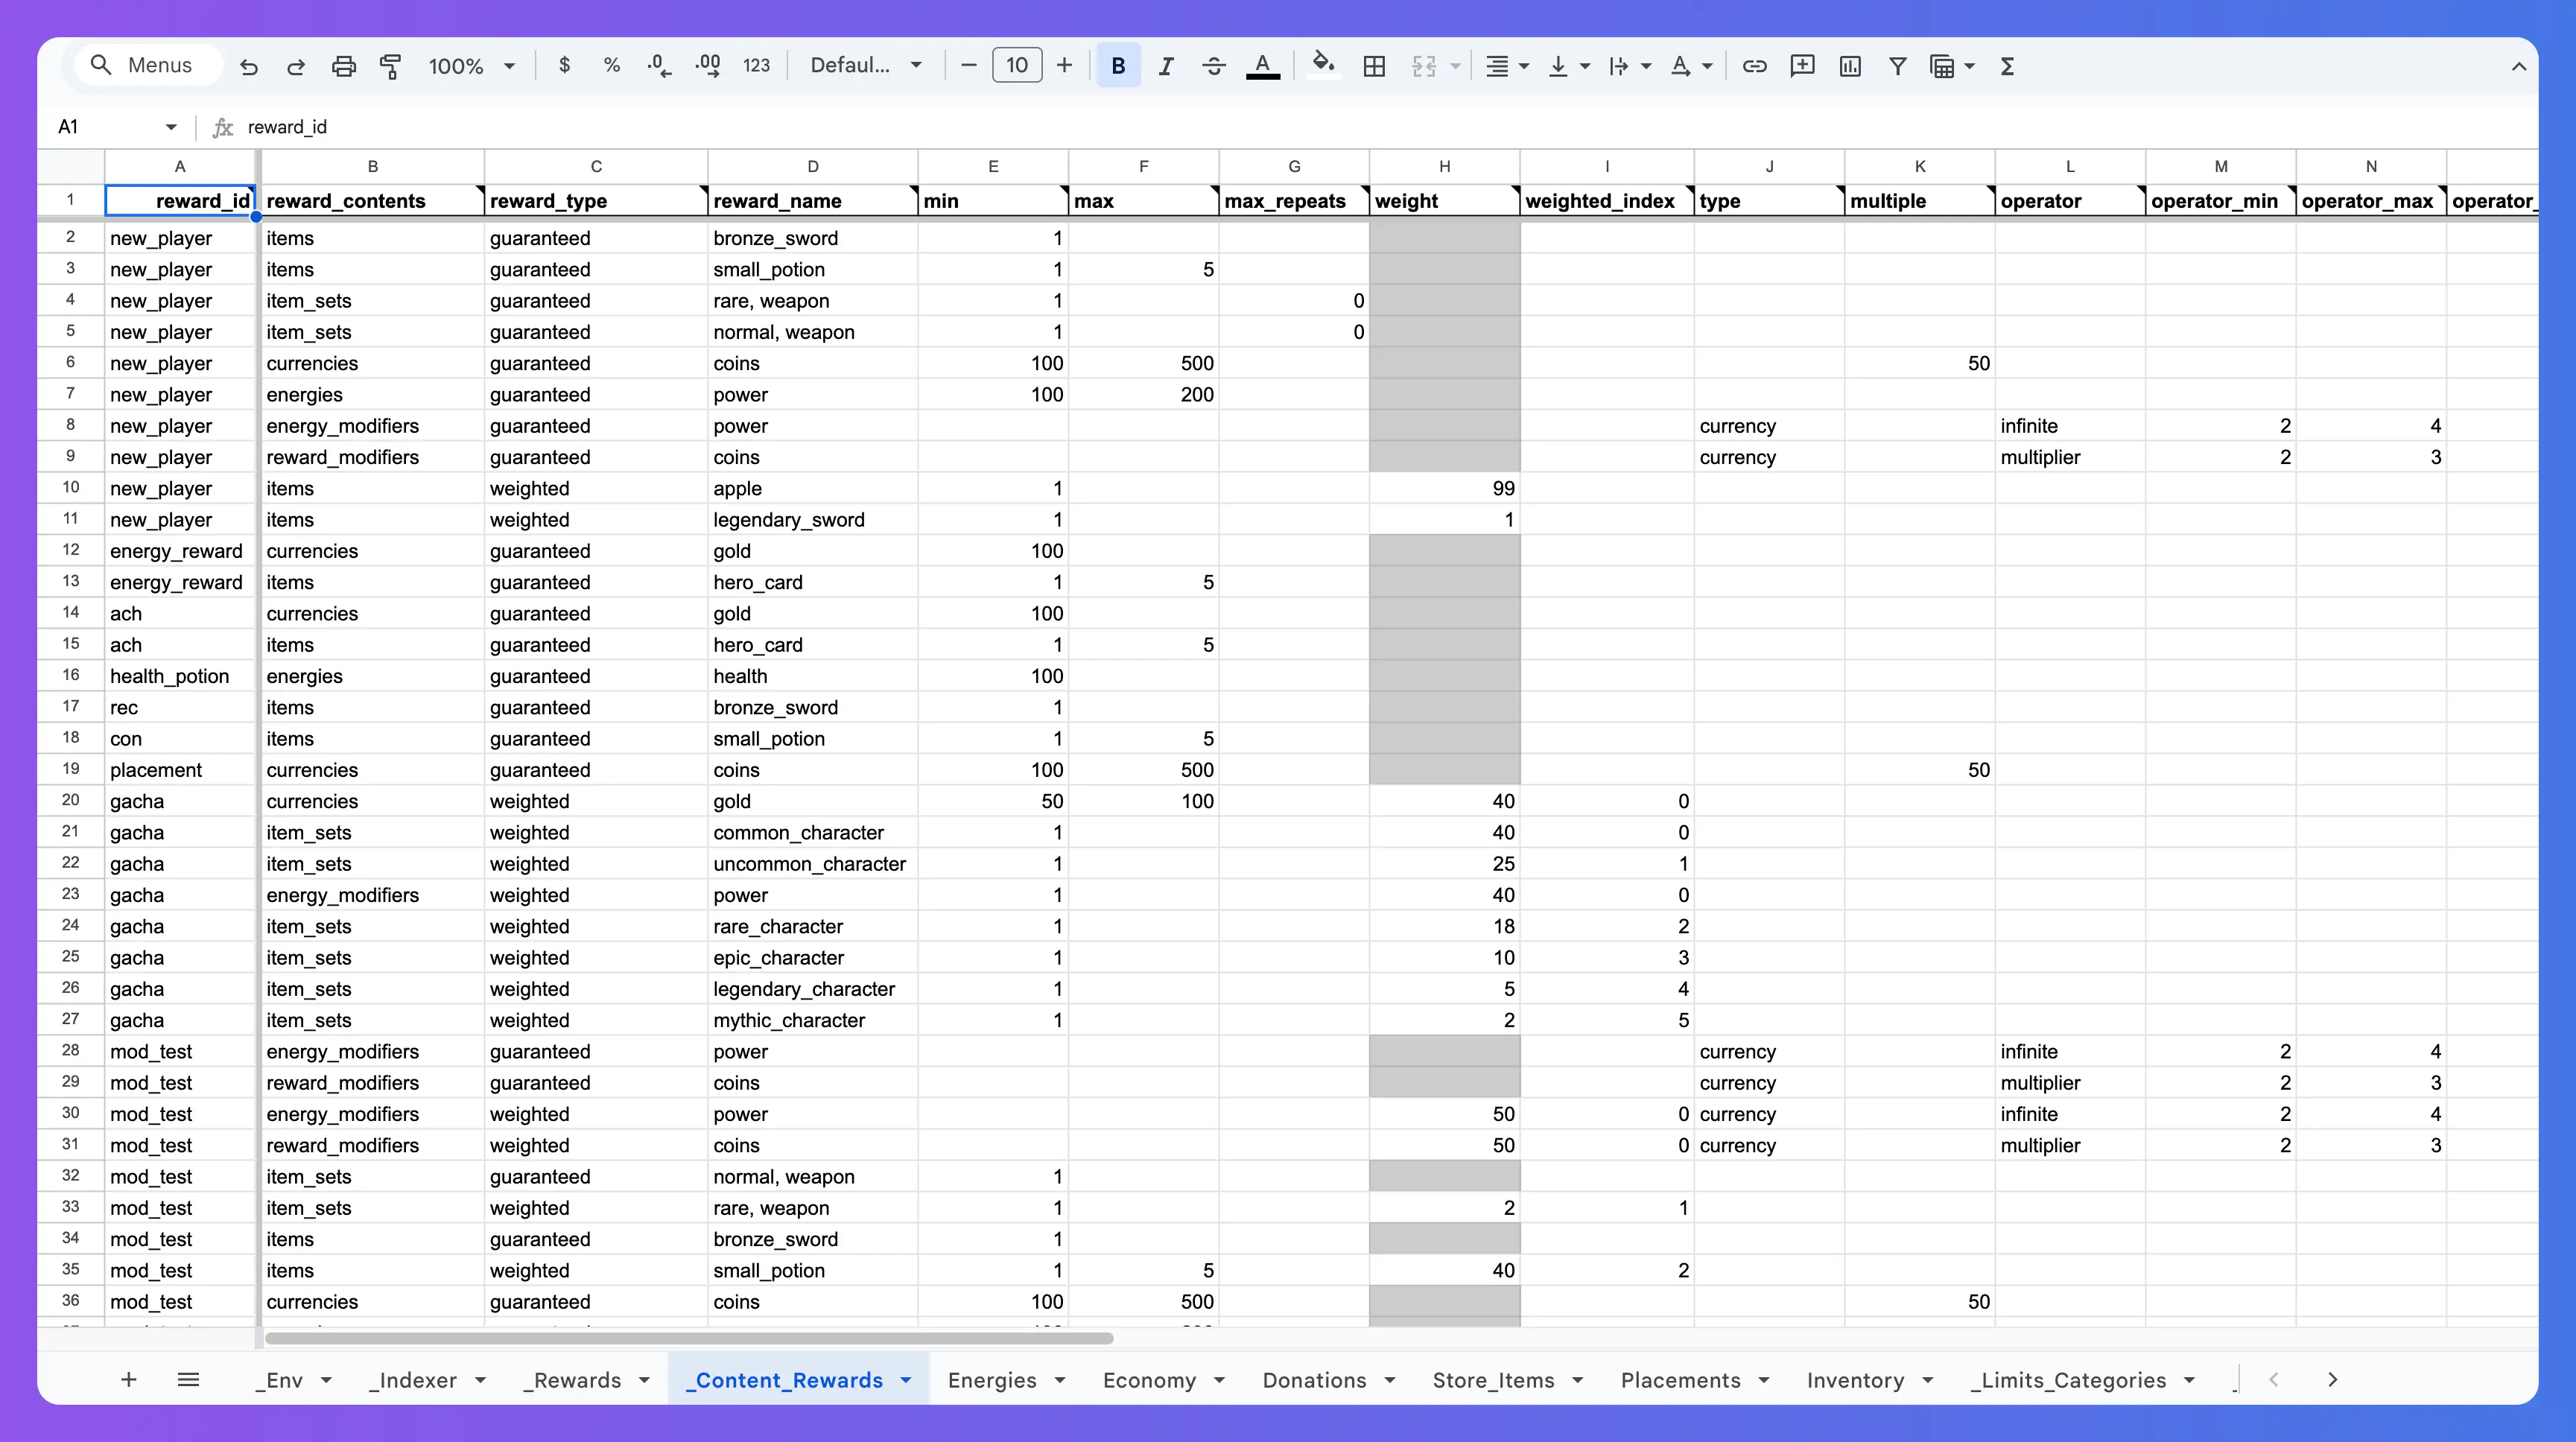
Populating the Content Rewards Sheet #
The new player reward is now defined but it is still “empty.” This section demonstrates how to populate the reward with content i.e., the actual items, currency, and other bonuses that will be rewarded to the player.
| Property | Type | Description |
|---|---|---|
reward_id | string | Used to reference this reward in any other pages. |
reward_contents | string | Defines the reward we want to add, these can be one of the following: item_sets, currencies, items, energies, energy_modifiers or reward_modifiers. |
reward_type | string | Defines the reward type, can be either guaranteed or weighted. |
reward_name | string | Defines the reward name. |
Fill in the remaining fields as needed. Refer to the Reward Contents data definition.
For example, to add content to the new_playerreward, you could enter the following values for an item-type reward:
reward_id : new_player
reward_contents: item
reward_type: guaranteed
reward_name: bronze_sword
min : 1
Economy #
The Economy system is divided into five separate sheets:
- initialize_user : Defines the currencies and items a user should start with.
- allow_fake_receipts : Boolean that defines if fake receipts are allowed. A receipt is fake if it contains the string: ‘fake receipt’.
- store_items : A map of all store_items
- donations : A map of all donations
- placements : A map of all placements
Read more about the Economy System.
Initialize User #
This sheet lets you define which currencies and items a user should start with. Both of these columns are “Additional Properties” types. If you want a player to start with 10 gold, 10 silver, 1 sword and 1 bow, you should define it as:
currencies : gold=10,silver=10
items : sword=1,bow=1
Read more about each field in the Initialize User guide.
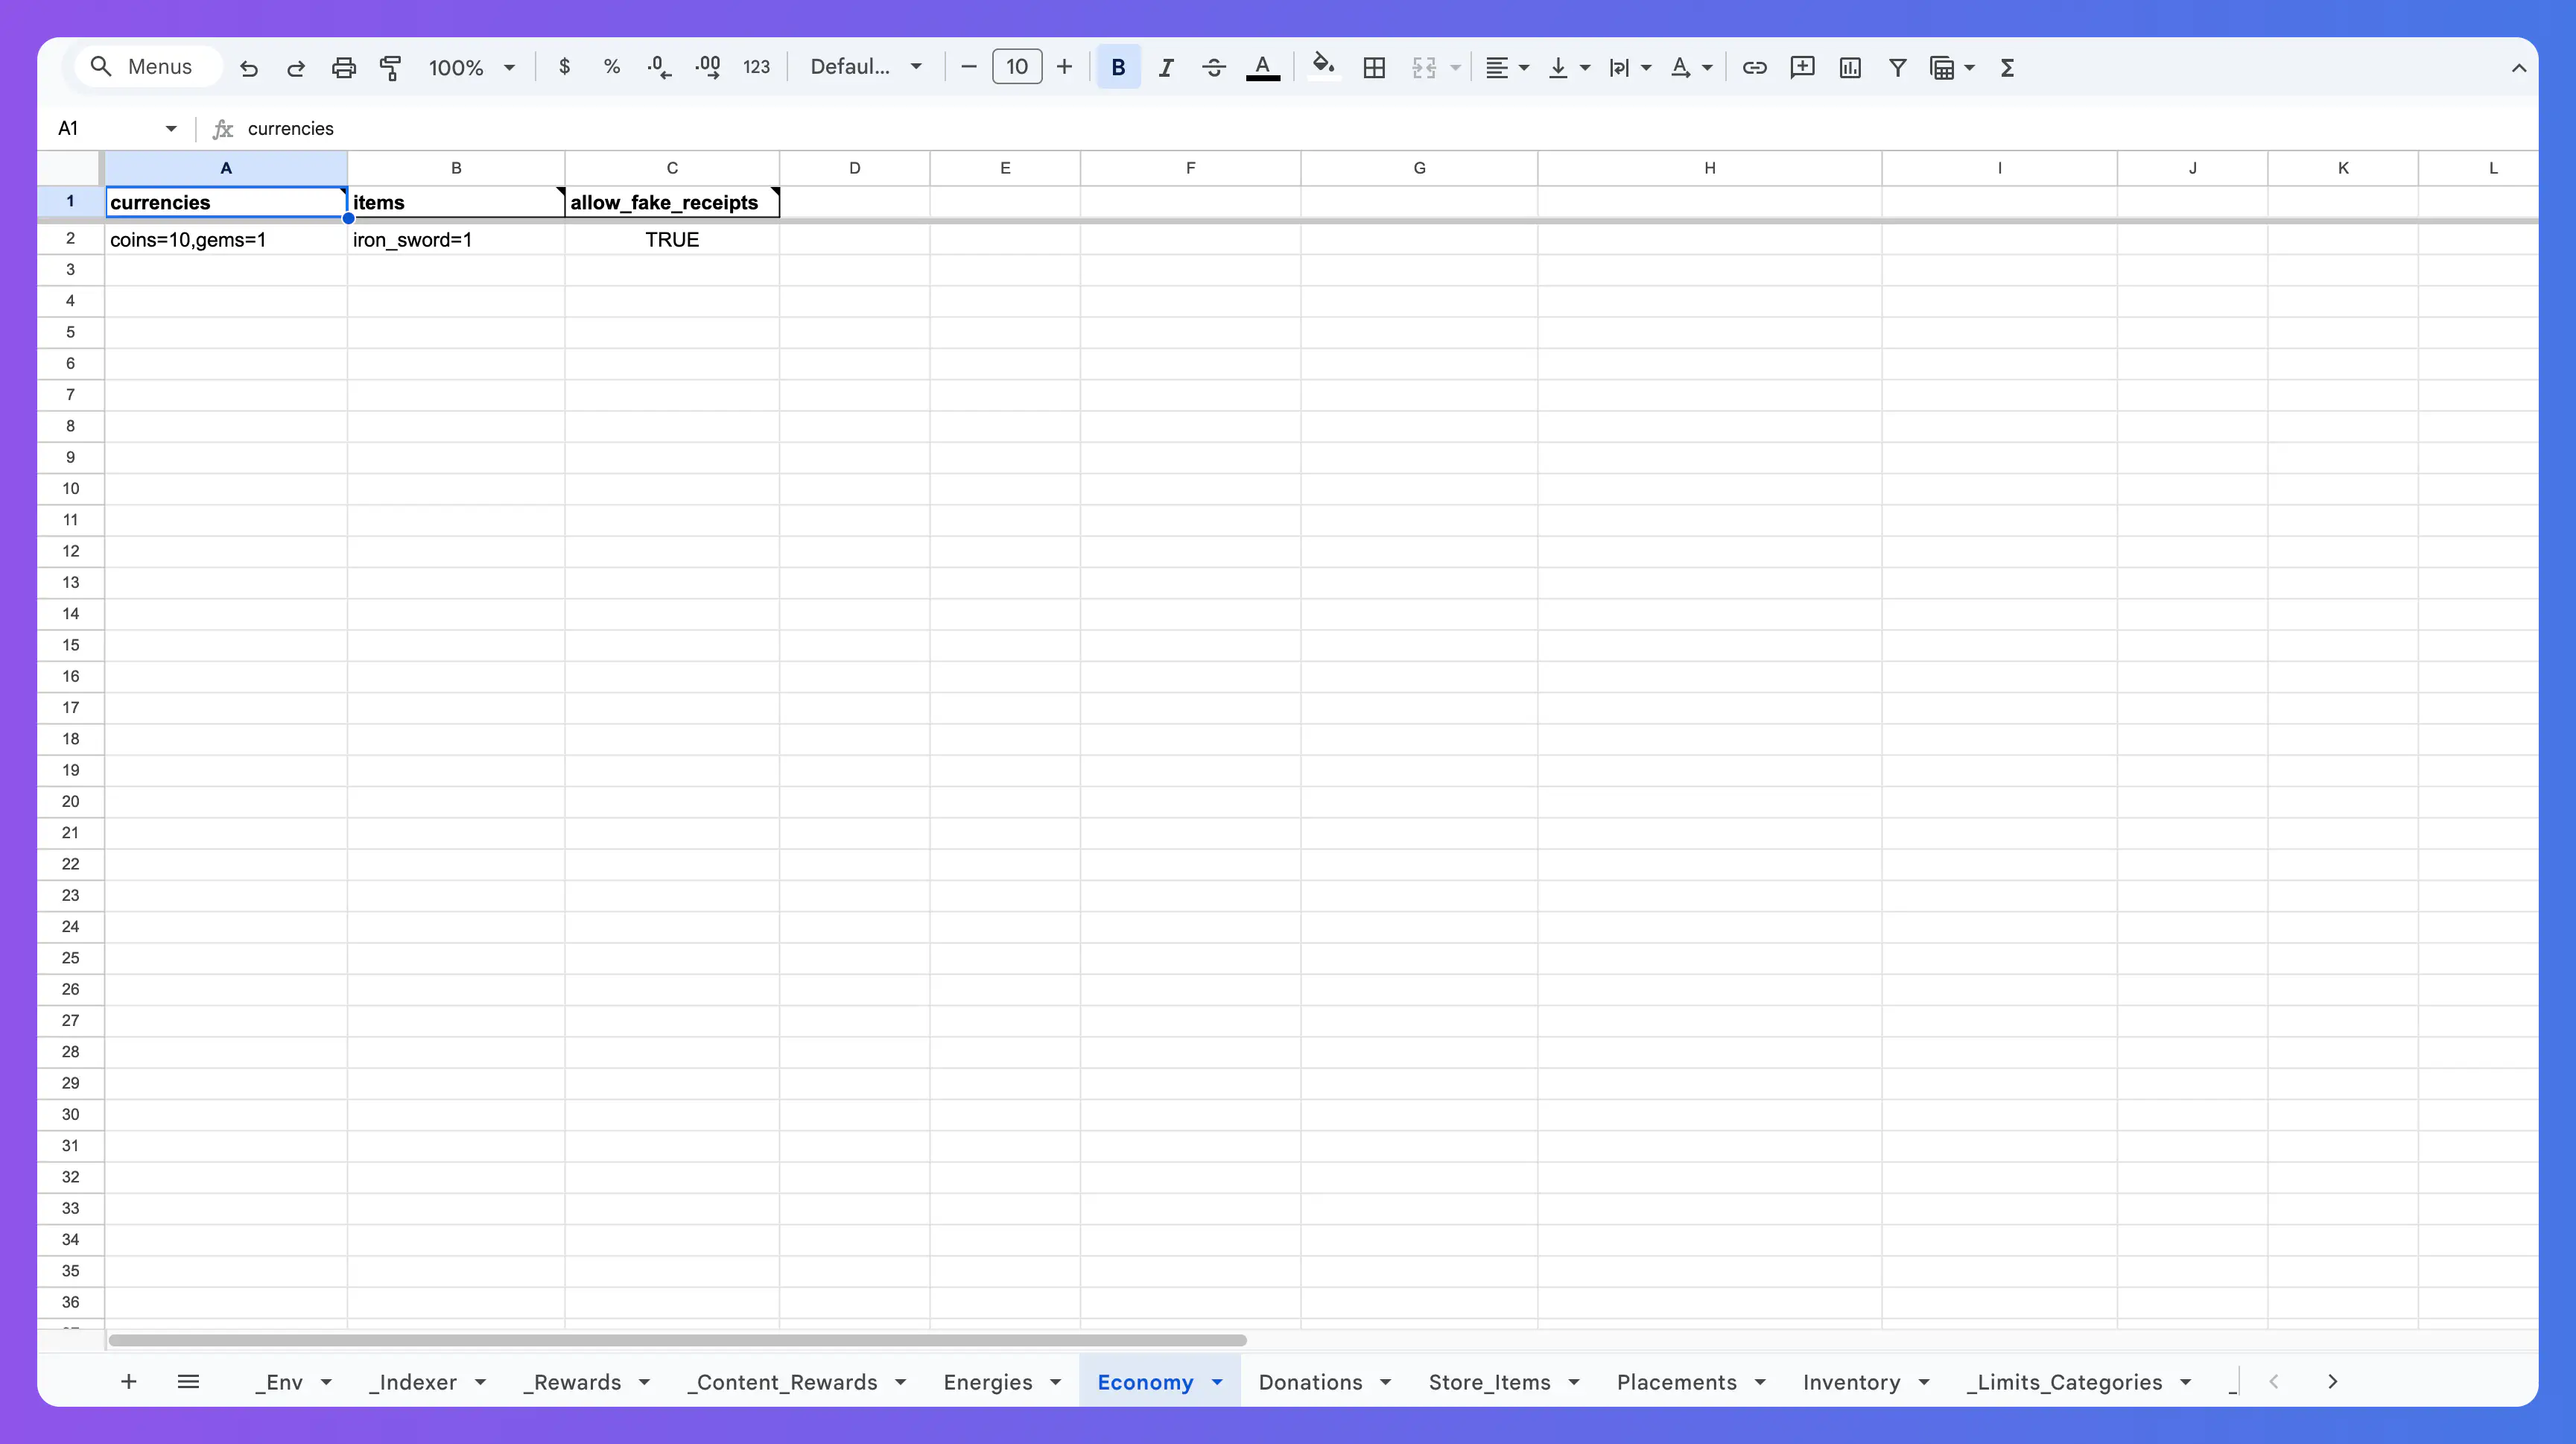
Allow Fake Receipts #
Enter TRUE to allow Fake Receipts and FALSE to disable them. Fake Receipts are useful for developing and testing purchase flows.
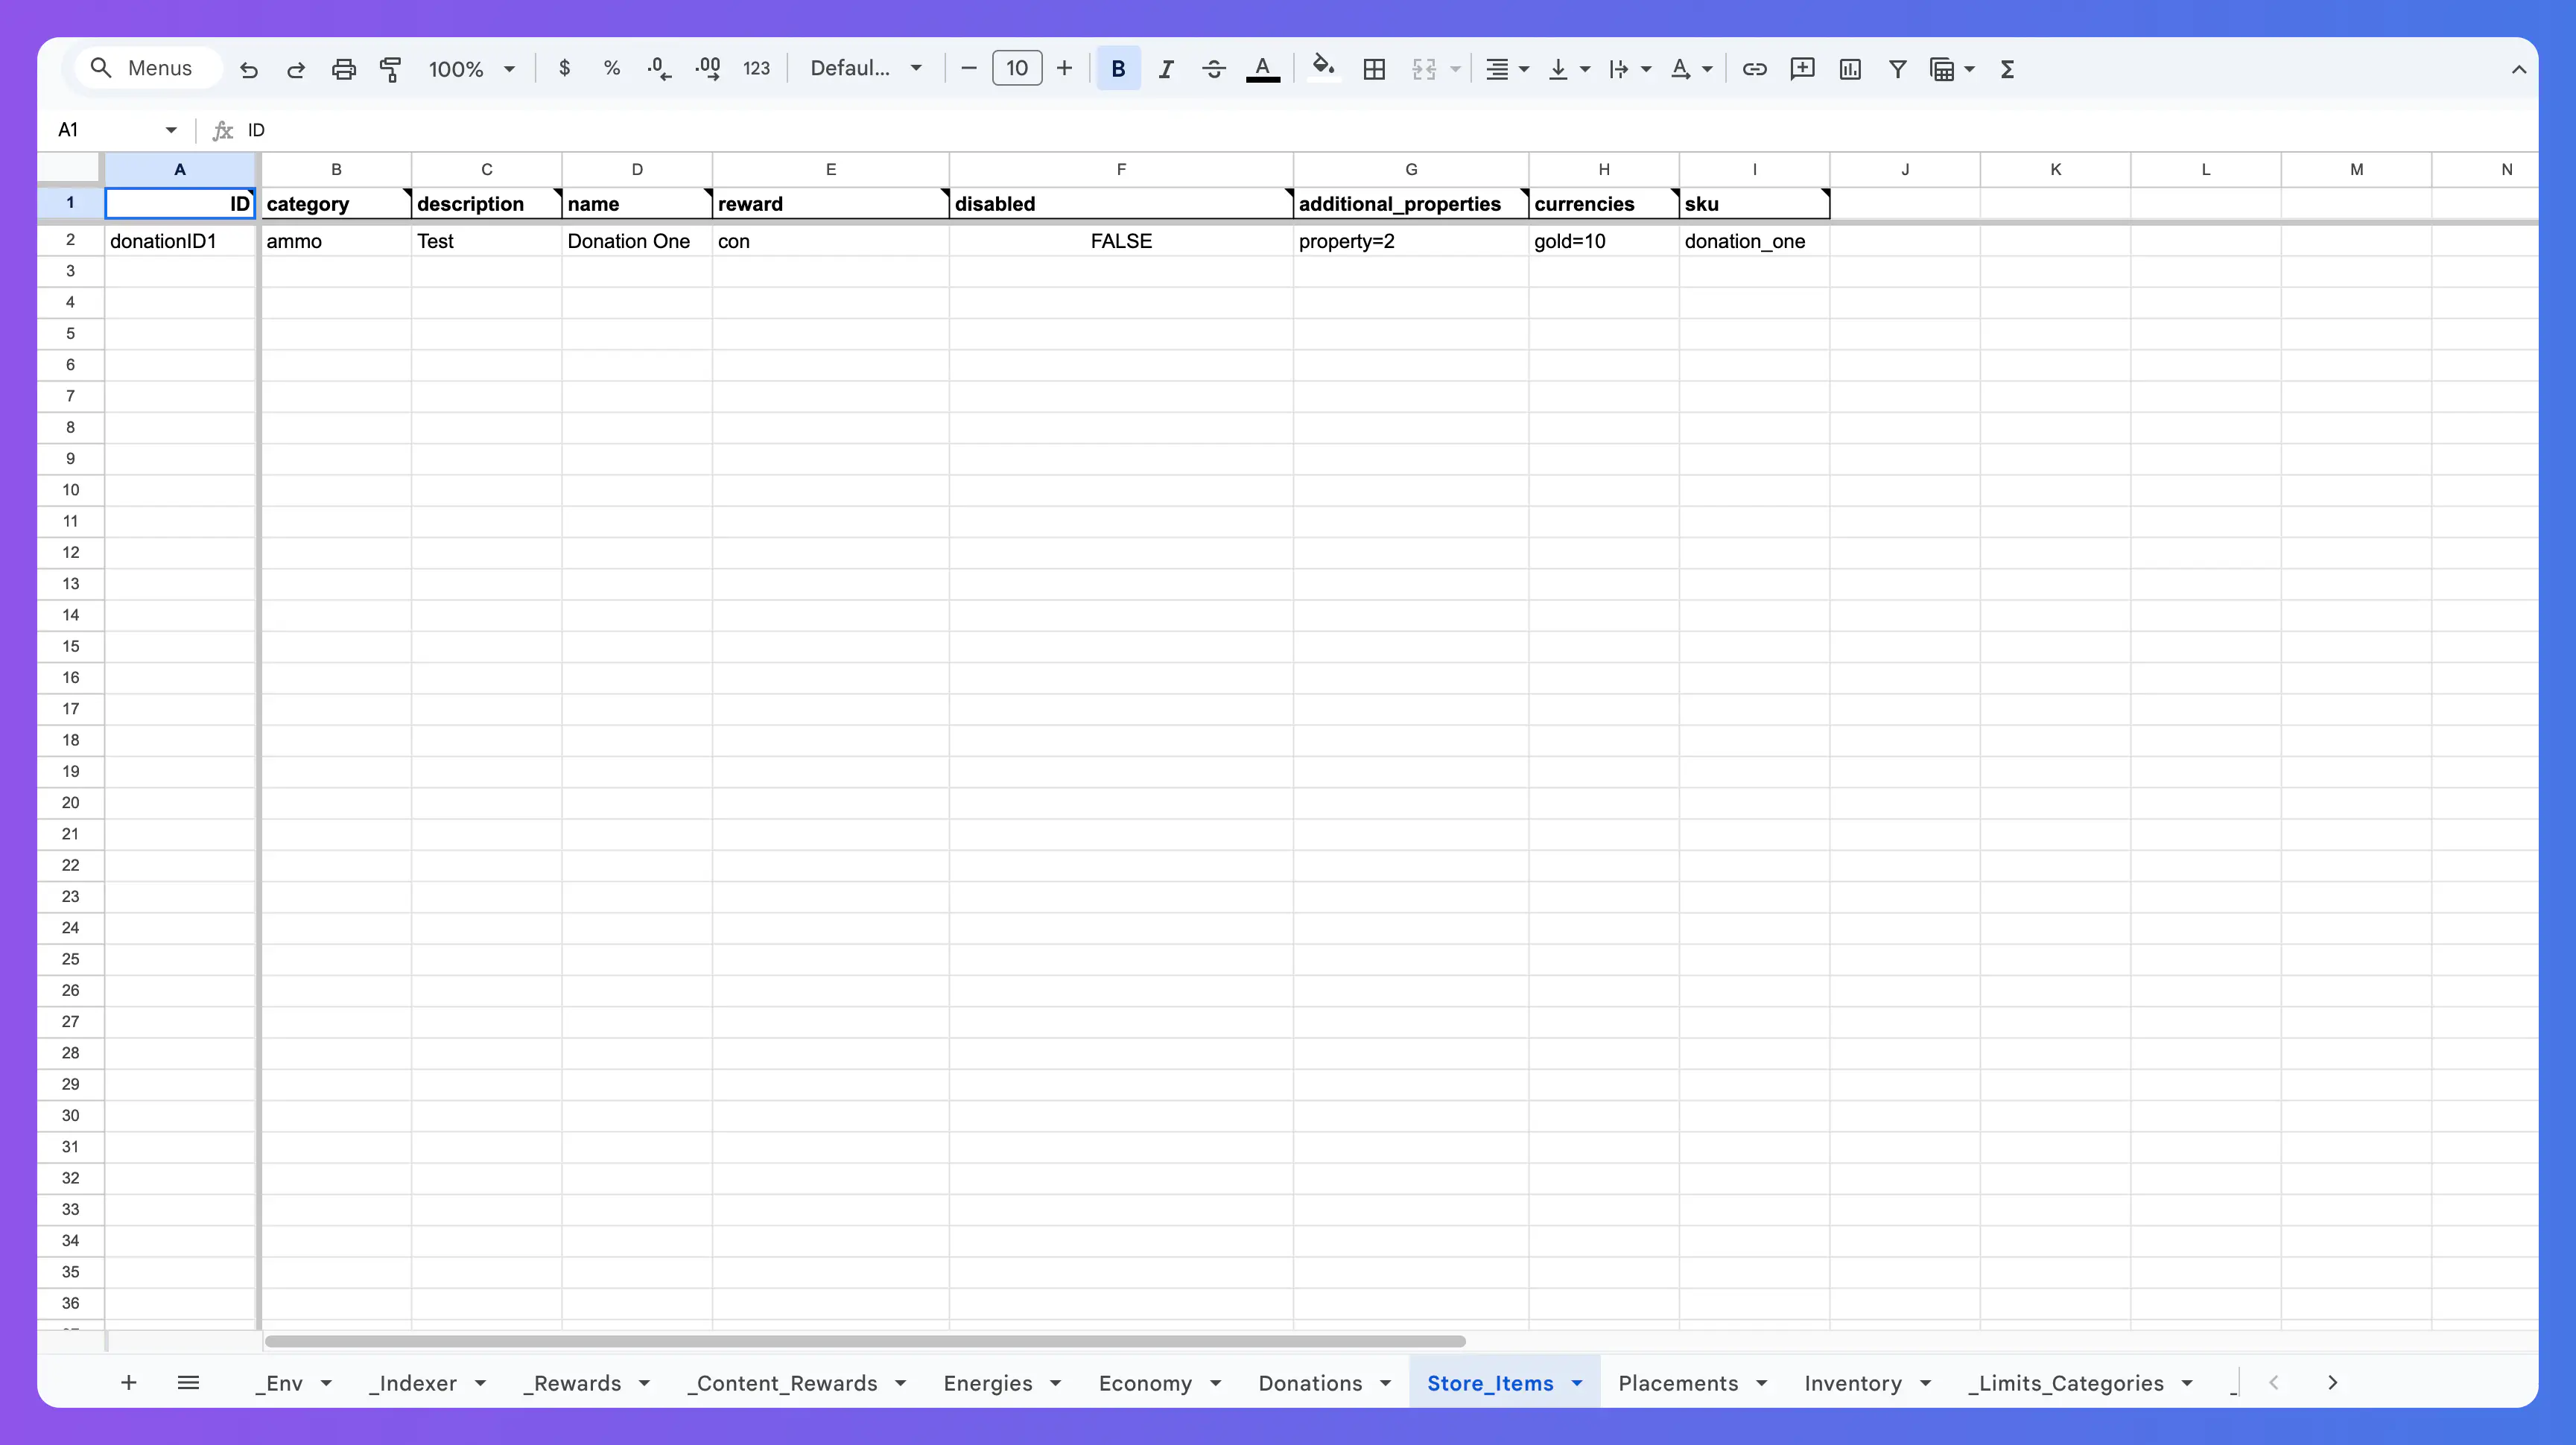
Store Items #
The Store Items sheet lets you define which items are available in the store for players to purchase.
Read more about each field of the Store Items.
For the SKU and Currencies fields, you don’t need to fill in both:
- To create a pure IAP store item, fill in only the SKU field.
- To create a pure currency purchase, fill in only the Currencies field.
- To create a store item purchasable with both soft and hard currencies, fill in both fields.
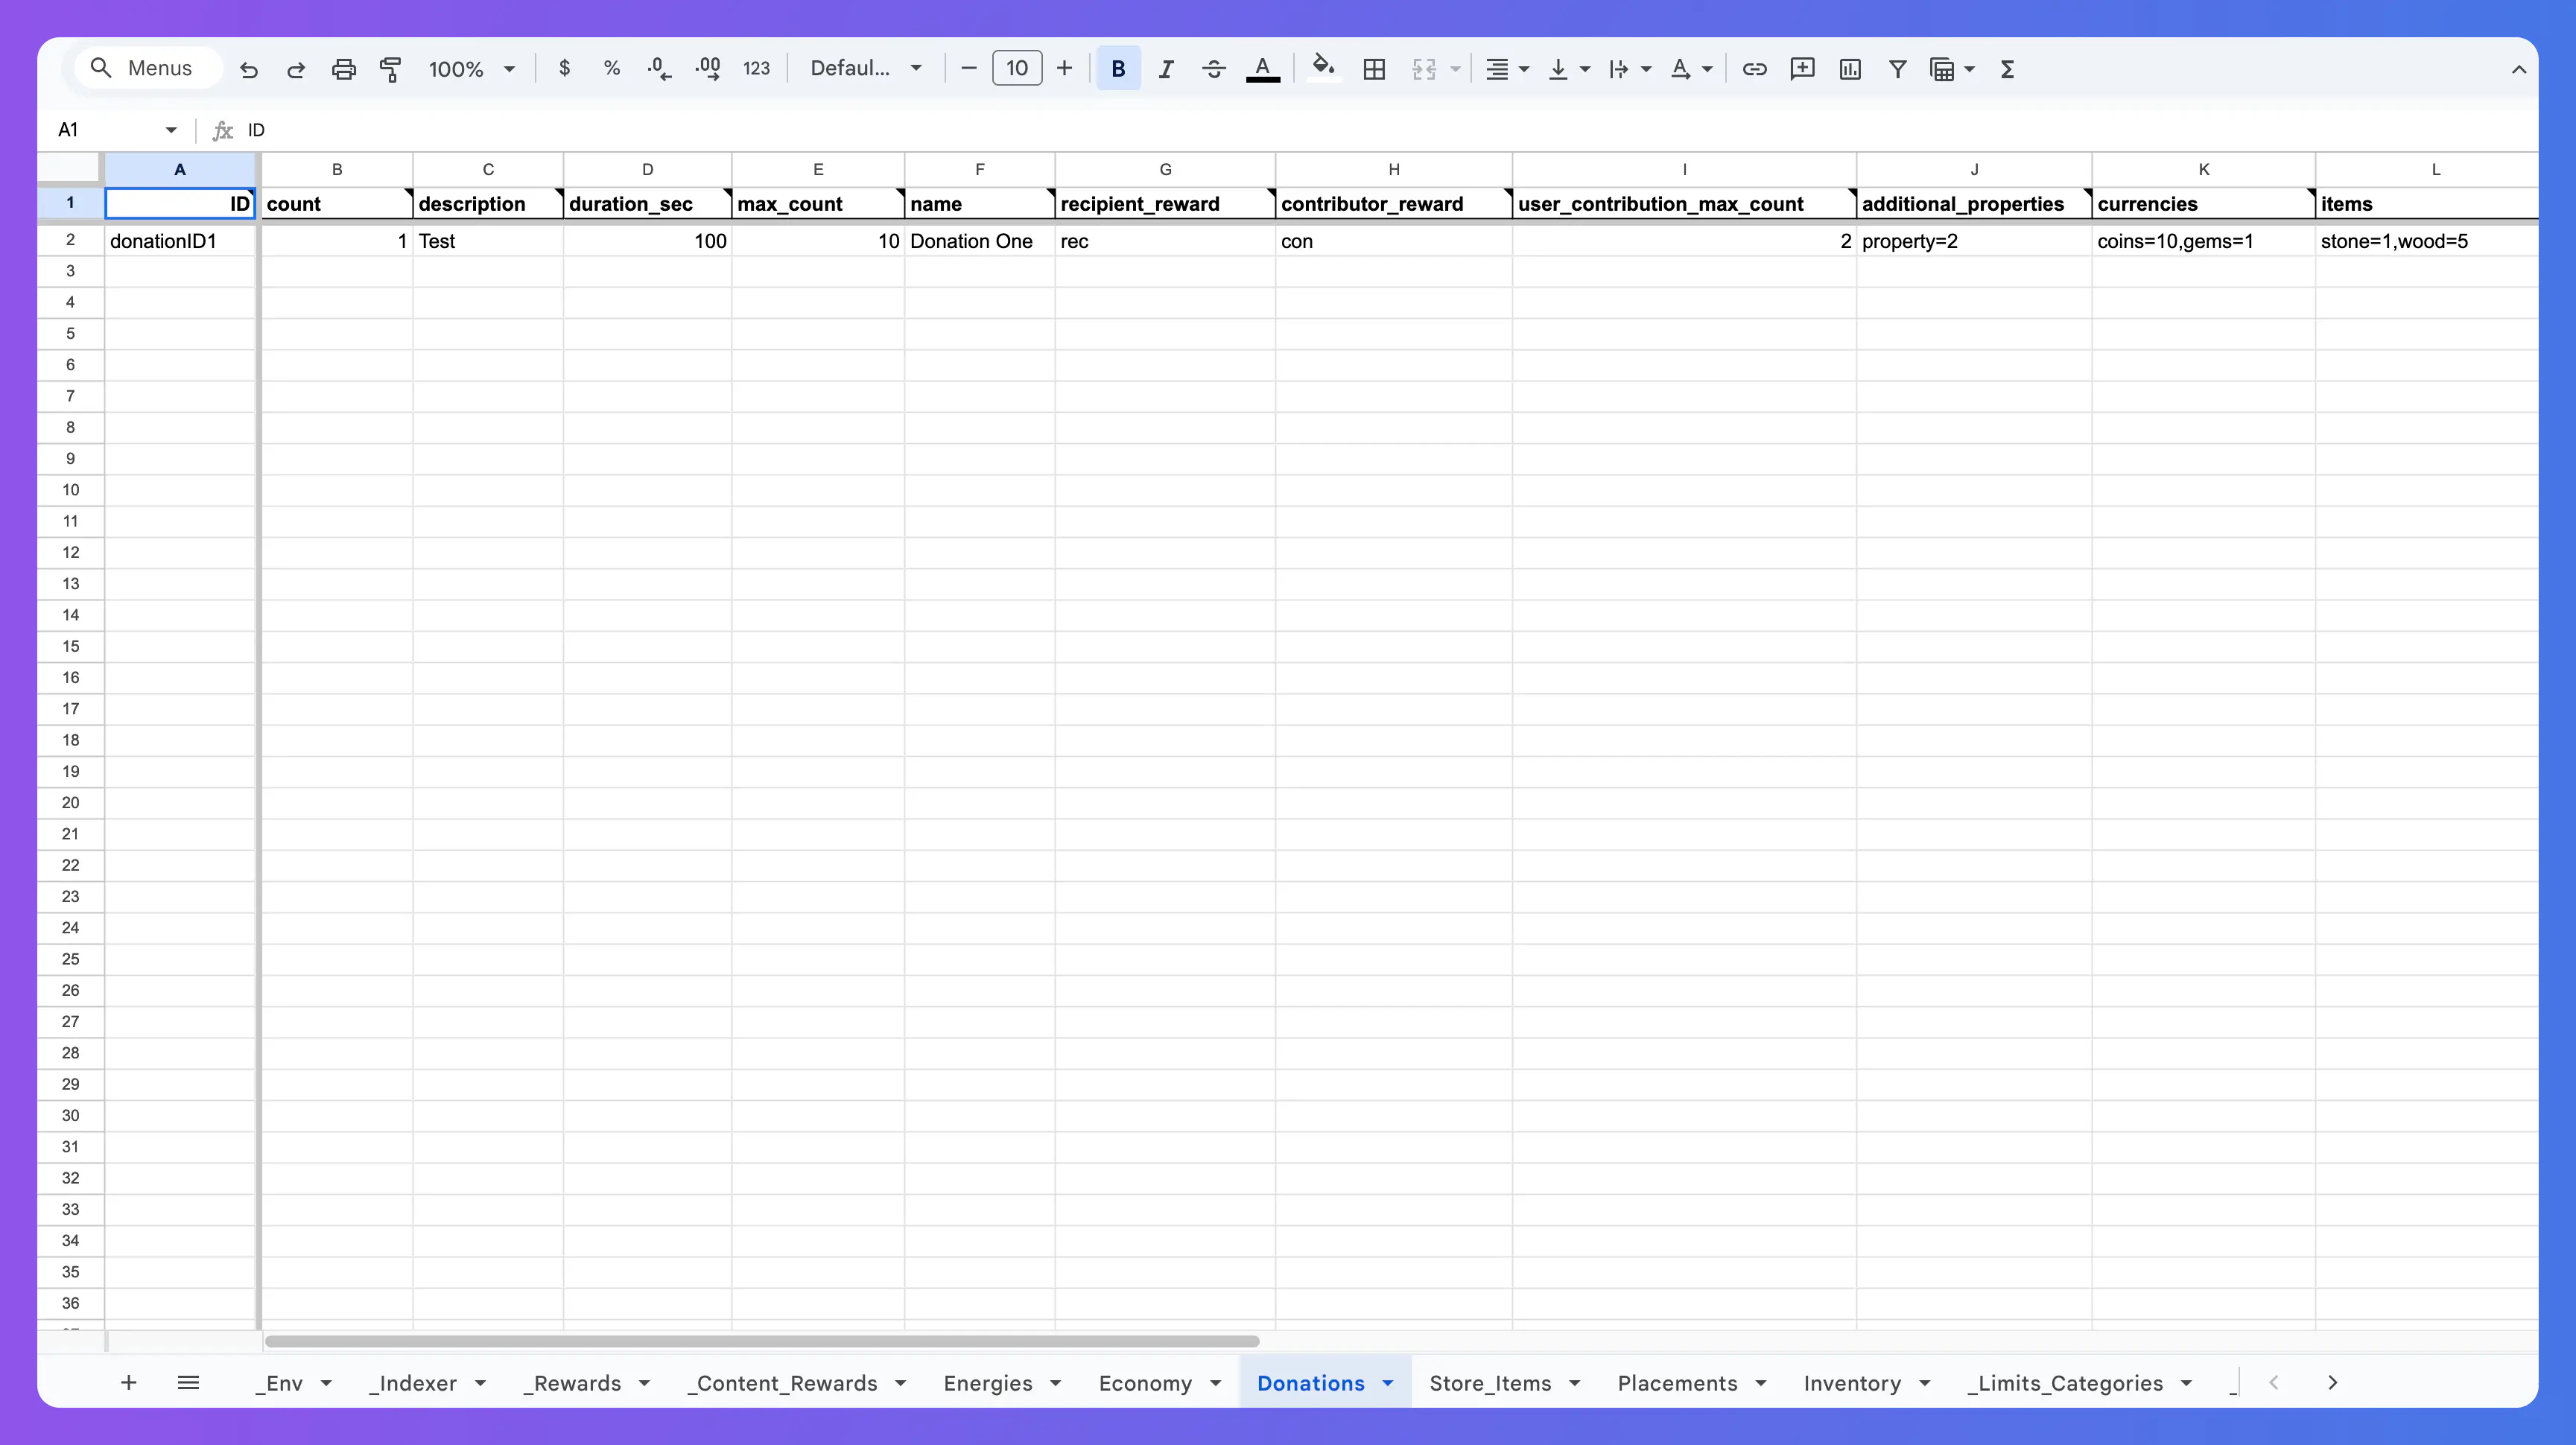
Donations #
The Donations sheet lets you define the donations, which are a way for players to share in-game items.
Read more about each field of the Donations.
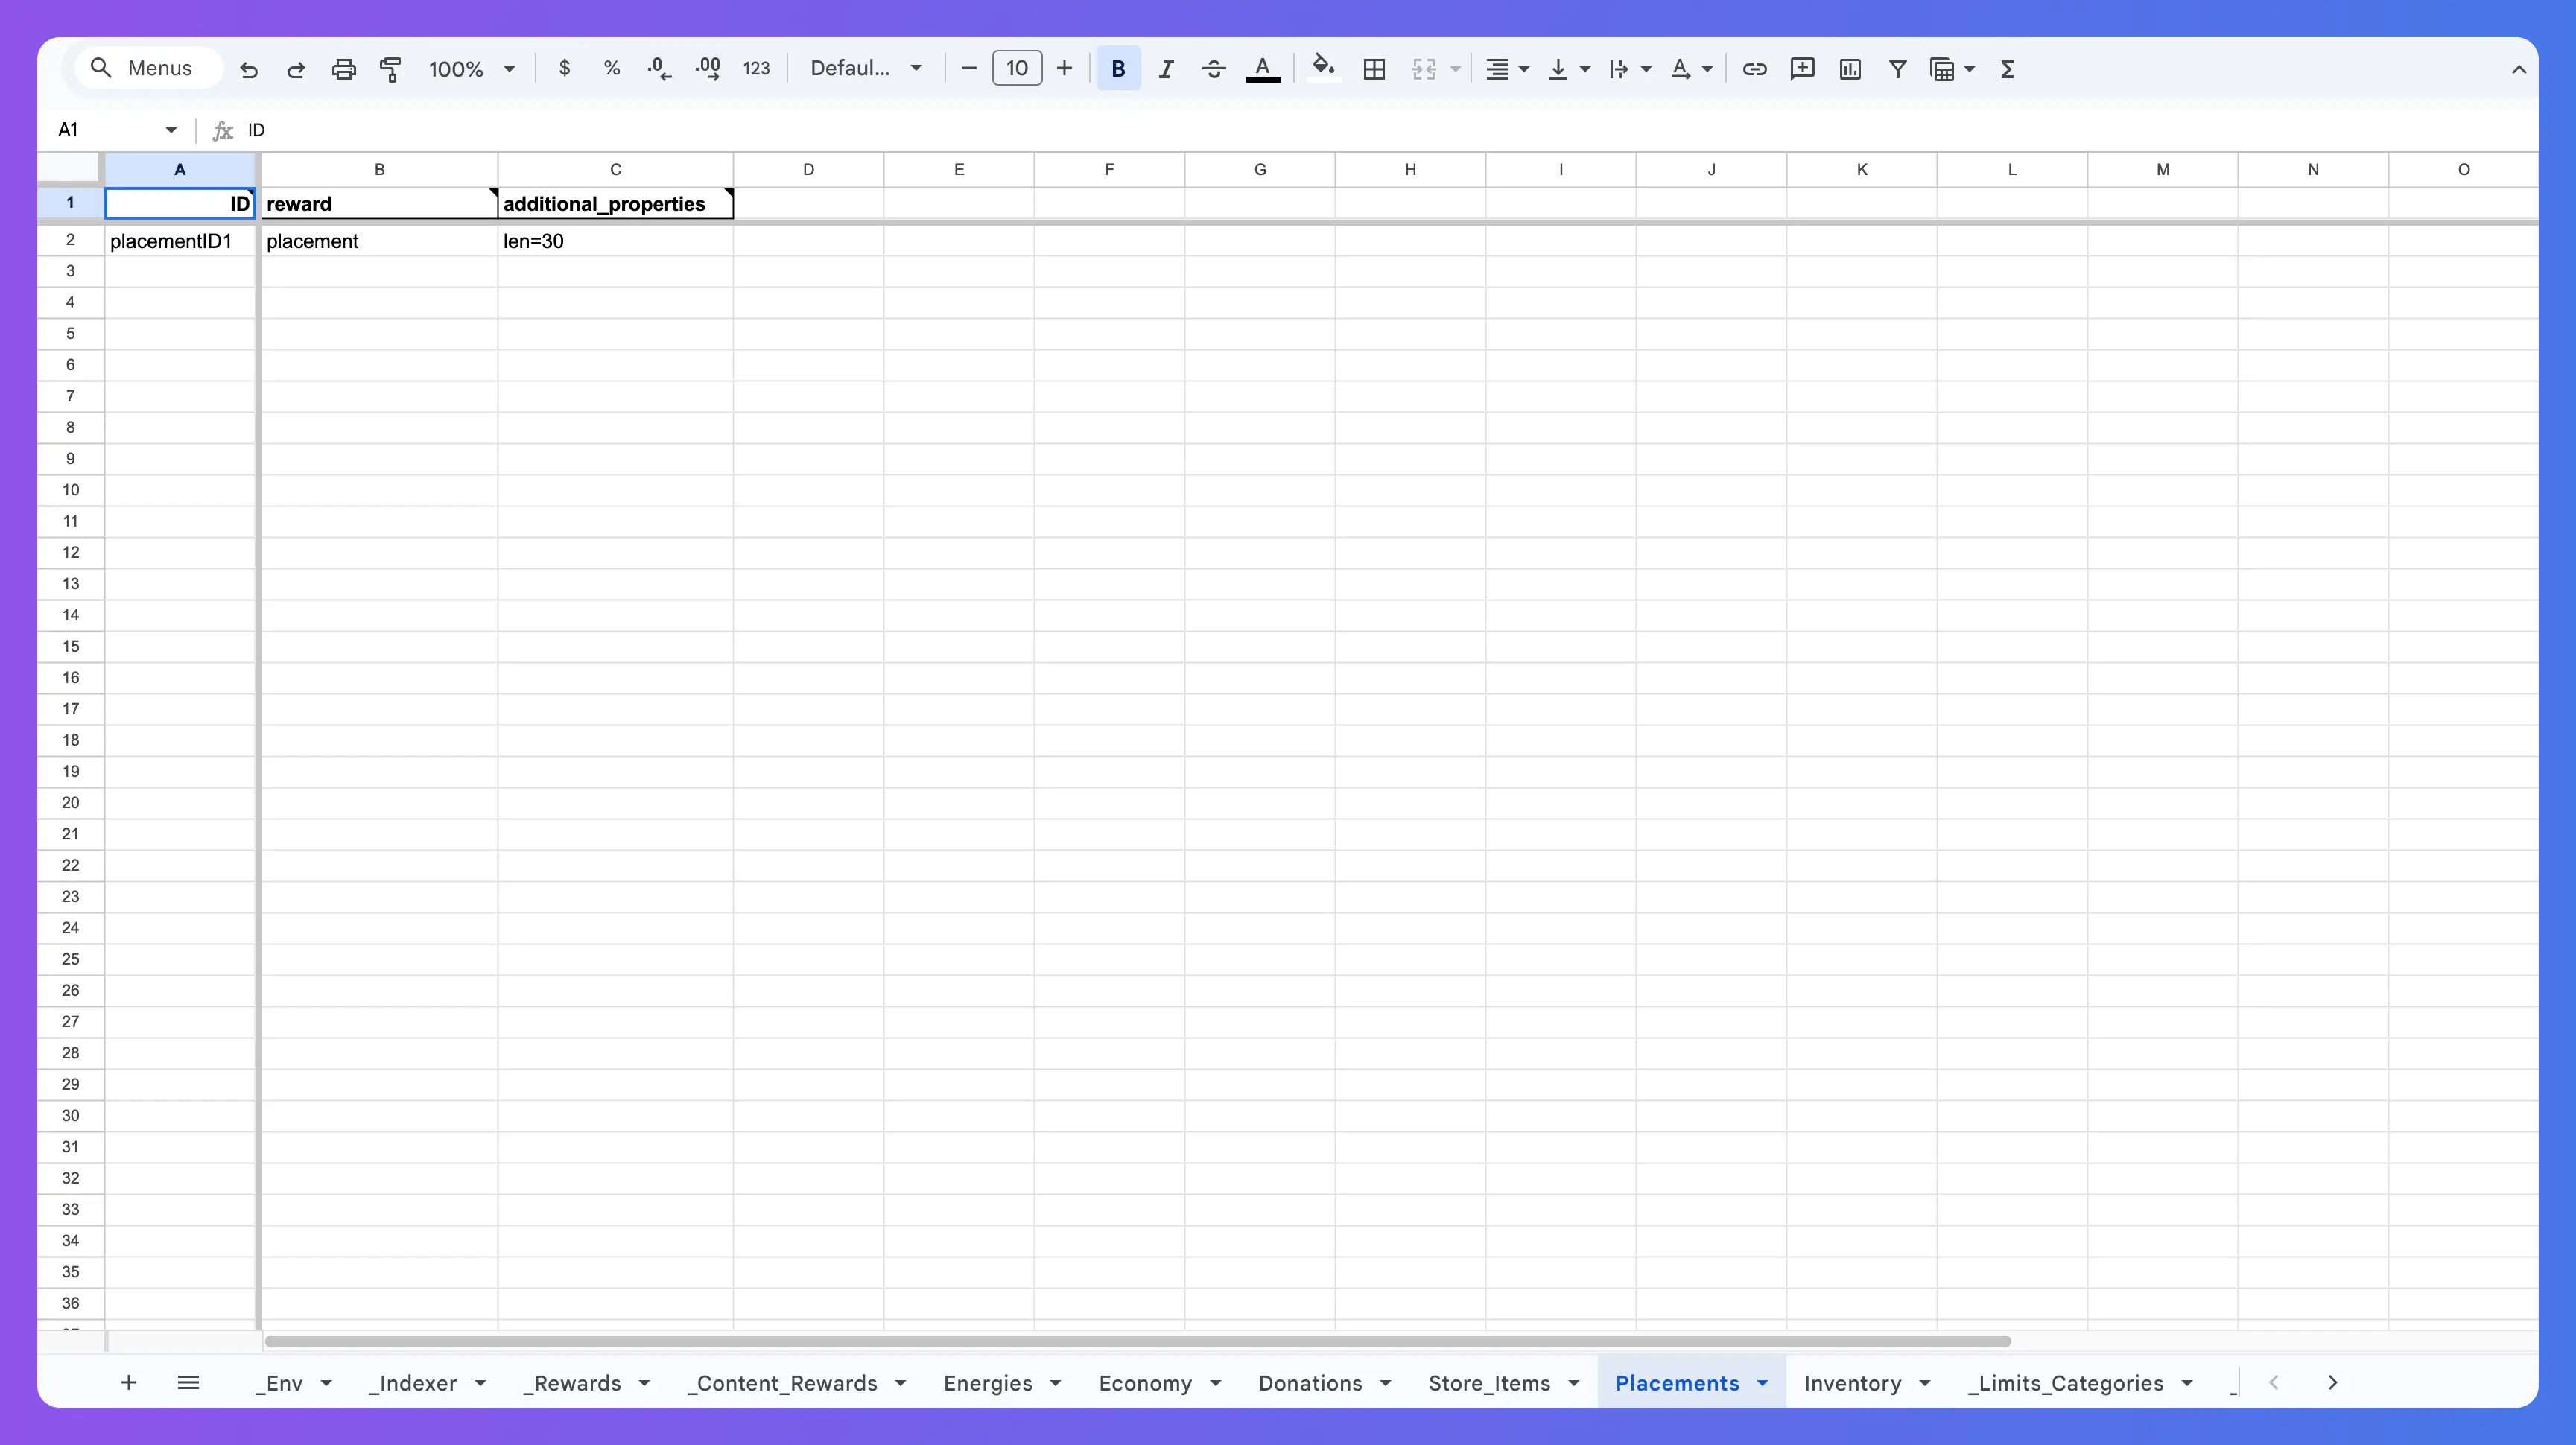
Placements #
The Placements sheet lets you define the placements, which are rewarded videos.
Read more about each field of the Placements.
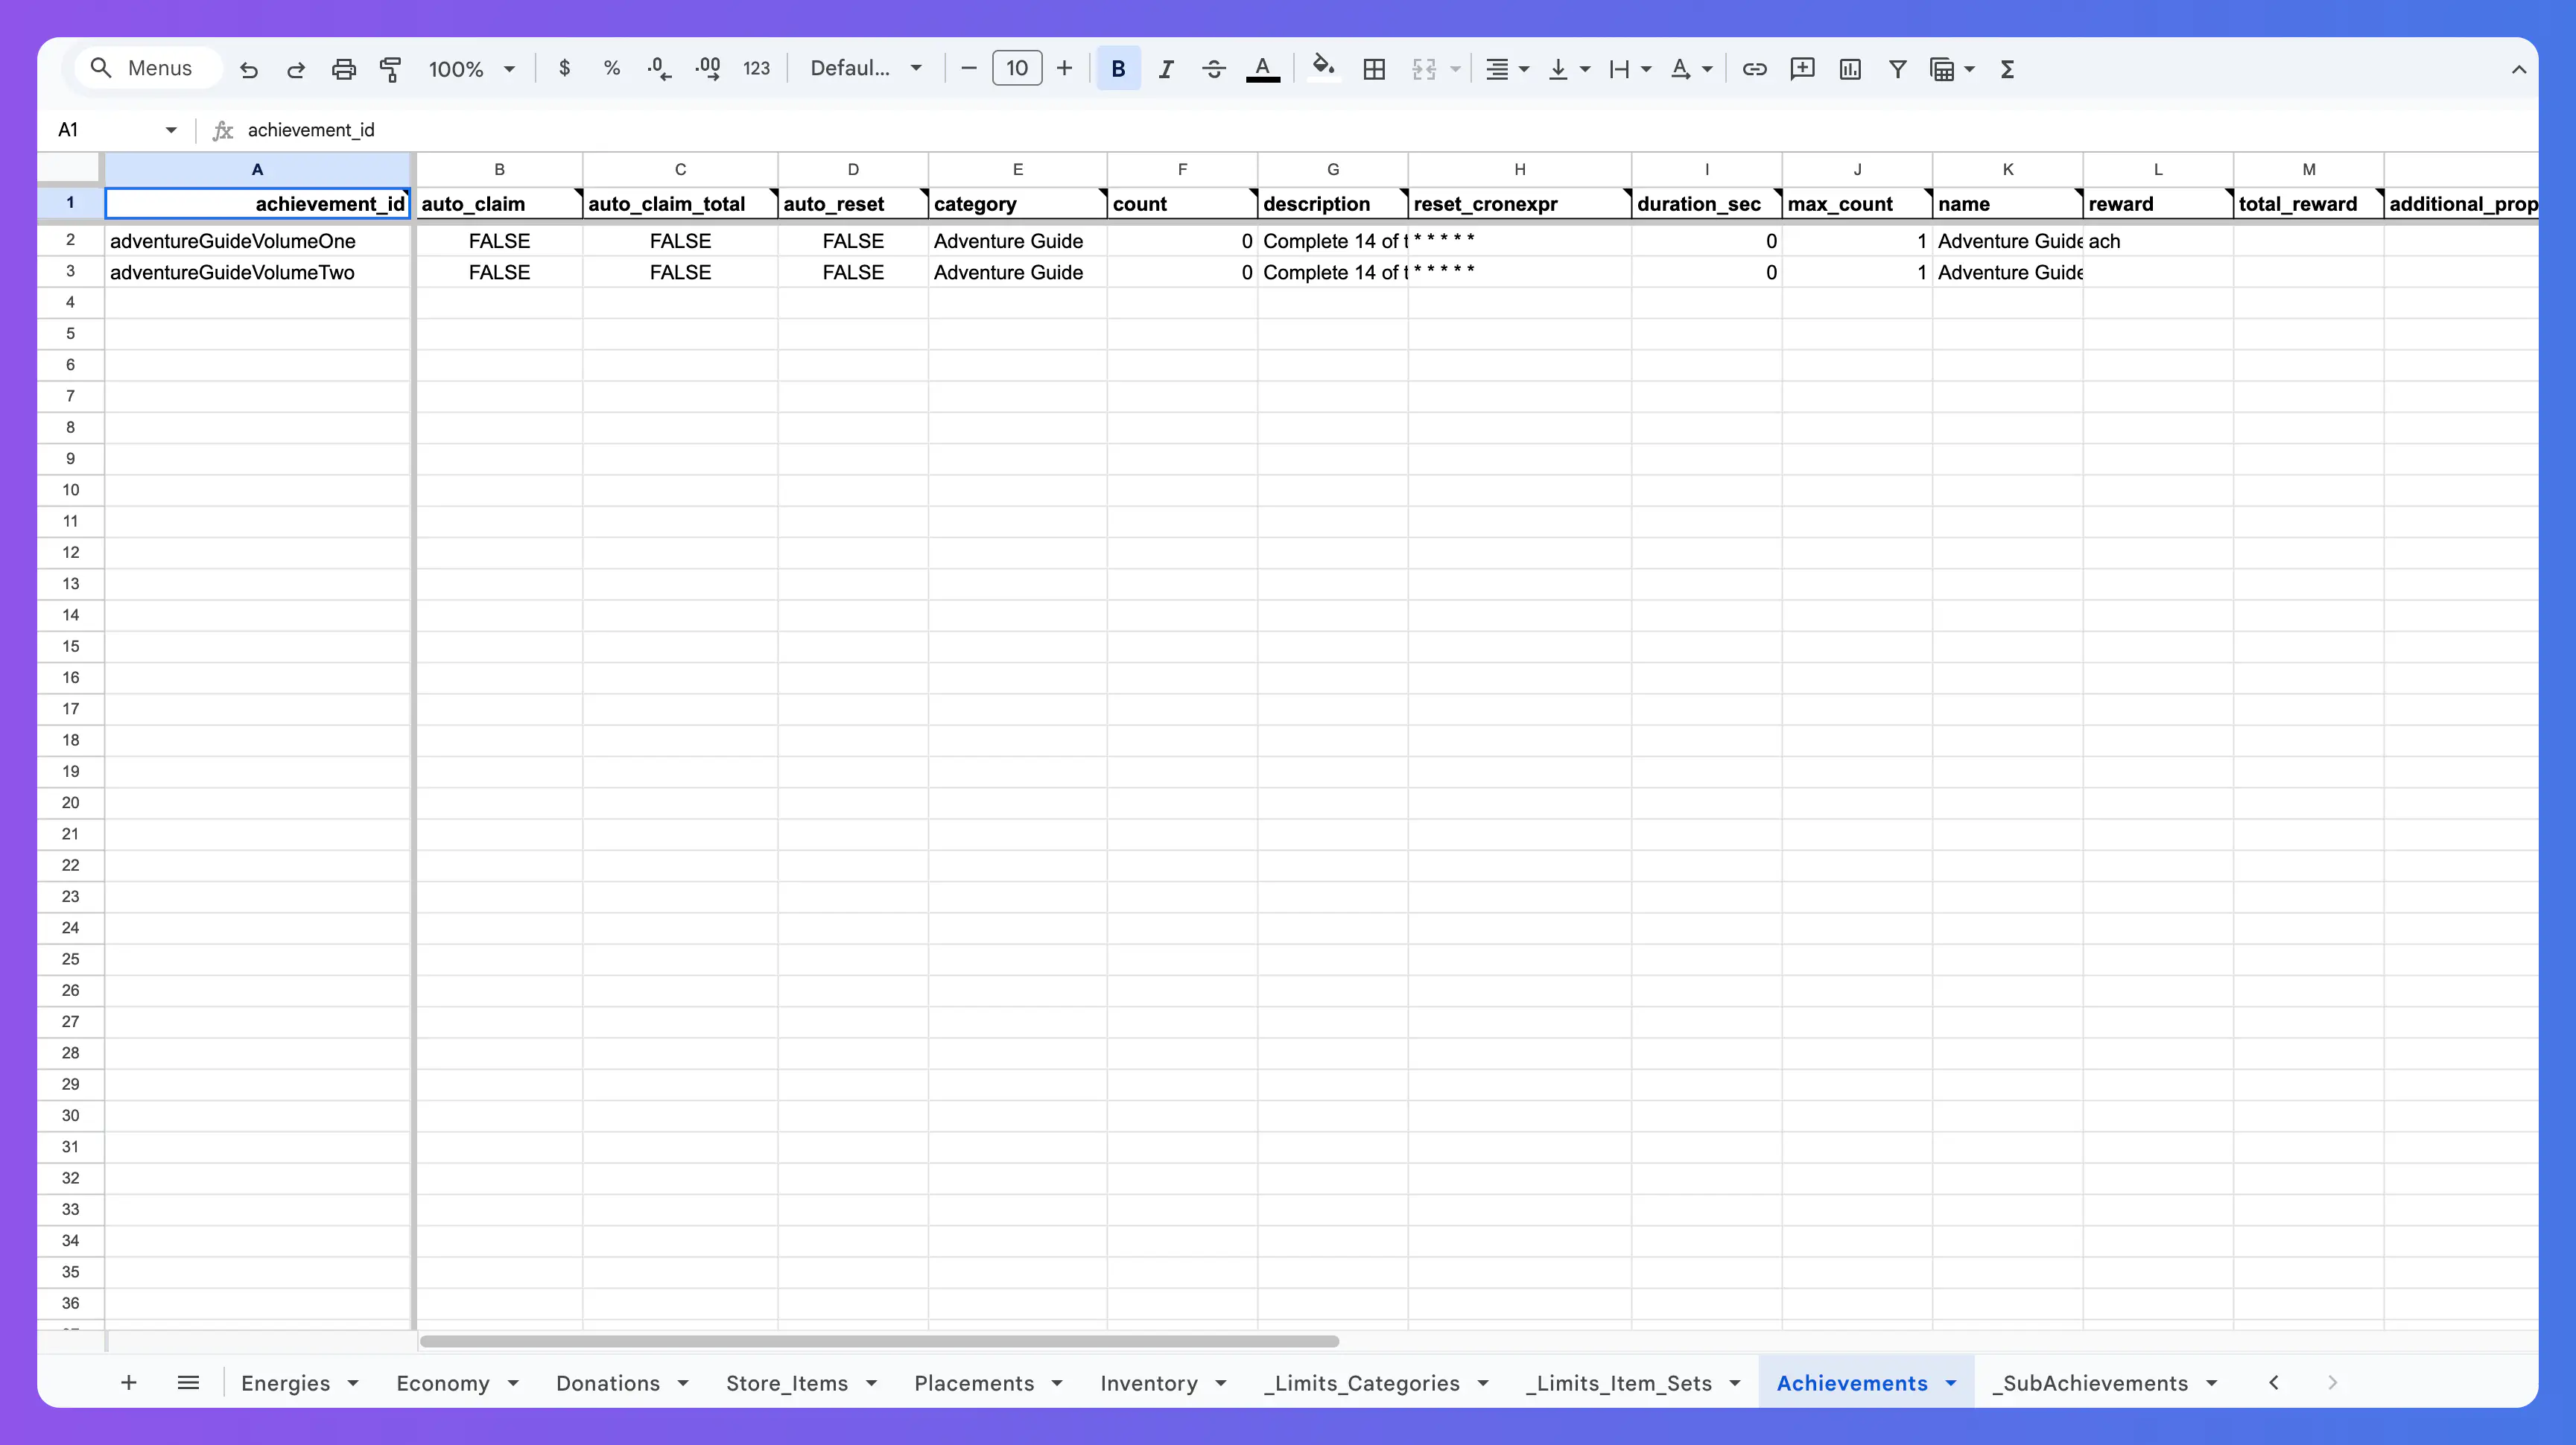
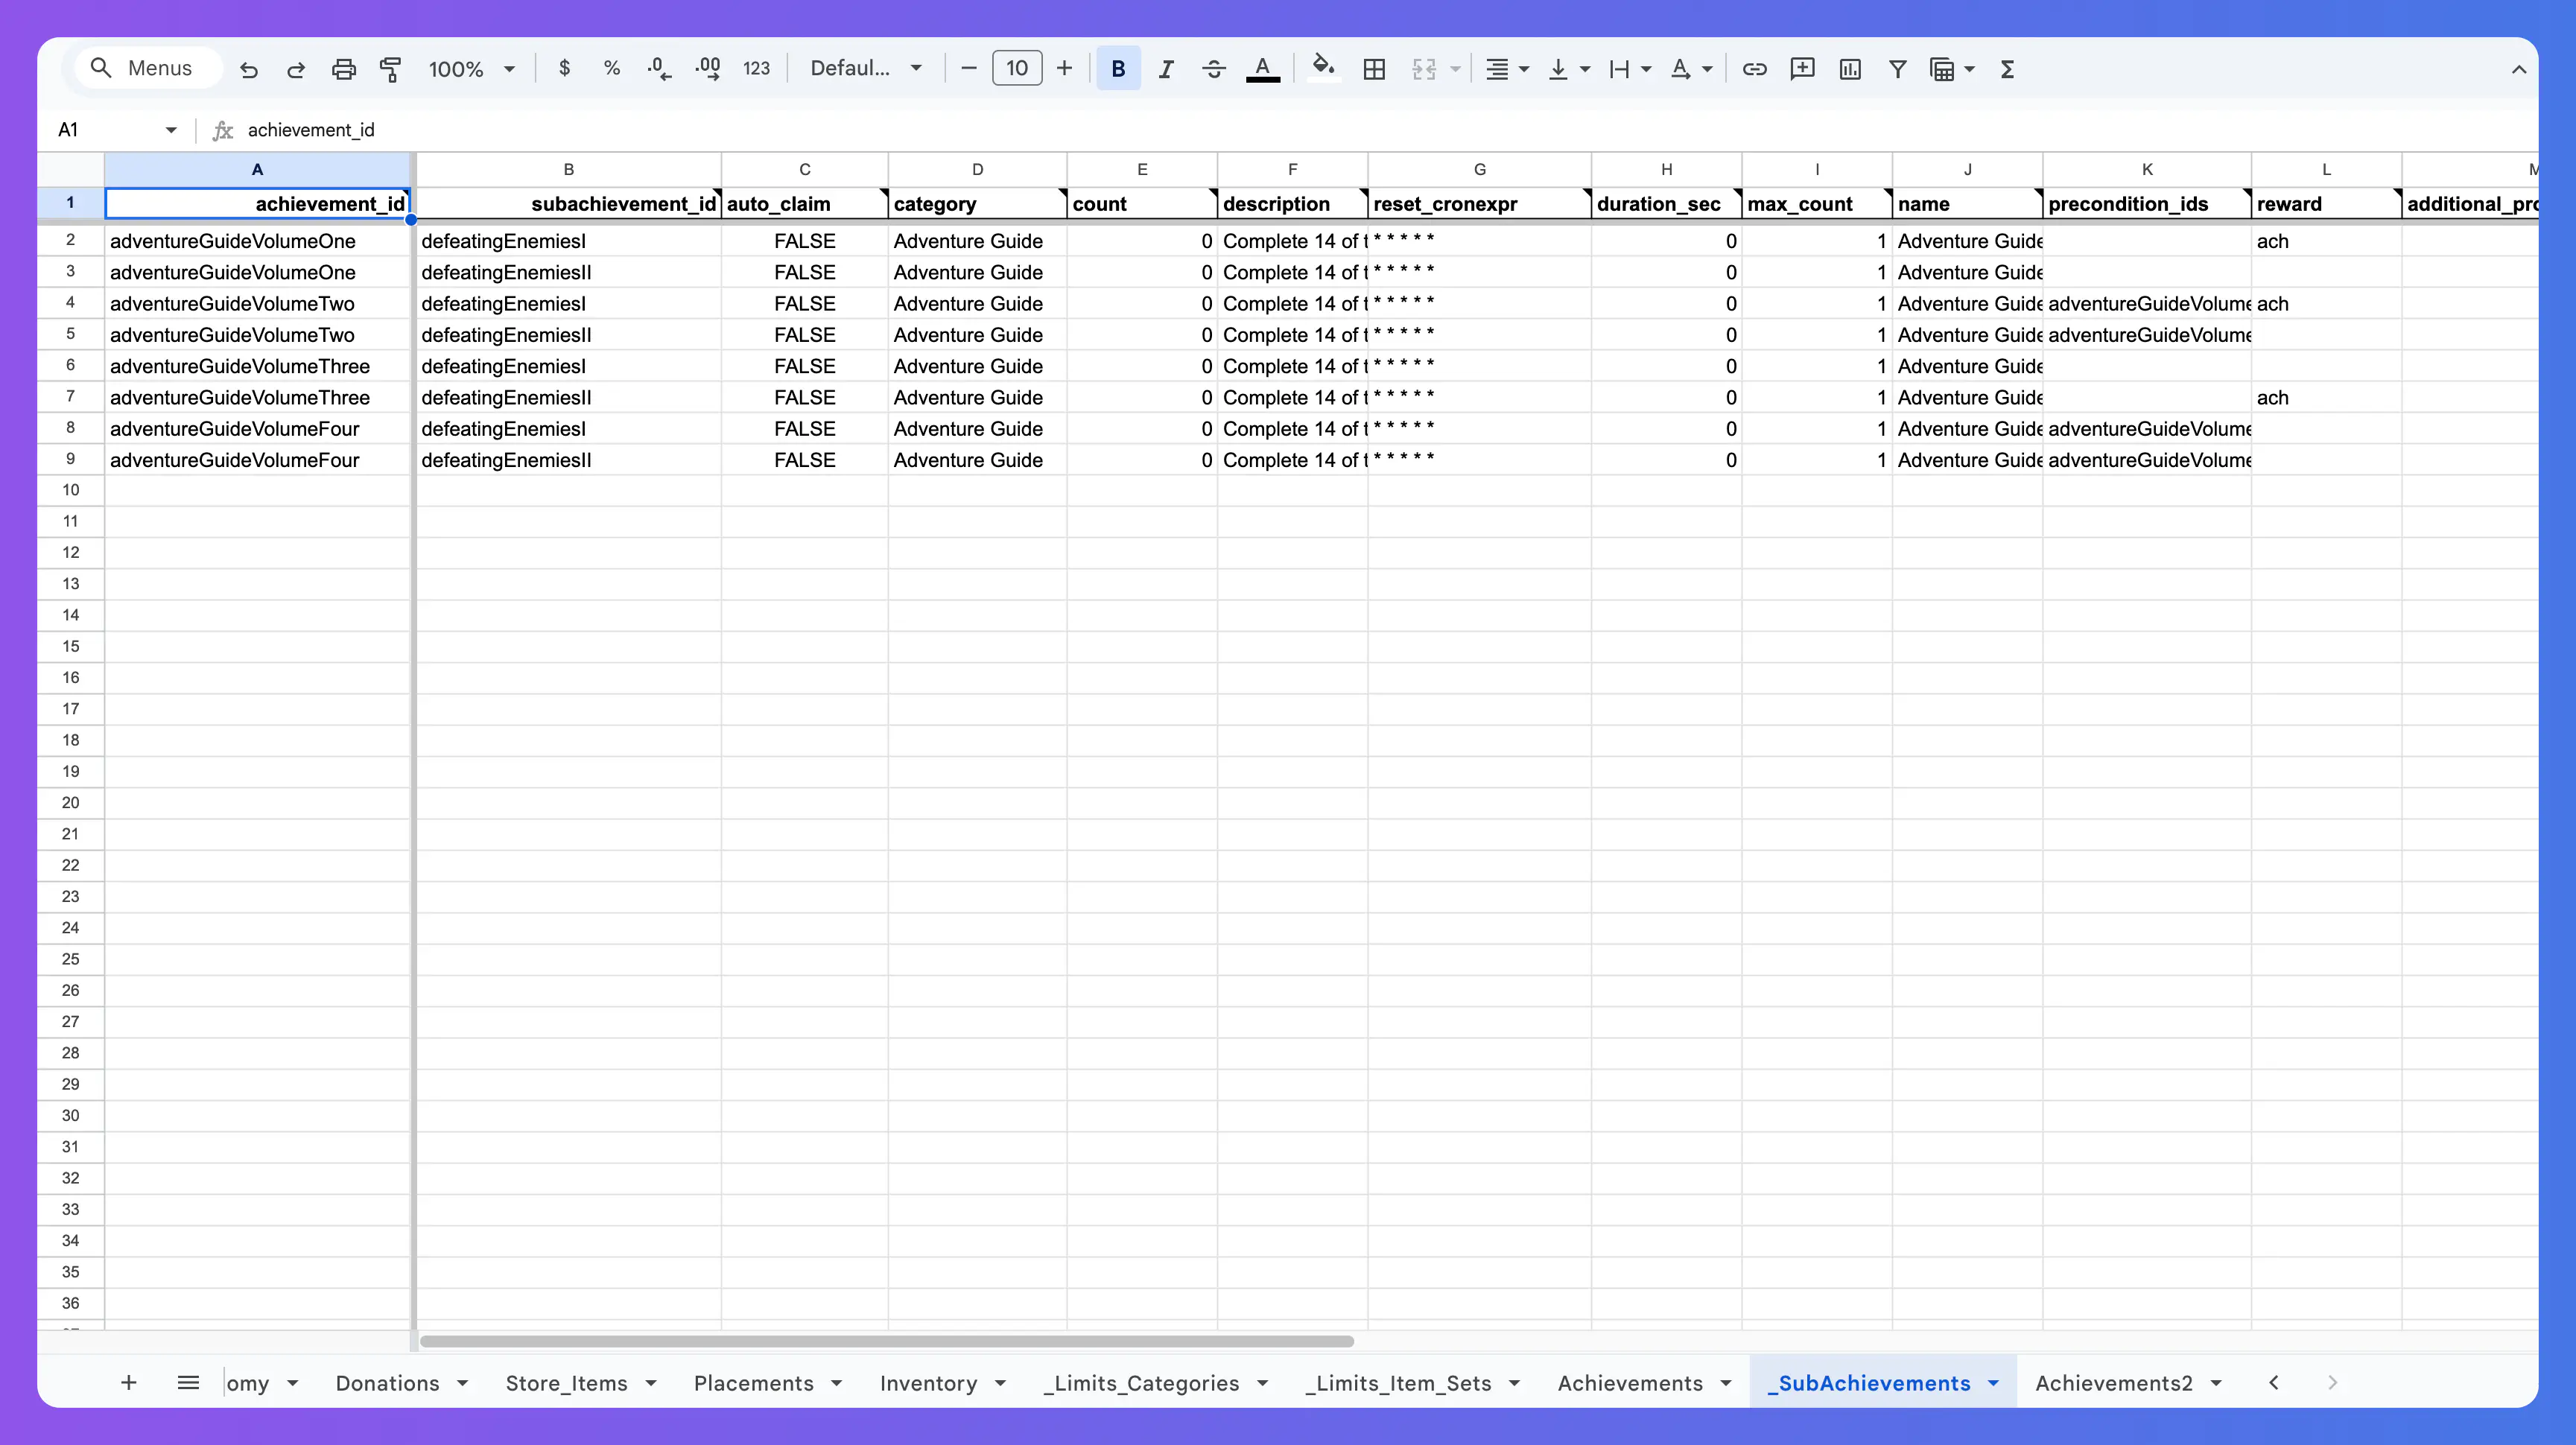
Achievements #
The Achievements system is divided into two sheets:
- Achievements
- Sub Achievements
Each achievement is identified with an achievement_id. This is used in the Sub Achievement sheet to identify which achievement each Sub Achievement belongs to. Achievements can have multiple Sub Achievements.
Read more about each field of the Achievements and Sub Achievements
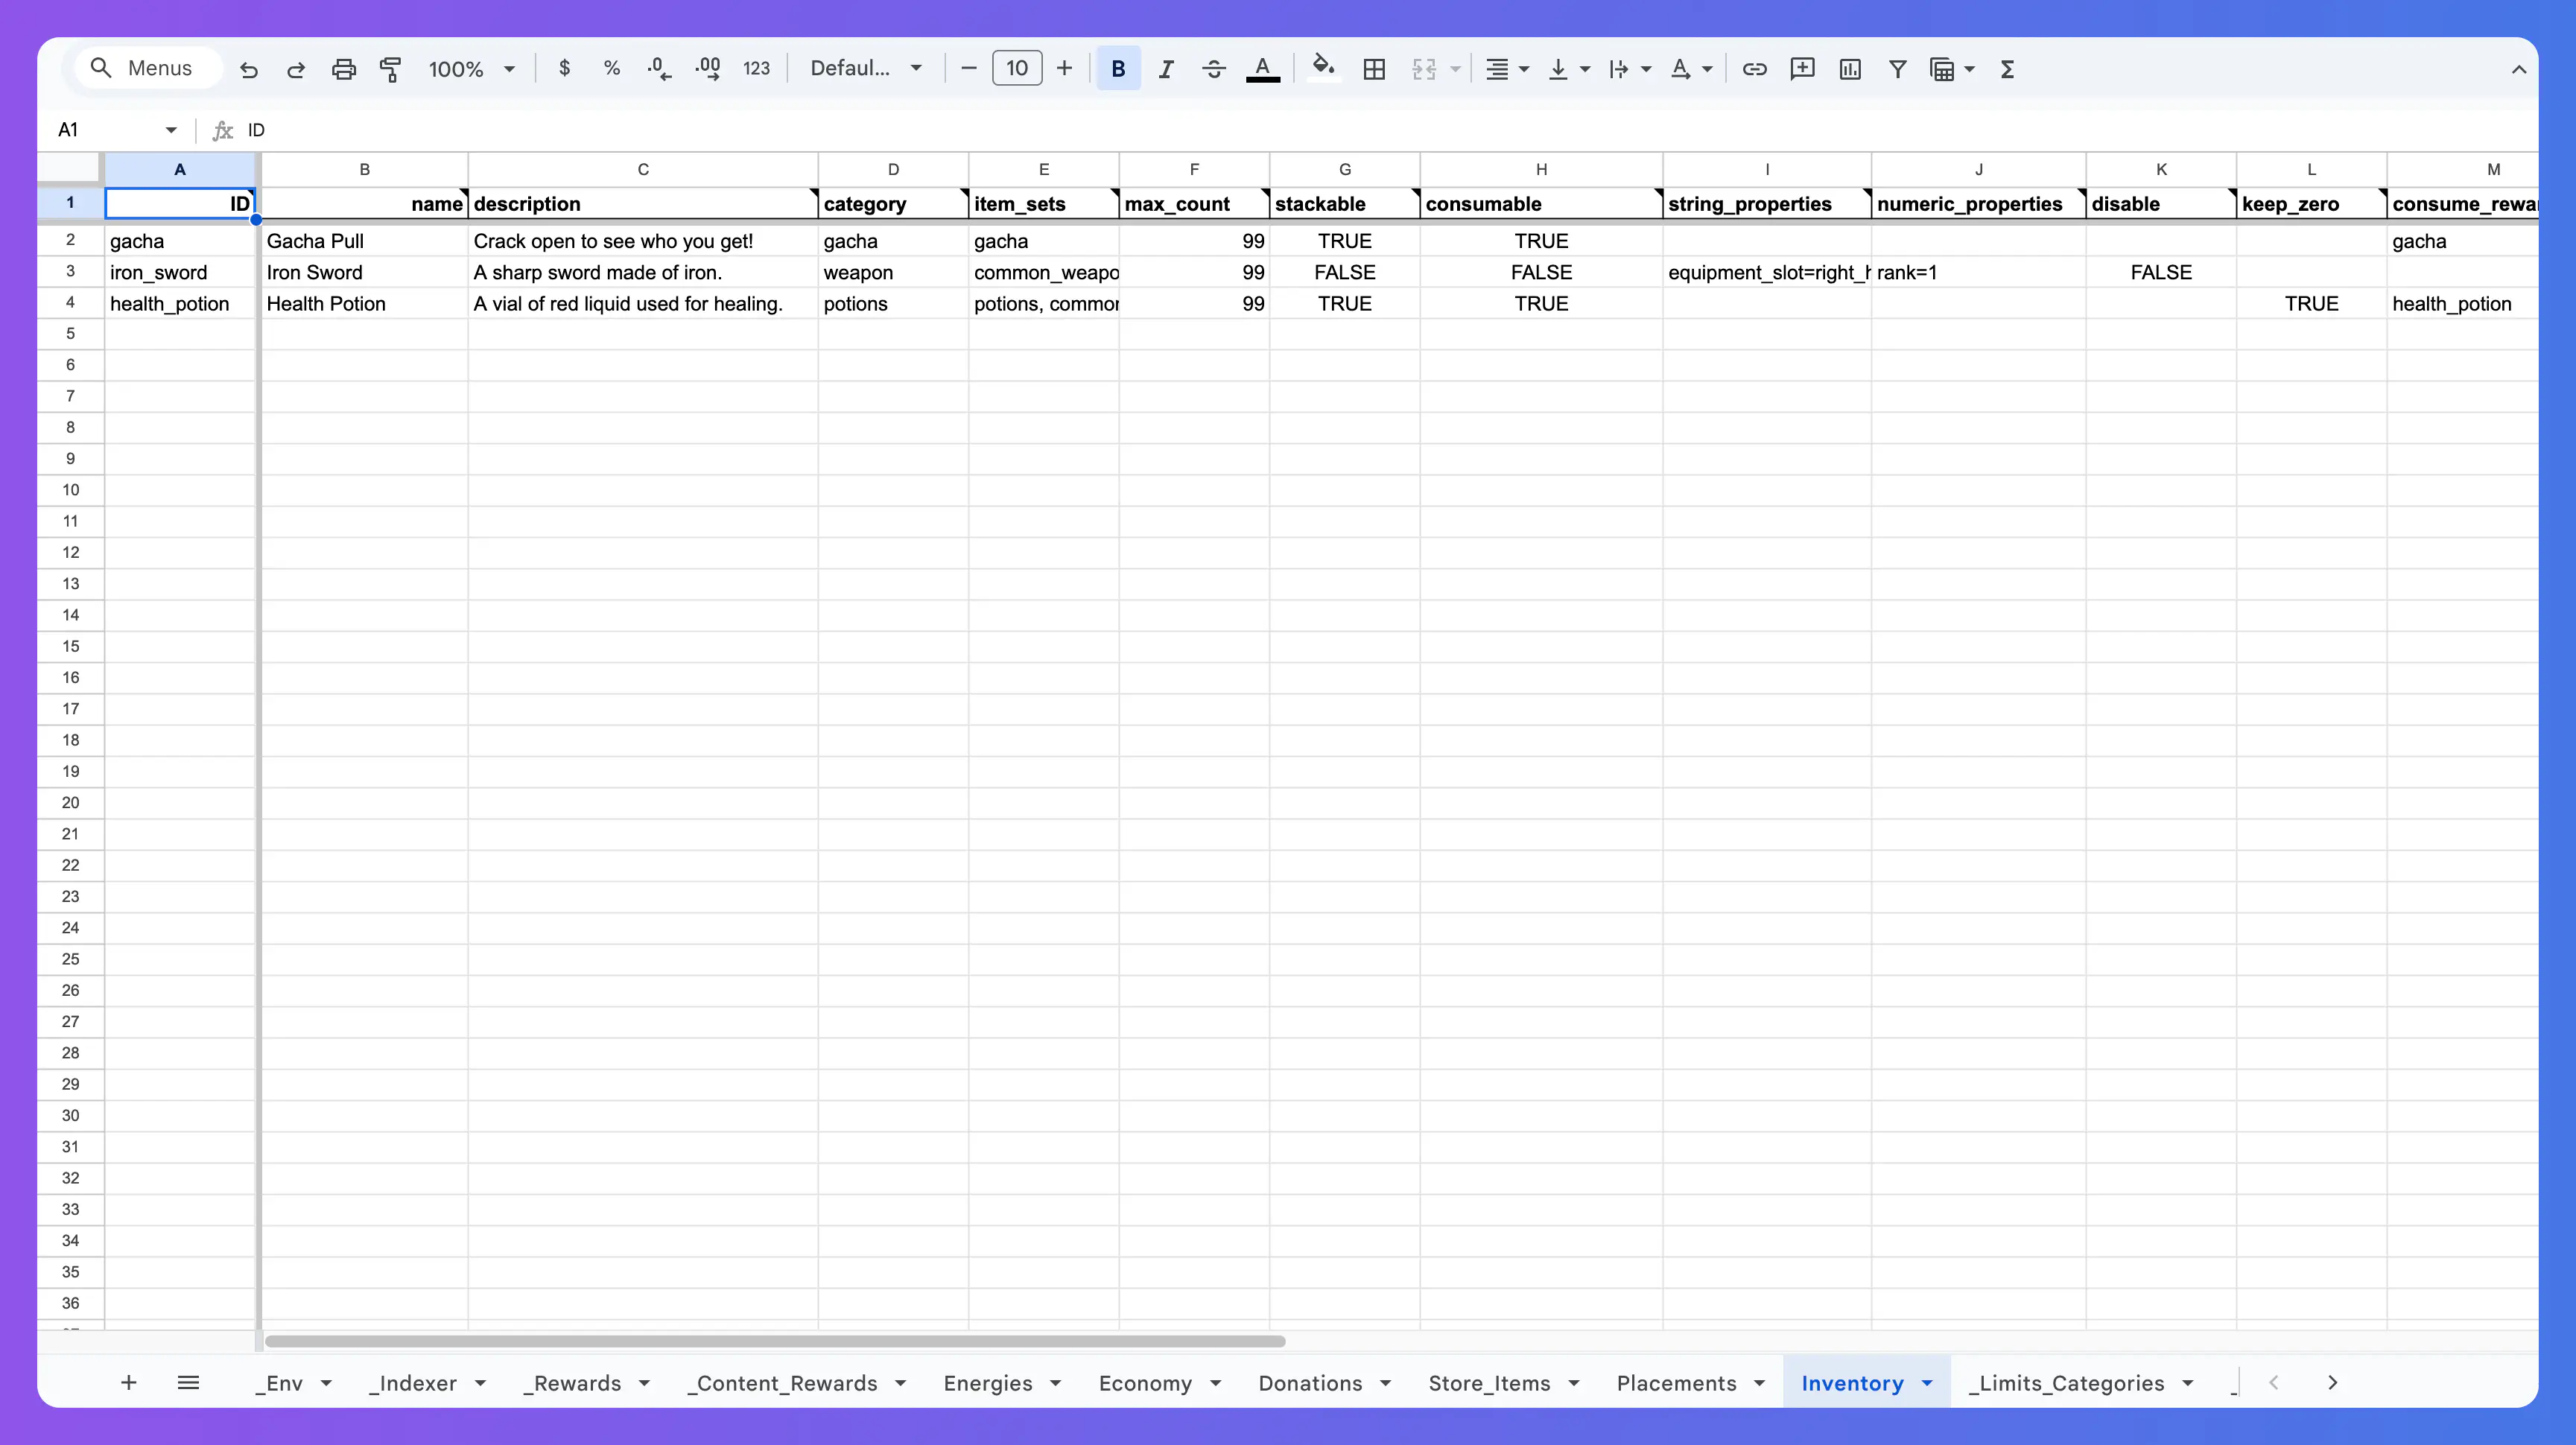
Inventory #
The Inventory system is divided into three sheets:
- Inventory
- Category Limits
- Item Sets Limits
String properties and numerical properties are filled with the format property1=value1,property2=value2, see example.
When converted to JSON, string values are converted to string and numerical values are converted to int.
For example, the following values:
string_properties : foo=1
numeric_properties : bar=1
Will be converted into the following JSON:
{
  "string_properties": {
    "foo": "1"
  },
  "numeric_properties": {
    "bar": 1
  }
}
Read more about each field of the Inventory System.
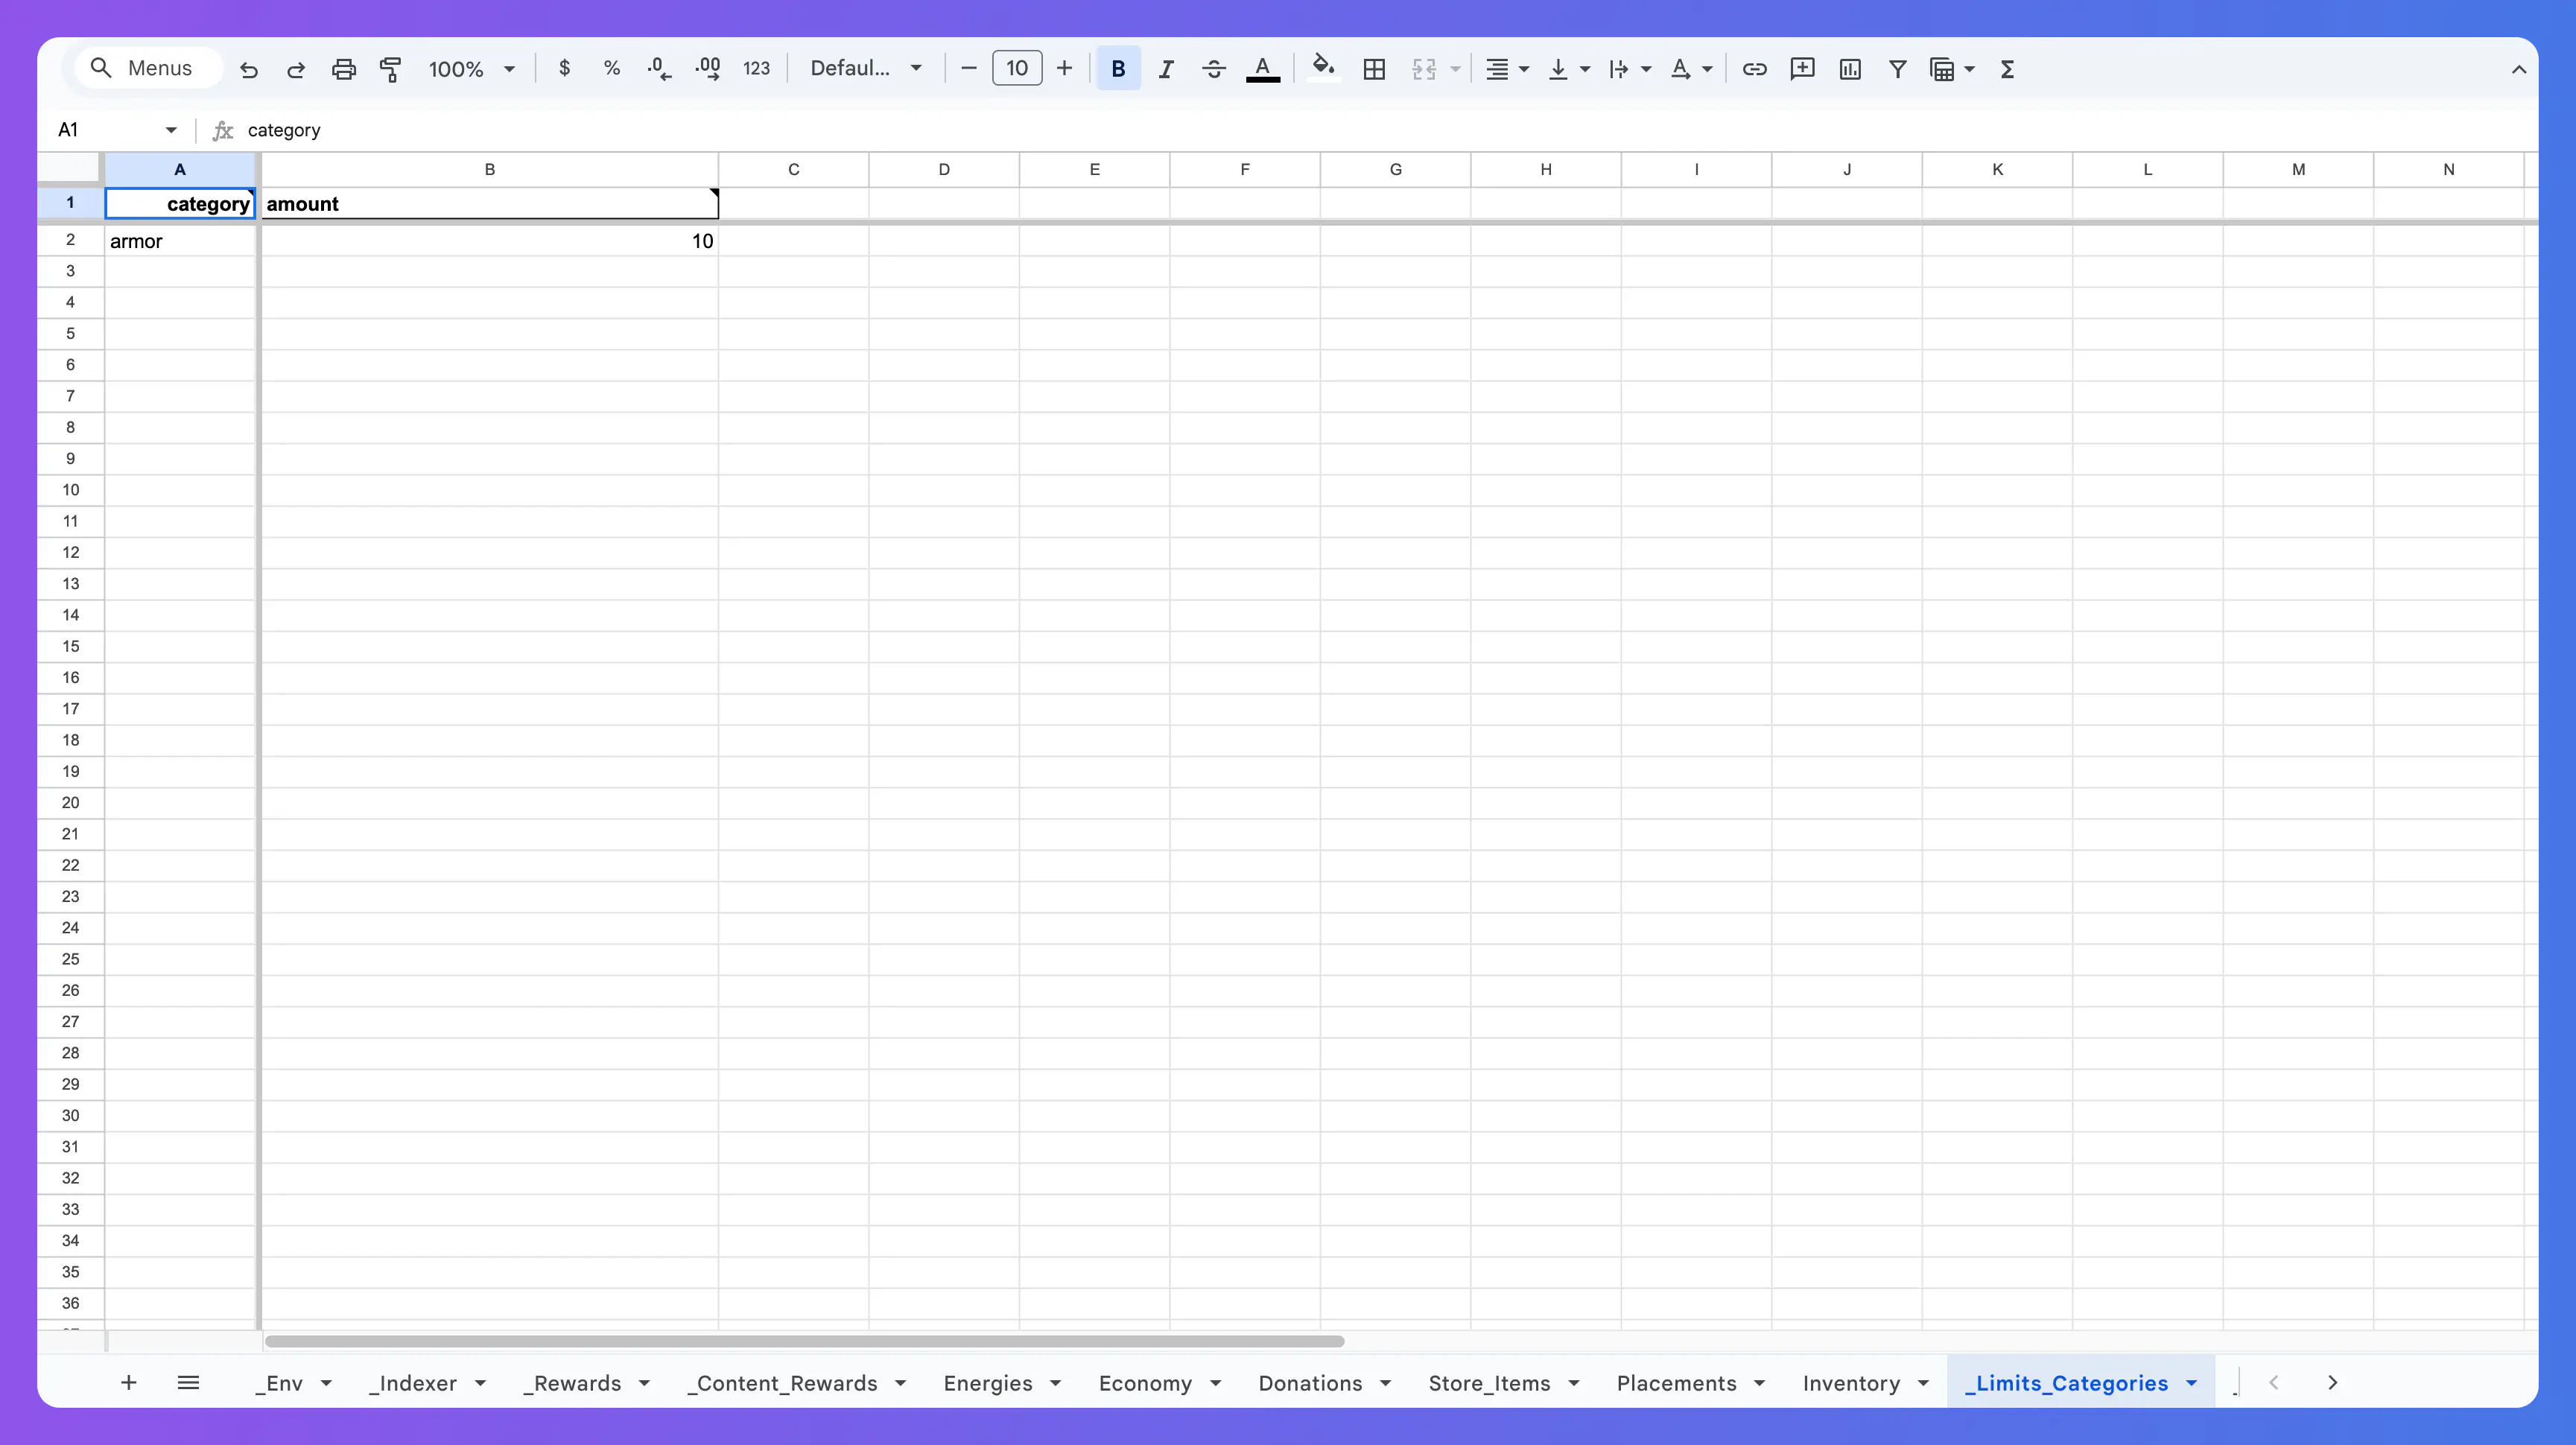
Category Limits and Item Sets Limits #
Limits for inventory items are defined in two separate sheets: one for Category and one for Item Sets. Each limit is defined on a separate row. Read more about configuring Limits.

Energy #
The energy sheets defined everything related to the energy system.
Read more about each field of the Energy System.
Exporting to the Cloud #
After setting up the _Env and selecting which environments you want to upload the data definitions to, hover over the Hiro Exporter Menu menu on the top Menu Bar. You will be met with the following:
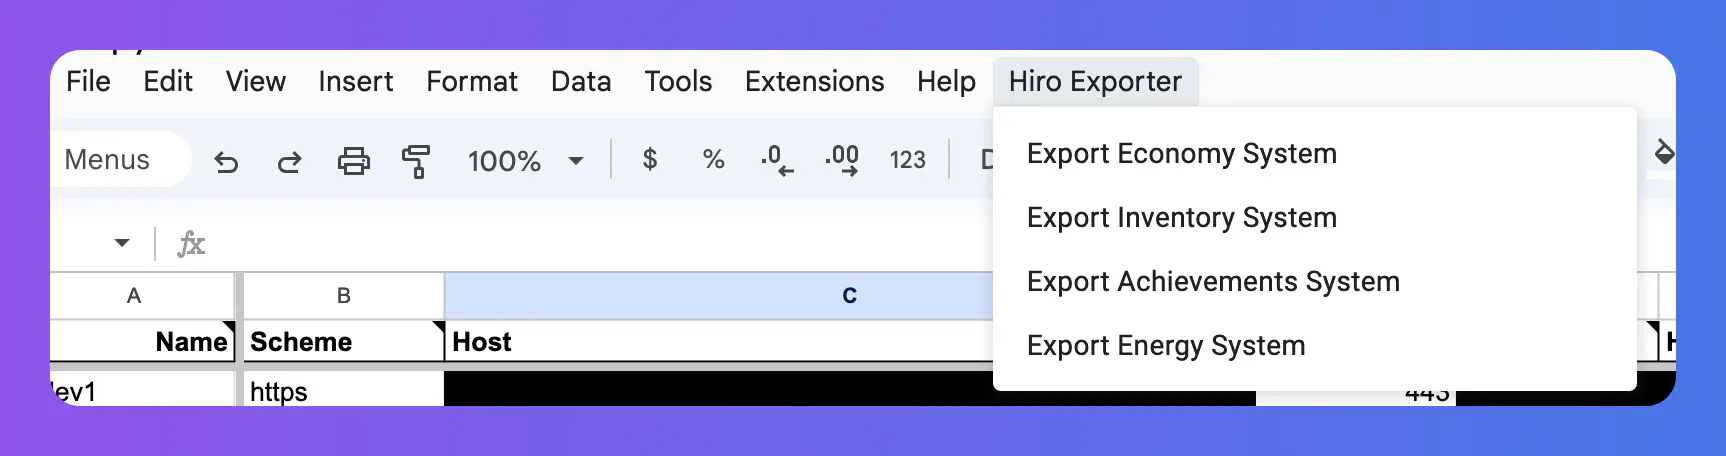
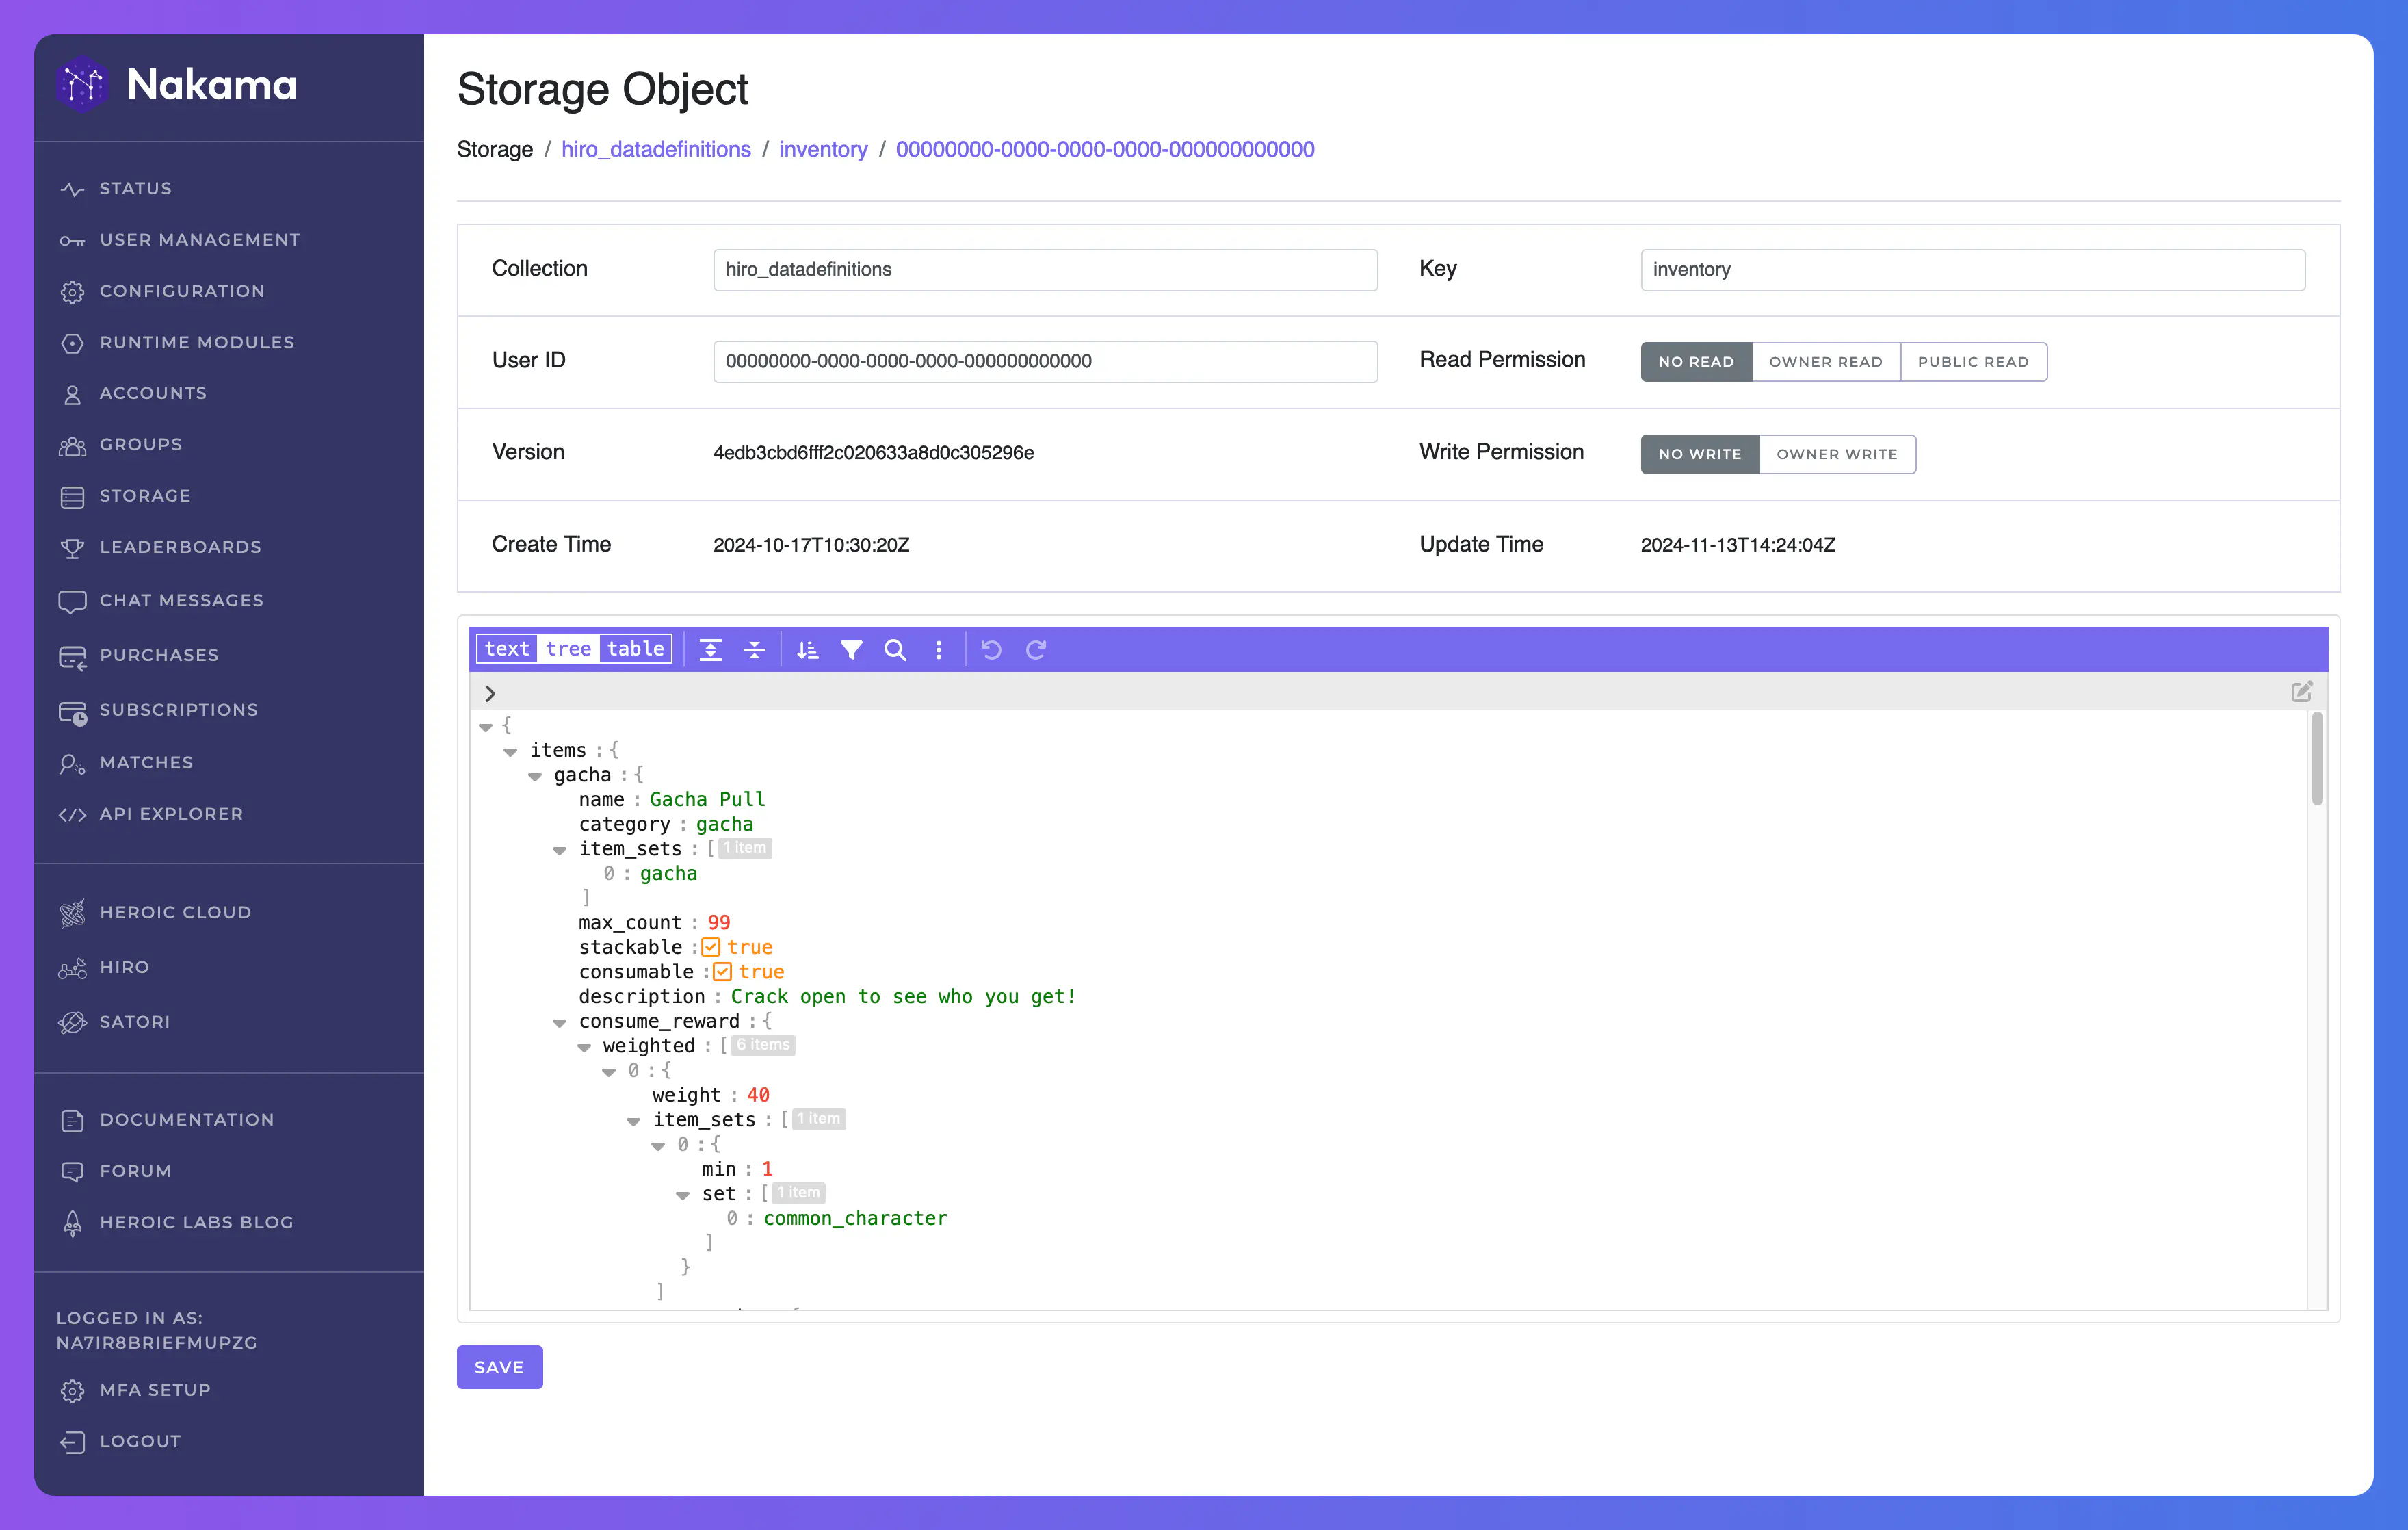
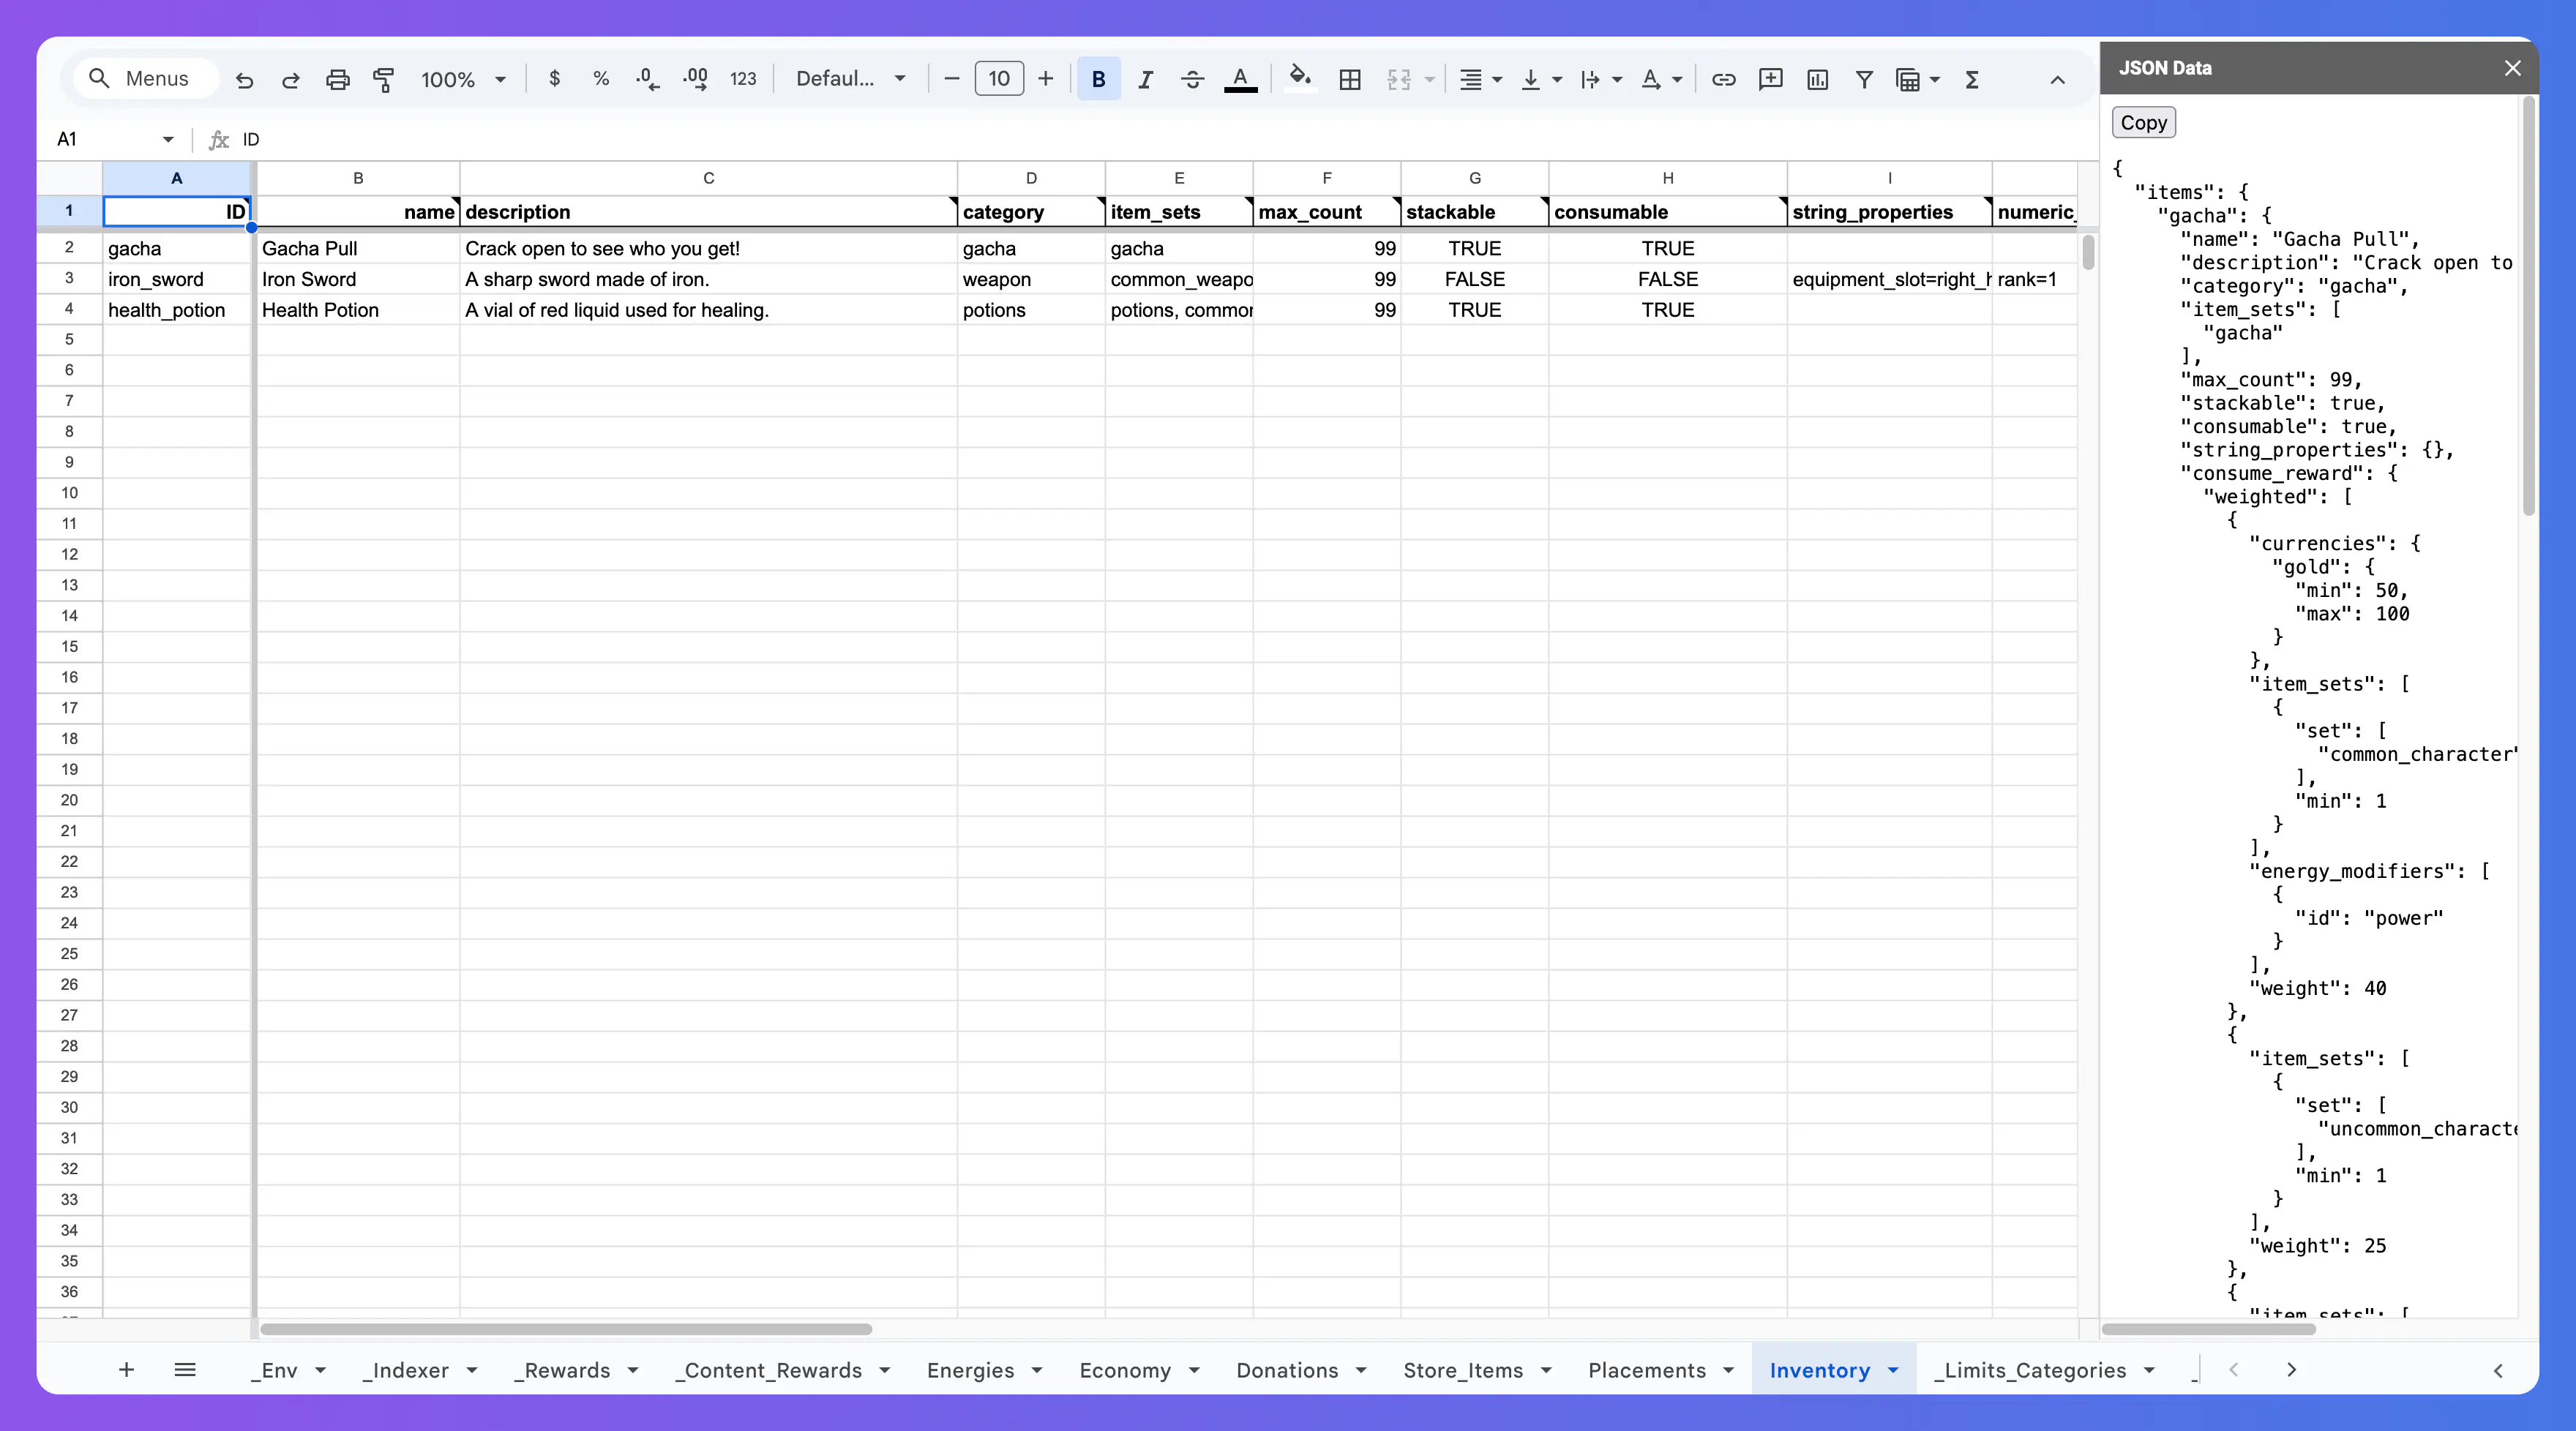
Select which system you want to export and wait for the tool to create and upload the JSON. Once the script is done, a “Script Finished” alert will appear and you will see what has been uploaded on the right side of the screen:
After this you can head over to your Nakama Console and confirm that everything has been uploaded correctly: